Activating and Deactivating Users
Activate/Deactivate Users
Sometimes in your organization, the users' hierarchical status may change or they may move to different teams. In such cases, you might have to deactivate those users after transferring ownership of the records to other users. Note that deactivating a user is different from deleting a user. When you deactivate a user:
- The user will no longer be able to access the Workerly account.
- No one will be able to log into the service using the deactivated ID.
- You are free to use the same user license to add another user.
- The user license is not cancelled. You will be billed for the number of user licenses that you had bought.
- The user will be listed under Inactive Users.
- If you decide to activate the user again, you can activate the inactiveuser.
To deactivate a user
- Log in to the Zoho Workerly with Administrator privileges.
- Click Setup > Users & Control > Users.
- In the Users page, select the ActiveUsers view.
- In the Users list view, check the box against the user you wish to deactivate.
- Click Confirm Deactivation.
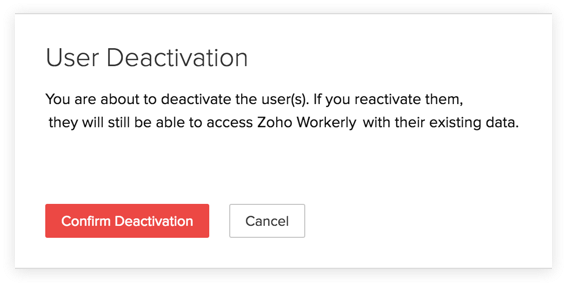
- The user will be deactivated and a system generated email will be sent to the corresponding user.
To activate a user
- Log in to the Zoho Workerly with Administrator privileges.
- Click Setup > Users & Control > Users.In the Users page, select the Inactive Users view.
- In the Users List, select the checkbox against the user you wish to activate.
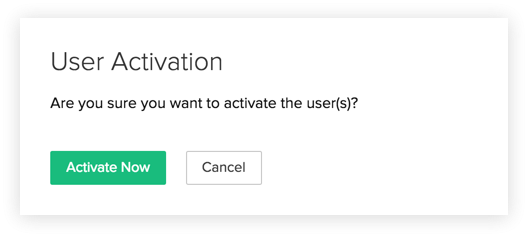
- The user will be activated and a system generated email will be sent to the corresponding user.

Delete Users
When a member of your organization quits or is replaced you may have to delete the member from your Workerly account. Note that deleting a user from Zoho Workerly is not the same as closing their Zoho account. They are deleted only from Zoho Workerly.
When you delete a user:
- You cannot undo the action. If you don't want the member to access Workerly but you are not sure about deleting the user, you can deactivate them.
- The records that belong to the deleted user remain in Zoho Workerly. You can transfer them to another member at any time. It is recommended that you transfer the records before you delete a user.
- You cannot re-invite a deleted user. If you extend an invitation to a user you have deleted, the user will be added again in Zoho Workerly as any other new user.
- Only the Admin of your account can delete a user.
- A user deleted from Zoho Workerly will still be able to access other Zoho services without hassles with the same email address.
- All the integrations configured by the deleted user will be lost after you delete them.
- Deleting a user does not cancel the user's license. To cancel license you must manage your subscriptions.
To delete a user:
- Click Setup > Users & Control > Users.
- Click on the user you wish to delete.
- Click Delete this user button present at the end of the User Details section.
Read the consequences of deleting a user and confirm the action. The user will be deleted from Zoho Workerly and will appear under the Deleted Users view.
Delete Zoho Account (Close Accounts)
You can also close your Zoho account if you do not want to use any of the Zoho services.
To close your Zoho account permanently
- Log in to https://accounts.zoho.com
- Select the Close Account option.

Note:
- On closing your account, you will not be able to access our Zoho Services.
- Before closing, please ensure that you have exported all your data from the Zoho Workerly system and also from the other Zoho services.
- Once you close your account, all of your data within Zoho services will be deleted immediately and cannot be restored in future.
Reset Password
Users with any role can reset their password individually by clicking on the Forgot Password link in the login page.
To reset the password
- Click the Forgot Password link in the login page of Zoho Workerly, the system redirects you to Zoho Accounts page.
- In the Zoho Accounts page:
- Email ID: Specify the registered Email ID as mentioned in Account information.
- Image Text: Enter the code as seen in the given picture.
- Click Request.
The system sends an automated email to your Email ID. - Click the given link 'here' in the email, you will be redirected to Zoho Accounts Password Reset page.
- In Password reset page, enter your New Password.
- Click Change.
The new password is updated and you can use it to log in to all Zoho services.
Related Articles
Activating and Deactivating Users
Activate/Deactivate Users Sometimes in your organization, the users' hierarchical status may change or they may move to different business units. In such cases, you might have to deactivate those users after transferring ownership of the records to ...Activating and Deactivating Users
Sometimes a users' position may change or they may move to different business units. In such cases, you might have to deactivate those users after transferring ownership of the records to other users. Note that deactivating a user is different from ...Managing Help Center Users
Help Center users are users who prefer to find solutions by reading through your knowledge base articles or the community posts. When they are unable to find answers they can get it resolved from your agents by submitting a ticket. Users can also ...Adding and Managing your Zoho Desk Users
Agents are the persons who handle tickets and work with customer problems. They perform a wide array of actions like responding to customers, editing ticket details, closing tickets, moving tickets between departments, etc. You can add as many agents ...User Management
Define and manage who has access to your CRM account Help guide Adding, Modifying, and Re-inviting Users Activating and Deactivating Users Deleting and Transferring Users