Client Portal - An Overview
As a recruiter, having a great relationship with your clients is critical for financial success. It's equally important to cut down lengthy email conversations and to ensure smooth collaboration.
In Zoho Recruit's client portal, your clients can create new job openings, send feedback for the candidates submitted for review, and make interview decisions. This helps bridge those communication gaps between you and your clients, building a strong partnership as a result.

By default, you get up to 10 free portal licenses. Then, for additional portal licenses, it is $5/portal user/month. Click here to know more.
Invited portal users are also part of the 10 free portal licenses.
Invited portal users are also part of the 10 free portal licenses.
How do I enable Client Portal?
- To enable client portal, you should first set up your domain in the Portal Setup page. Once you set it up, you can enable your Client Portal.
- Navigate to Setup > Portal Setup > Client Portal and turn on the button.
- You can customize the client invitation email that'll be sent out to your clients when inviting them to your portal.
To start communicating with your clients, you need to invite them to your client portal. An invitation is a simple email that'll ask your clients to register through an invitation link. All they need to do is to access the portal link and create a password.
Invite from Clients module
- Navigate to the Clients module.
- Click on the client name who you'd want to invite to your portal.
- Inside the client detail page, click + icon near the Invited Contact(s) on the left side of the screen.
- Once you invite your client contacts, they'll receive an email. On the acceptance, they'll be taken to the login page.
Invite from Contacts module
- Navigate to the Contacts detail page and click Invite Contact from more options.
- Assign a role and profile for the contact and click Invite.
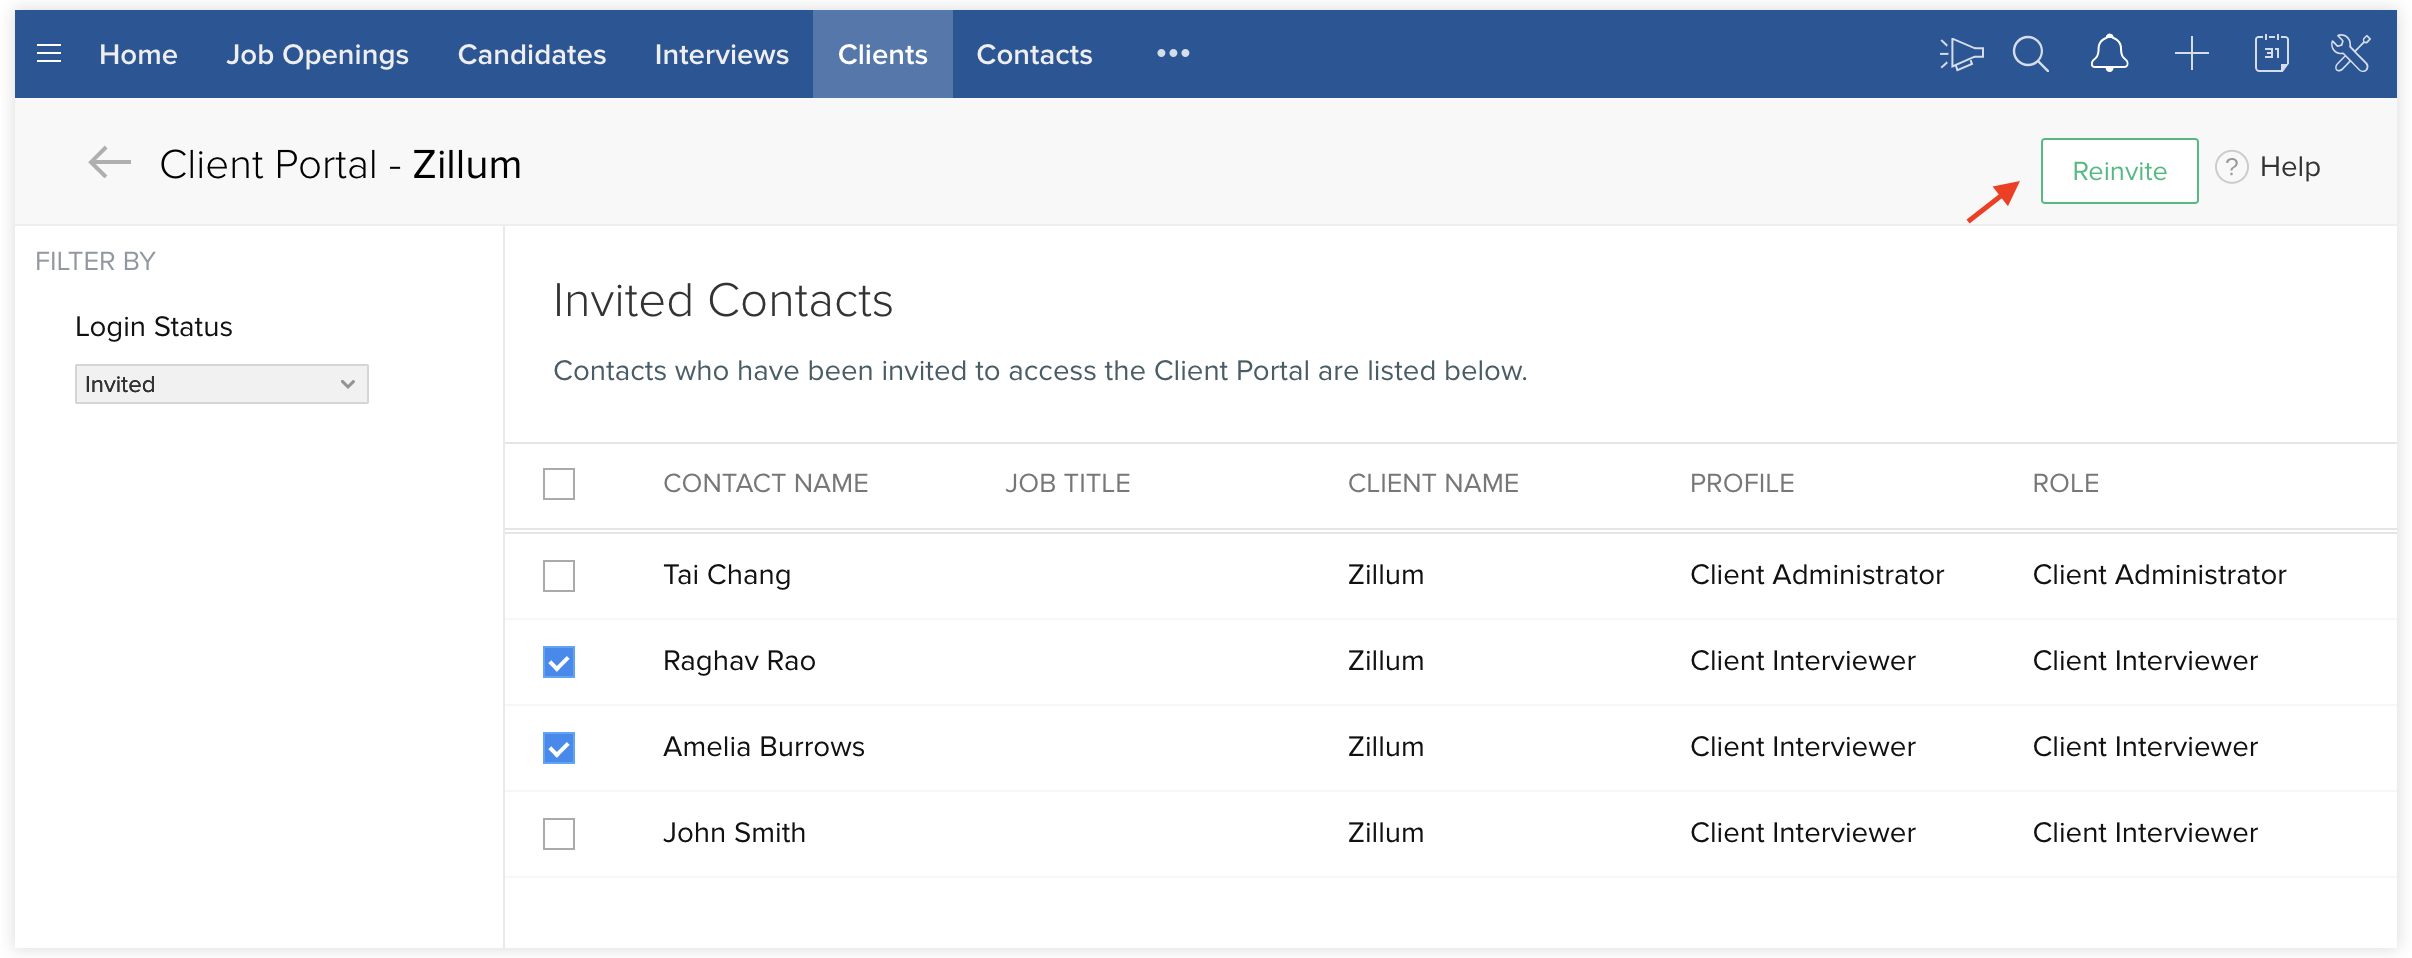
Reinvite contacts
You can reinvite your contacts who have already been invited. Go to Clients > Invited Contact(s). Select the contact names that you want to invite again and click reinvite.
Deactivate Contacts
You can deactivate those contacts who have activated their client portal.
- To deactivate them, go to Clients > Invited Contact(s) and filter Login status as Activated.
- You can now view the list of all contacts whose account is active.
- Select the contact and click the Deactivate button.
Note
You'll not have the option to invite contacts if you haven't enabled client portal.
You can invite a maximum of 10 contacts per organization.
In the Invited Contacts page, you get a comprehensive view of all the contacts who've been Invited, Activated, and Deactivated.
You'll not have the option to invite contacts if you haven't enabled client portal.
You can invite a maximum of 10 contacts per organization.
In the Invited Contacts page, you get a comprehensive view of all the contacts who've been Invited, Activated, and Deactivated.
Share candidates
Zoho Recruit allows you to share candidates to your clients, without sending them through emails. With this option, your clients will get informed through the notification icon in their client portals.
To share candidates:
- Navigate to the Candidates module.
- Select the candidates to share with clients.
- You can share either a single candidate or a bunch of candidates at a time.
- Click Submit to Client under Actions.
- Click the Share tab.
- Choose the Client and Job Opening.
- Share it with contact(s) associated with the client along with your comments.
- Click Share.
 Feature Availability:
* This feature is available only in the Enterprise edition of the Staffing Agency version.
Related Articles
Zoho Projects Integration - Overview
Efficient planning is the key to the success of any business project. A business always teams with several projects and people associated with those projects. Unless they are planned and managed efficiently, productivity takes a hit. A Project ...Client users
A company or organization for whom the projects are done, is called a client company E.g., Bowman Furniture's is a client company. A user who can view the progress of the client company project, Eg: paul@bowman.com is the client user of that ...Candidate Portal: An Overview
As a recruiter, it is essential to make a good impression in terms of accommodating candidates. You can use essential recruiter-candidate relationship processes to improve your candidate interactions and increase your ability to tap into highly ...Portal home
The Home displays the most sought-after stats across your projects in the form of widgets. You can view a comprehensive list of the status of all the work items across all the projects in your portal. Home - Overview Click the Home tab in the top ...How to organize the project tabs for both portal and client users?
ou can enable the project tabs visibility to both your portal users and client users by choosing the Project Customization at the top right corner of your projects page. In the PROJECT TAB ORGANIZE, enable the requisite tabs in the For Project ...