Configure Work Order Page Settings
Customize pages as per your needs and work with only those fields which are essential for your work order process.
- Navigate to Setup > Customization > Layouts.
- Select the Web tab and click the section you want to customize.
- In the section builder page, drag and drop the required fields from the Fields tray and click Save.
For more details on how to customize a page, refer to this page.
The details of where in the application, the customization done in each of these section builders will be used are mentioned below:
Request Information
- The Request Information section builder is used to customize the fields in Create Request page (see screenshot below).
- The Request Information section builder is used to customize the fields in Request Details page (see screenshot below).
Estimate Edit
The Estimate Edit section builder is used to customize the following sections:
- The Estimate Edit section builder is used to customize the fields in Create Estimate page (see screenshot below).
- The Estimate Edit section builder is used to customize the fields in Estimate Details page (see screenshot below).
Work Order Information
The Work Order Information section builder is used to customize the following sections in the application:
- The fields in the Work Order details page (see screenshot below).
- Fields in the Create Work Order page (see screenshot below).
Service Appointment Information
The Service Appointment Information section builder is used to customize the following sections:
- The Service Appointment Information section builder is used to customize the Service Appointment tab in the Service Appointment overlay. You can view this overlay by clicking on a service appointment under the Service Appointment section in the Work Order details page.
Customer Information
The Customer Information section builder is used to customize the following sections in the application.
- Customer Information: This section contains customer details of a work order that can be seen by clicking the name of the Contact in the Work Order details page.
- The Customer Information section in a Work Order details page.
- The Add Customer pop-up in Create Work Order page. This pop-up will be displayed on clicking Create New for a Customer.
Company Information
The Company Information section builder is used to customize the following sections:
- The fields in Create Company page (see screenshot below).
- The fields in the Company tab of the Service Appointment overlay (see screenshot below). You can view this overlay by clicking Service Appointments related list in the right pane of Work Order Details page.
- Company Information: This section contains company details of the customer in a work order which can be seen by clicking the name of the Company in the Work Order details page.
Service and Parts Information
The Service and Parts Information section builder is used to customize the fields in Services and Parts Details page.
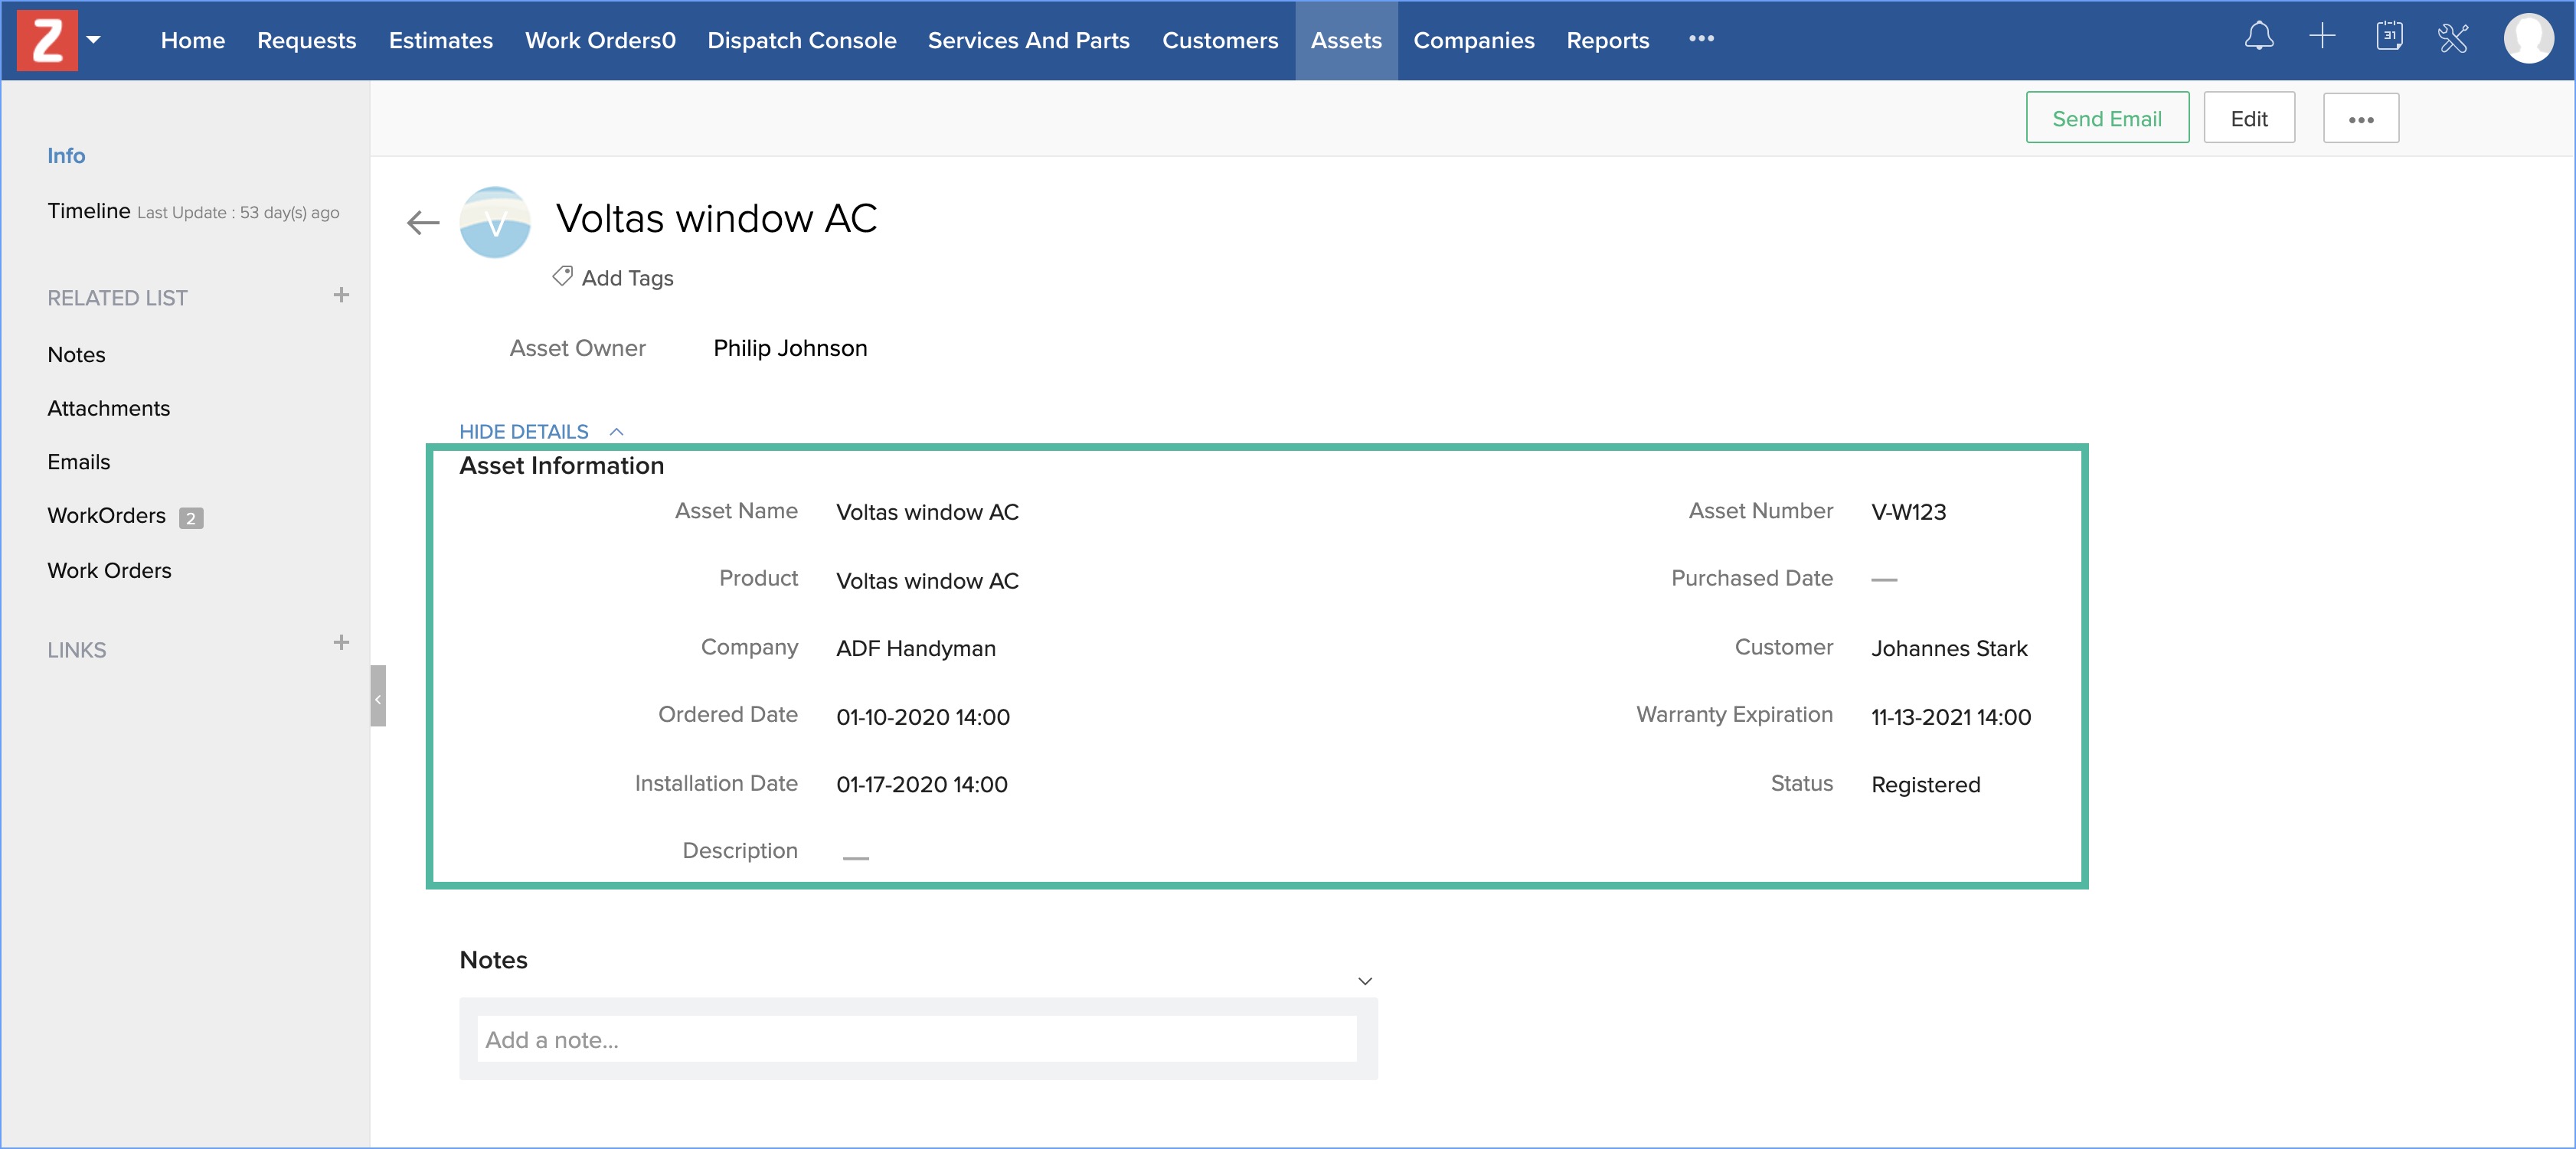
Asset Information
The Asset Information section builder is used to customize the fields in Asset Details page (see screenshot below).
Related Articles
Configure Service Appointment Page Settings
Customize the service appointment details page as per your needs and work with only those fields which are essential for your work order process. Navigate to Setup > Customization > Layouts. Select the Web tab and click the section you want to ...Configure Settings for Zoho CRM (Android)
Change Theme To change the color theme for your Zoho CRM app on your Android device In your Zoho CRM app, go to Settings. On the Settings page, under Themes, select the desired colour theme. The chosen theme is applied across the app. Configure ...Configure Zoho CRM Settings in iPhone
Change Theme To change the color theme for your Zoho CRM app on your iOS device In your Zoho CRM app, go to Settings. On the Settings page, under Themes, select the desired colour theme. The chosen theme is applied across the app. Configure ...Configure Zoho CRM Settings in iPhone
Change Theme To change the color theme for your Zoho CRM app on your iOS device In your Zoho CRM app, go to Settings. On the Settings page, under Themes, select the desired colour theme. The chosen theme is applied across the app. Configure ...Configuring Gamescope Settings
Gamescope runs on trophies and badges. It is important to configure the right trophies and badges before you start a game. Availability Permission Required Users with Module Customization permission in their profile can access this feature. Check ...