Configuring Gamification for your Community
Scenario
Justin Case is an active contributor to the Community group at Zylker. He never misses giving his suggestions or opinions when needed. He also ensures to share his learnings with the group. In doing so, he was earning a lot of popularity in the community group and many started following him in the group. This way, the community was staying alive and engaging to all other members.
How does Mr. Case benefit by doing all of this?
Well, he was accumulating points for all his activities in the community, which in turn helped him to go up levels and earn appropriate badges. People started approaching him on seeing his points and badges to set up meetups, partner meets, company events, and so on. This way, the company was not only boosting his enthusiasm by giving him badges and points but the company was, in turn, using his expertise to help others who were in need of his guidance.
In the above scenario, you saw how Justin and the company mutually benefited from using points, levels, and badges. So, let's see how we can create more 'Justins' in your community using gamification.
What is gamification?
Gamification is the process of awarding points to your end users based on their activities in the community. This way, it encourages your users to proactively participate by rewarding them for every post, forum, comment and like.
Uses of gamification in community
- Improves community relations
- Encourages a customer to recommend a product, service or brand to his/her circle of friends
- Motivates your members to participate and increases engagement
- Paves way for an active community
Configuring Points for an Action
The process of gamification is in the order of adding points, achieving levels, and finally earning badges.
So, let's begin by looking at how to add points.
Default Points
By default, Zoo Desk provides some default points to its end users, that is, if a user accomplishes any of the actions associated with the default points, the points are given to the user. For example, one of the default points is, every idea that is posted to the community receives five points. Therefore, if a user posts an idea in the community, he/she earns those five points. Anyhow, you can edit the default points anytime you want and also disable the points. But you cannot delete default points.
Custom Points
Other than the default points that you can associate to a user, you can also create your own custom points.
To add custom points:
- In Zoho Desk, go to Setup, and choose Community under the Channels menu.
- Choose Gamification in the left pane.
- Click the Enable Gamification toggle button in the page that appears.
Note: The Points tab is selected by default, and the default points are displayed on the page. - Click Add Custom Points in the upper-right corner of the page.
- Enter the following in the Add Custom Points page:
- Name - Appropriate name for the point
- Description - Additional information for the point
- Points - Numerical number
- Add User - Specific user to whom the agent wants to assign the points to
- Click Save.
The custom point that you just added appears separately under the default points section.
You can edit the custom point anytime you want and also delete it if required.
Set Levels
Once you set points for your end user, the next step is to assign levels for the wide range of points. Similar to a PlayStation game, you can scale levels one after the other on accumulating points. You can set a specific range of points for each level.
To add a new level:
- Click ADD NEW LEVEL on the Levels tab.
- Enter the name and the points you want to associate to the level.
Note: When you enter a number, the system automatically includes the number range. - When you add another level, the number range for the previous level auto-adjusts to match the next level. And, the last level always has the maximum number range.
Earn Badges
For every level that you add to gamification, you can associate a default badge or a custom badge to it.
To add a default badge on the Levels tab:
- On the Levels tab, click New Badge to the right of the appropriate level, as shown in the image below.
- Select one of the default badges displayed on the page.
Note: The selected badge appears in the associated level.
To add a default badge on the Badges tab:
- On the Badges tab, click New Badge.
- Do one of the following:
- Click Change to select one of the default badges.
- Or, click Upload to choose a custom badge from your local folder.
Note: Ensure that the size of the image does not exceed 20 MB. - Enter the following:
- Name - Enter a name for the badge
- Type - Select default from the drop-down list
- Description - Enter a description or additional information for the badge
- Levels - Click Change and choose the required level from the Select Levels pane that is displayed to the right
- Name - Enter a name for the badge
- Click Save to create the badge.
Note: The badge appears in the Default badges section.
To delete a badge:
- Click the Edit icon at the appropriate level.
- Click the Cancel icon that appears on the badge.
Note: The badge is removed from the level.
To add a custom badge:
- On the Badges tab, click New Badge.
- Do one of the following:
- Click Change to select one of the default badges.
- Click Upload to choose a custom badge from your local folder.
Note: Ensure that the size of the image should not exceed 20 MB. - Enter the following:
- Name - Enter a name for the badge
- Type - Select either default or custom from the drop-down list
- Description - Enter a description or additional information for the badge
- Levels - Click Change and choose the required level from the Select Levels pane that is displayed to the right
- Add User - You can associate a user to the badge, which the user will directly receive
- Click Save to create the badge.
Note: The badge appears in the Custom Badges section.
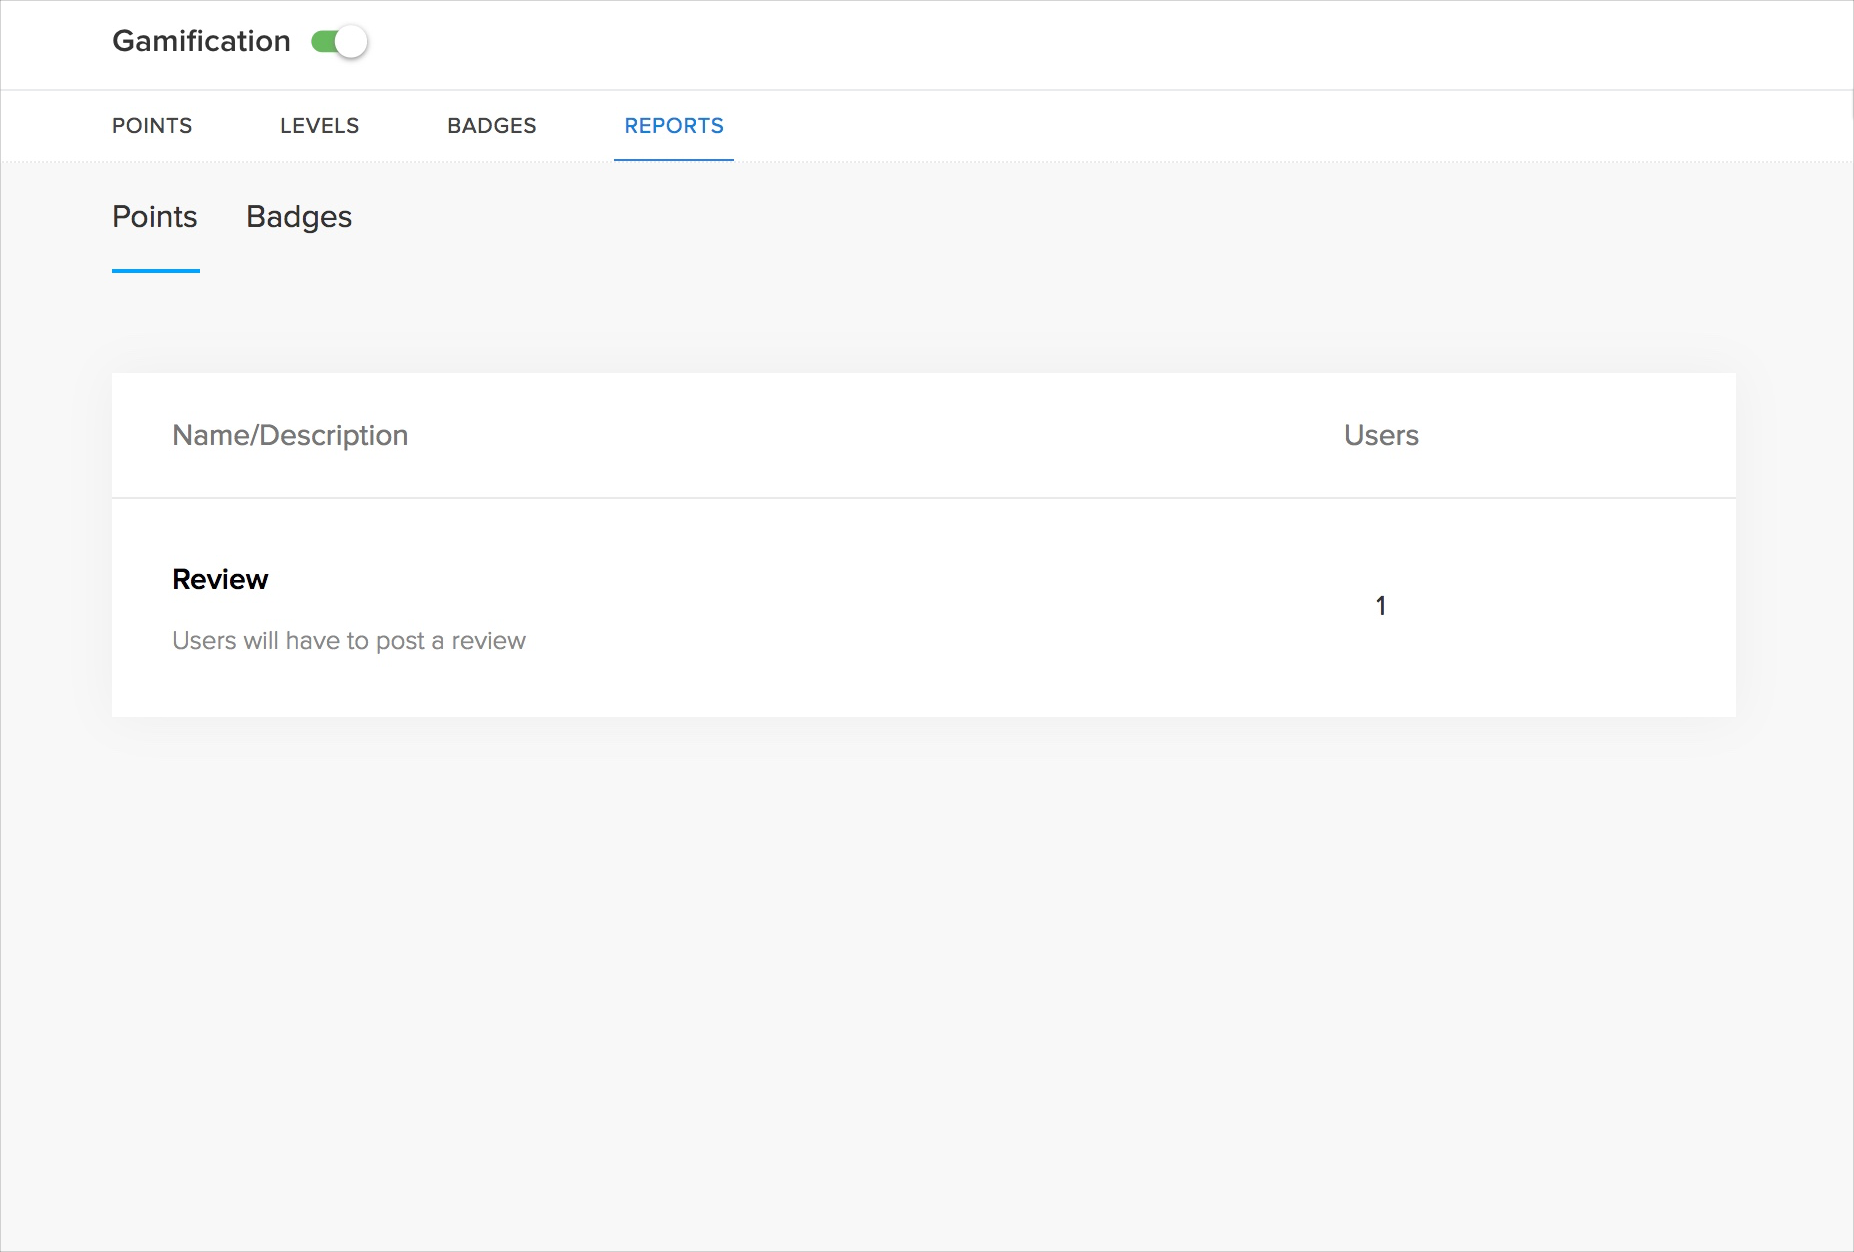
Generate Reports
In this section, you can view the custom points and the custom badges that you created. You can also see the number of users who are associated with the custom points and badges.
Custom Points Report
Custom Badges Report
Related Articles
Advanced Gamification
Advanced Gamification, powered by Zoho Motivator , helps you boost your sales using game mechanics. This integration provides real time insights on your Zoho CRM Sales data and helps you improve sales performance by creating contests to ...Setting up Community Forums
The community is a prominent support channel wherein people collaborate on topics of mutual interest. It typically consists of your customers who ask questions, seek support or initiate discussions on topics of common interest - all from a single ...Configuring Sync Settings
Configure your sync settings to keep all of your campaigns and contacts updated across both applications.You can push campaigns to Recruits to update contacts and campaign member status. To configure your sync settings, 1. Log in to Zoho ...Configuring POP Account
Set up email account via POP3 Zoho CRM lets you configure a Zoho Mail account or a third party email account via POP3. An important point to note here is that Zoho CRM uses Zoho Mail to get emails and display them within CRM. Therefore, whether you ...Configuring Data Backup
A reliable backup mechanism is crucial in restoring your data during crises. Zoho Vault allows you to securely back up your data to your email or cloud service (including Amazon S3, Box, DropBox, Google Drive, OneDrive, and Zoho WorkDrive). An ...