Departments
Departments allows you to create and manage multiple divisions within your organization. Departments can be classified based on your customer's organization, product, geographic location or workgroup. Each department can have its own set of technicians, email templates, email configuration, and contacts.
Enabling/disabling the department
Adding a department
- Go to Settings > Organization > Departments .
- Click on Add department .
- Fill in the department name, display name and provide a brief description about the department.
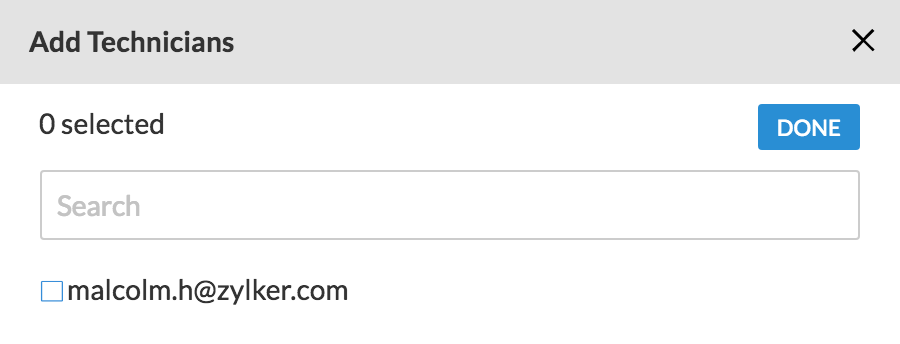
- Click on Add technician to add technicians to the department. Add at least one technician and click DONE .
- Click CONFIGURE to configure the department.
Note : To switch departments, click on departments besides ![]() placed in the toolbar at the top and select the preferred department using their display name.
placed in the toolbar at the top and select the preferred department using their display name.
Adding a technician
- Go to Settings > Organization > Departments .
- Click on CONFIGURE given beside the department to be configured.
- Select Technicians .
- Click ADD TECHNICIAN and select the check box besides the technician to be added.
- To remove technician click on
 besides the technician.
 - Unattended access group permissions given to the technician can be altered under Groups .

Note : On downgrading your plan, the created departments will be disabled. They can be enabled again by upgrading to Enterprise Edition.
Customizing the department
- Go to Settings > Organization > Departments .
- Click on CONFIGURE given beside the department to be configured.
- Select Email Templates to customize email templates.
- Select Email Configuration to configure your emails settings.
- Select Contacts to import contacts from Google or from your computer.
- Go to Settings > Organization > Departments .
- Choose either Active or Inactive and click on
 given beside the department to disable or enable the department.
Note : Once a department is added, it cannot be deleted. It can only be disabled.
Related Articles
Departments
Departments allows you to create and manage multiple divisions within your organization. Departments can be classified based on your customer's organization, product, geographic location or workgroup. Each department can have its own set of ...Departments in SalesIQ
To organize the support operation better and maximize the ability to connect with customers, SalesIQ uses departments, and each department can have its dedicated chat widget. You can only view the departments you are a part of, departments can either ...Managing Departments in your Help Desk
Departments are the various business divisions within your organization. They can be categorized based on your products, geographical locations or teams. Zoho Desk enables you to create departments and manage customer support individually for each of ...Add employees to group
Sign in to the Zoho One Admin Panel. Go to Groups and click the group to which you need to add employees. Click Add Members, then select the employees to be added. Assign their role in the group. Moderators: Moderators can add or remove members and ...Setup and Configuration
Find out how to set up Zoho Lens to optimize the way you use our software. Setup starts with rebranding Zoho Lens with your organization logo, creating a portal URL, and mapping your company's URL to Zoho Assist. You can then create multiple work ...