Email Authentication
Zoho Workerly provides email authentication standards that will allow the agencies to increase the trustworthiness of its email origin when it chooses to send emails from Zoho Workerly using their domain. To authenticate your emails sent from Zoho Workerly, you need to validate the following authentication standards:

Authenticating the email source consists of the following steps:
Step 1. Add your company's domain or subdomain
Adding your company's domains or subdomains is the first step for email authentication. Domain verification helps to ensure that the domain from which the emails are sent is authentic and trustworthy. To facilitate this, you have to add your company's email address and the domains or subdomains in Zoho Workerly.
Step 2. Verify the domain details
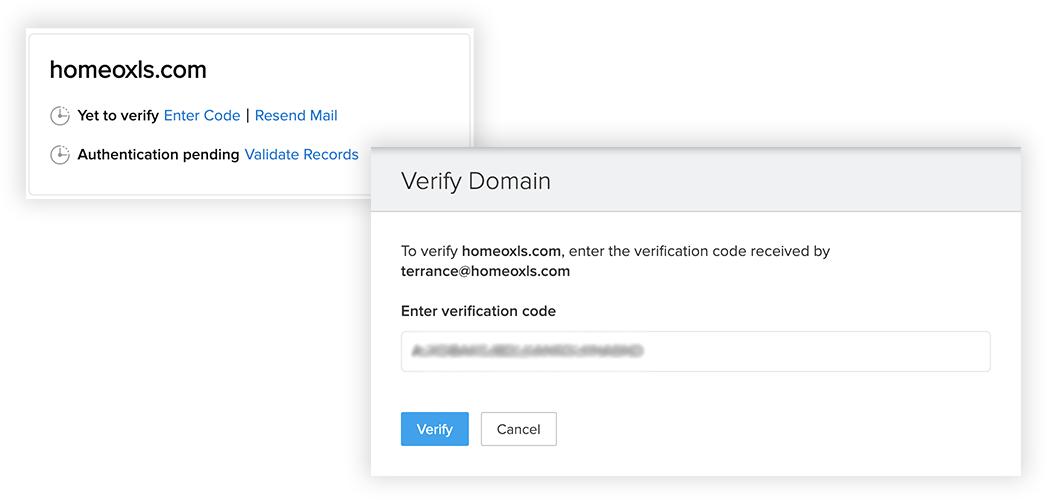
Once you add the domain, a verification code is generated and sent to the email address that should be entered to verify the domain details. The verification email is valid for 15 days, in case you do not receive an email or you have exhausted the validity period, you can use the Resend Mail link.
Step 3. Validate the records
Once the domain and subdomains details are verified, you can select either of the two email authentication standards to validate the email source:
DKIM - DKIM is used to ensure that the message has not been altered in transmission. It uses public key encryption to authenticate the email messages.
SPF - This authentication standard allows sending domains to define which IP addresses are allowed to deliver email messages on behalf of the domain.

Another authentication standard that the sending domains use to block fraudulent emails is DMARC (Domain-Based Message Authentication, Reporting, and Conformance). It is built as a combination of the DKIM and SPF standards with additional features like reporting, policy definition, and the notion of identity alignment. A domain needs to pass both SPF and DKIM to satisfy the DMARC regulation.
Add Your Company's Domain
1. Go to Setup > General > Email Settings > Email Authentication.
2. In the Email Authentication page, click Add Domain.
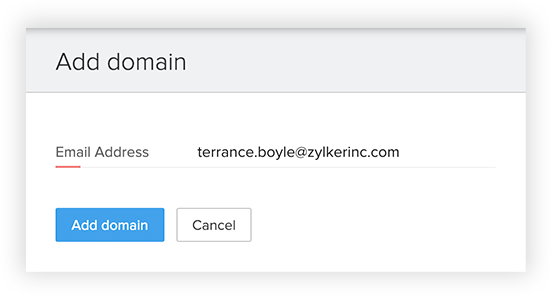
3. In the Add Domain popup, enter the email address.
4. Click Add Domain.
Verify the Domain Details
To verify the domain and subdomain details:
2. In the Verify Domain popup, enter the verification code.
3. Click Verify.

Validate the Records
Related Articles
Email Authentication
In this digital era email forms a major part of communication in every business or organization. Companies often use different domains to deliver the message to its recipients. In such cases it's crucial to establish an email policy that can define ...Email Authentication
In this digital era email forms a major part of communication in every business or organization. Companies often use different servers or domains other than their server to deliver the message to its recipients. In such cases it's crucial to ...Domain Authentication
Email marketing is constantly subjected to spamming and spoofing affecting the business in the long term. We as marketers have often found our inboxes filled with spam messages. Most of those email senders seem familiar to us but are actually not who ...Domain Authentication
Email marketing is constantly subjected to spamming and spoofing affecting the business in the long term. You, as an email user, would often find your inboxes with spam messages. Most of those email senders seem familiar to you but are actually not ...Using Authentication Token
The Zoho Recruit API is available in all editions of Zoho Recruit. To use the API, you'll require the Zoho Recruit Authentication Token from your Recruit account. Please make sure that you have the permission to access the API service. If you do not ...