How to install and use Zoho Campaigns plugin in WordPress
Zoho Campaigns plugin for WordPress allows your blog visitors to subscribe to your mailing list. All you need is to create a mailing list based sign-up form which can be embed in your website/blog using a short code.
Zoho Campaigns has updated the WordPress plugin and offers integration with WordPress in the latest version. Take a look at the latest version of the plugin.
Install the Zoho Campaigns Plugin in WordPress
1. In your WordPress admin panel, go to Plugins and click Add New.
2. Search for Zoho Campaigns plugin for WordPress.
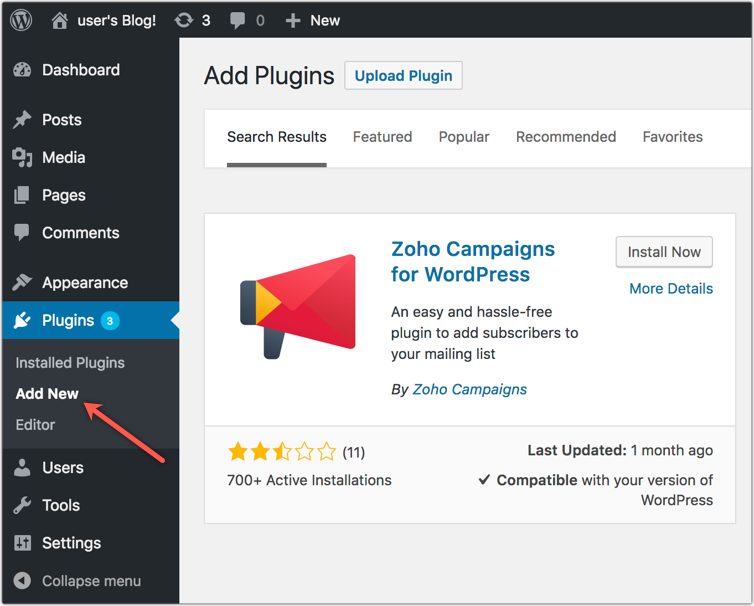
3. Click the Install Now button to activate the plugin.
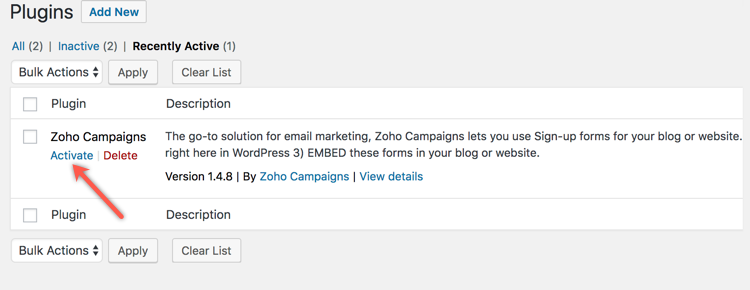
4. Navigate to Installed Plugins and click Activate.
Integration/API Settings
Once you install the Zoho Campaigns plugin on WordPress, you need to integrate your Zoho Campaigns account with WordPress using an authentication token called API key.
To integrate your Zoho Campaigns account, follow the steps below:
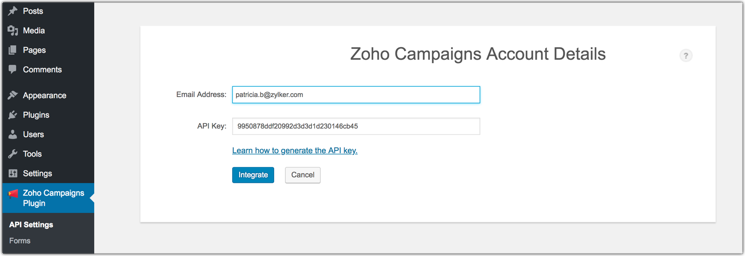
1. Go to Zoho Campaigns Plugin and click API Settings.
2. Enter the following information,
- Email Address – Your email address used in Zoho Campaigns account.
- API Key – An authentication code unique to your Zoho Campaigns account.
3. Click the Integrate button to proceed.
Now, you have integrated your Zoho Campaigns account with WordPress. You can proceed to create sign-up forms and embed them in your blogsite.

Use case
What should I do if the integration is not working?
Your API key might not be working. Contact our support team so they can regenerate your API key. Then update your plugin with the new API key.
Sign-up Forms
You can choose any of the pre-designed sign-up forms you've created in Zoho Campaigns or design a new sign-up form for capturing basic information.
Features
- Create sign-up form from scratch
- Add and Edit form fields, change background colors, font style, etc.
- Display of pre-designed sign-up forms from Zoho Campaigns
- Availability of different formats such as Form Embed Code, Button Code, and Quick Form
How to create a sign-up form in WordPress?
There are two ways to create sign-up forms for your WordPress. You can either make use of existing sign-up forms from your Zoho Campaigns account or create sign-up forms in your Zoho Campaigns plugin for WordPress.
To create a new sign-up form, follow the steps below:
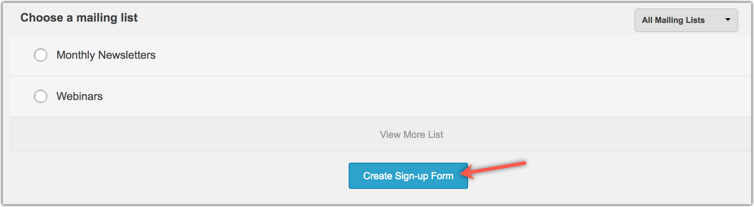
- Go to Zoho Campaigns Plugin and click Forms.
- Choose a mailing list to which, you want the visitors to subscribe.
- Click the Create Sign-up Form button.
4. Under create a form (present on RHS), click the Create button to create your own customized sign-up form.
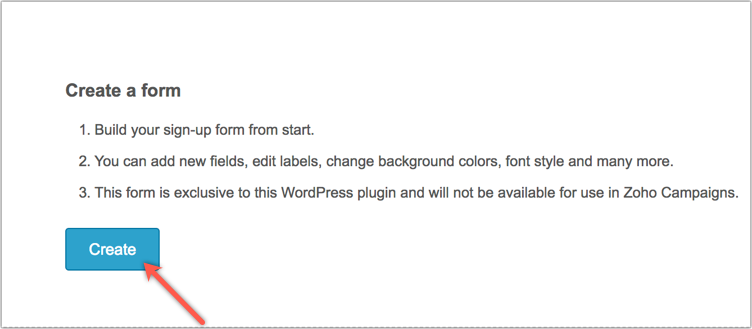
This will take you to the sign-up form page, where you can customize the form and edit fields, form, text label, etc.
Use cases
1. How many forms can I have for a mailing list?
You can have two sign-up forms for a mailing list: one local form, which you create within the plugin, and one Zoho Campaigns form. A mailing list can have no more than two sign-up forms.
2. How can I make modifications to an associated sign-up form in the Zoho Campaigns plugin?
- Select Forms under Zoho Campaigns Plugin.
- Click the Edit link beside the corresponding sign-up form.
- Choose the updated form and click Proceed.
- Click Save Changes.
How to customize sign-up forms?
Once you click the create button, you’ll land in the sign-up form customization page where you edit fields, form, text label, etc.
Edit Fields
Here you can do the following,
- Select the checkbox if you want a field to be reflected in your form.
- Edit the field text for a particular field.
- Rearrange the order of fields in sign-up form using drag and drop icon.
- Edit form title and button text.
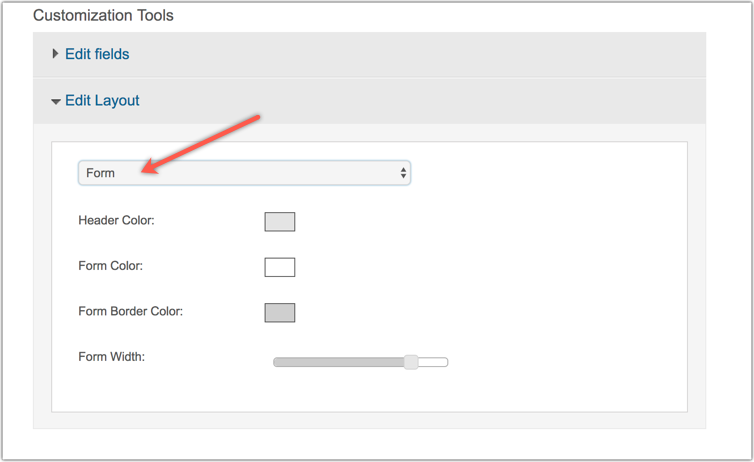
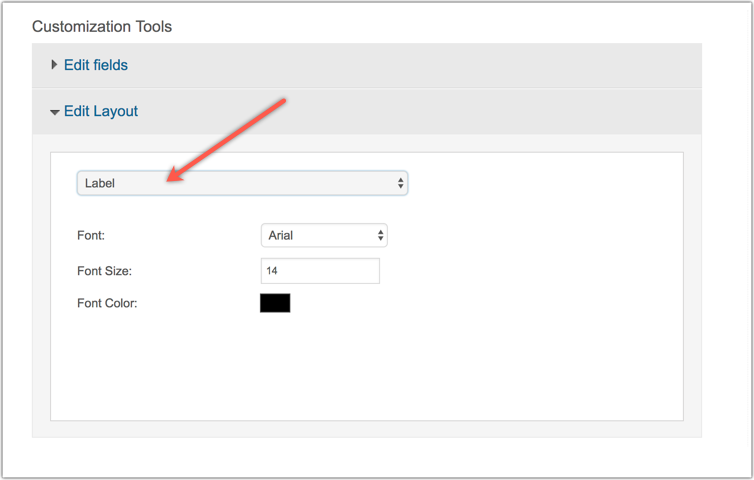
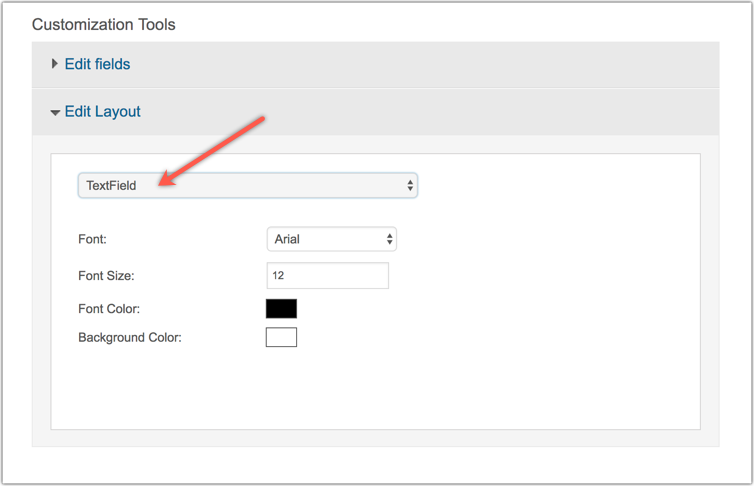
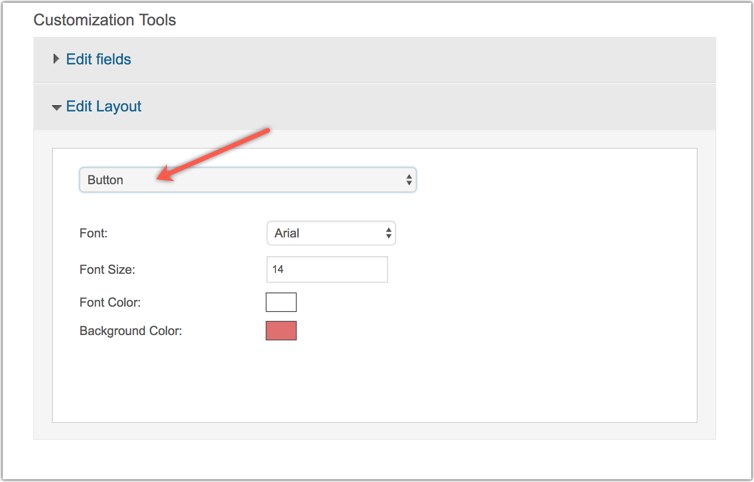
Edit Layout
- Form - You can customize the header color, form color, border color and form width.
- Title - You can customize the font style, font size and font color.

- Label - You can customize the font style, font size and font color.
- Text Field - You can customize the font style, font size, font color and background color.
- Button - You can customize the font style, font size, font color and background color.
Alternately, you can navigate through the forms available in your Zoho Campaigns account and select from already existing pre-designed sign-up forms.
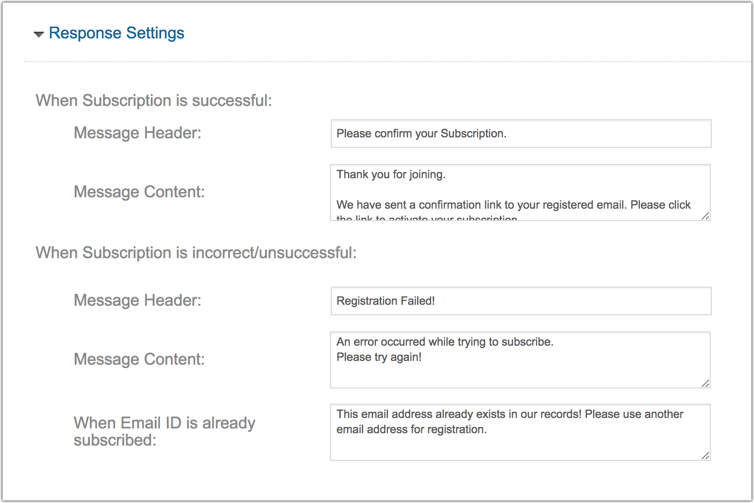
How to customize the message for sign-up form responses?
When Subscription is successful
You can draft a header and content for the message that your subscription was successful.
When subscription is incorrect/unsuccessful
You can customize the title and message content on why the subscription was unsuccessful.

- This form is exclusive to this WordPress plugin and will not be available for use in Zoho Campaigns.
How to embed sign-up forms in website or blog post?
You can embed the form by copying the shortcode (for e.g. `[zc4wp_sa79]`) and pasting it in your website or blog posts.
To view the shortcode, follow the steps below:
- Navigate to Forms.
- In Sign-up Form Repository Page, go to mailing list.
- Copy the short code relevant to sign-up form.
- Embed the code in your website/blog.

Use cases
1. What can I do if my shortcode doesn't work?
Some editor plugins replace special characters as follows:
* '[' will be replaced with '['
* ']' will be replaced with']'
This might be one of the reasons your code isn't working. To avoid this, make sure to choose the Raw HTML option as your editor format. If that option isn't available, use a HTML editor to embed short code.
2. What can I do if my plugin is not functioning?
If you are using many plugins, some conflicts may arise between them and cause a plugin to stop working. If this occurs, we need to setup a debug log to identify which plugin is causing the conflict.
To set up a debug log:
- Go to the file manager of your web hosting service.
- Make a backup of the wp-config file. Open the wp-config, and add these lines:
- define('WP_DEBUG', true);
- define('WP_DEBUG_LOG', true);
- Go to the Campaigns plugin and repeat the operations until the point where the conflict originated or simply refresh the page that is not working.
- Navigate to the content folder and open the debug log file. Send the debug log to our support team so we can resolve the conflict.
- Later, restore the wp-config file with the backup.
- Setting up the debug log is a one-time process. The same file can be used if any further conflict arises.
Related Articles
Zoho Campaigns' integration with WooCommerce
Using the simple integration with WooCommerce, seamlessly bring your store's data into Zoho Campaigns and start sending targeted emails right away. Learn how to install the Zoho Campaigns plugin for WordPress and WooCommerce. Take a look at how you ...Zoho Campaigns plugin for WordPress - Version 2.0
Connect WordPress with your Zoho Campaigs account, import your signup forms from Campaigns and embed them in your webpages and grow your contact lists substantially. Make the best out of sophisticated automation for your WooCommerce store and earn a ...How do I add a Zoho Campaigns plugin in WordPress?
Login to your Wordpress account. In your WordPress admin panel, open Plugins and select Add New. Search for Zoho Campaigns plugin for WordPress. Click Install now to activate the plugin.WordPress
Live Chat and Visitor Tracking Software for WordPress Like many of you, we are among the millions of WordPress fans. We know you love WordPress because it is easy to setup, easy to configure to fit your specific needs and extremely powerful. Which is ...Zoho MarketingHub plugin for WordPress
Zoho MarketingHub plugin for WordPress allows you to monitor the activities in your web pages and posts, and analyze their performance using the web assistant tracking code, and also allows your website/blog visitors to subscribe to your mailing ...