How to integrate with third-party apps
You can integrate your Zoho Campaigns account with various third-party applications so that you can import contacts from various products.
Integrate with Eventbrite
1. From the Navigation toolbar, click Settings.
2. Choose Apps under Integration.
3. Mouse over Eventbrite and click Connect.
4. To comply with GDPR, we inform the activities that will be performed after integration,
- Import contacts.
- Send campaigns about an event.
5. Click Continue.
6. Log in to your Eventbrite account.
What happens if I deny/change my Eventbrite account integration?
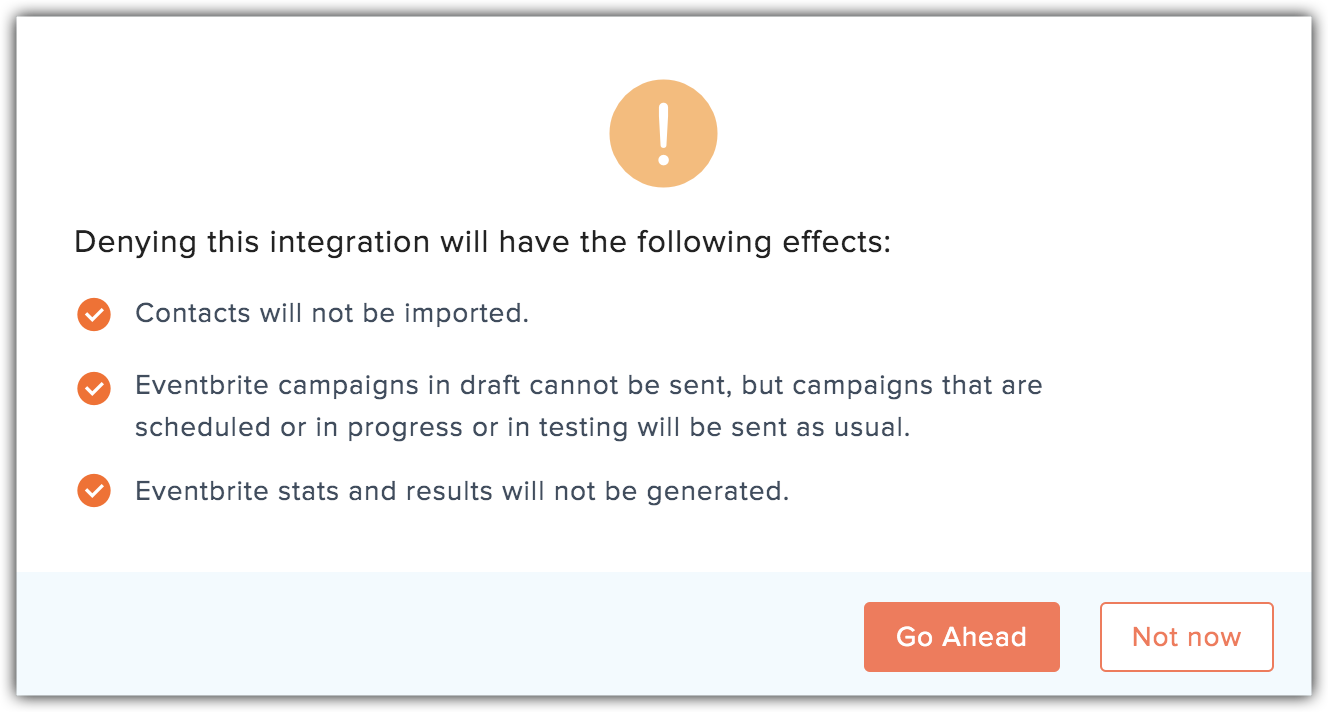
If you deny/change Eventbrite integration:
- You can't import your contacts from Eventbrite.
- Eventbrite campaigns in the draft cannot be sent.
- Eventbrite stats and results will not be generated.
Denying access to Eventbrite
1. From the Navigation toolbar, click Settings.
2. Choose Apps under Integration.
3. Mouse over Eventbrite and click View Details.
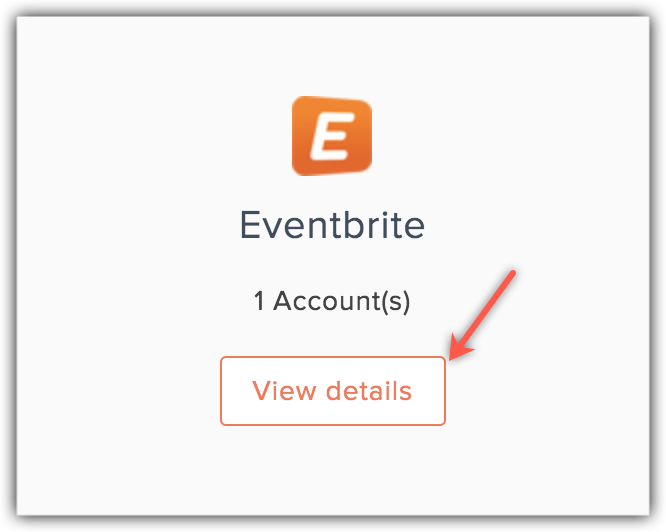
4. Click the Deny button beside the account name.
5, Click Go Ahead.
Change Eventbrite account
1. From the Navigation toolbar, click Settings.
2. Choose Apps under Integration.
3. Mouse over Eventbrite and click View Details.
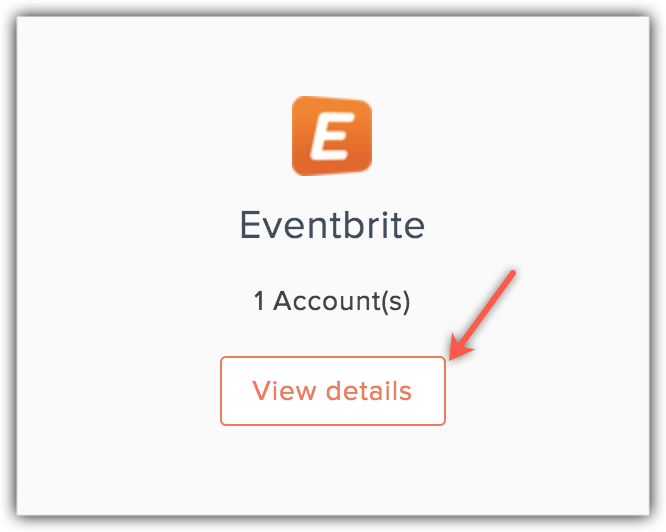
4. Click the Change button beside the account name.
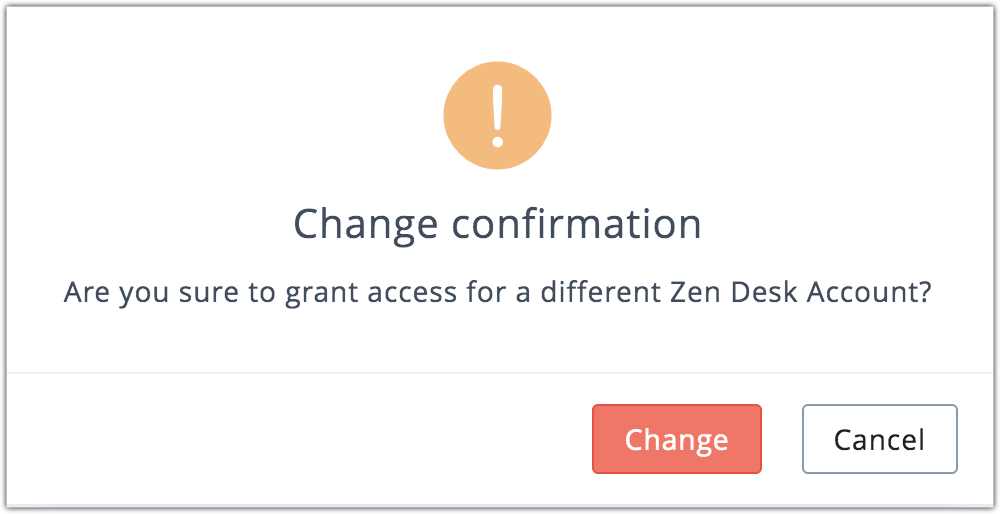
5. Click Change in the Change confirmation popup and Log in to another account to allow access.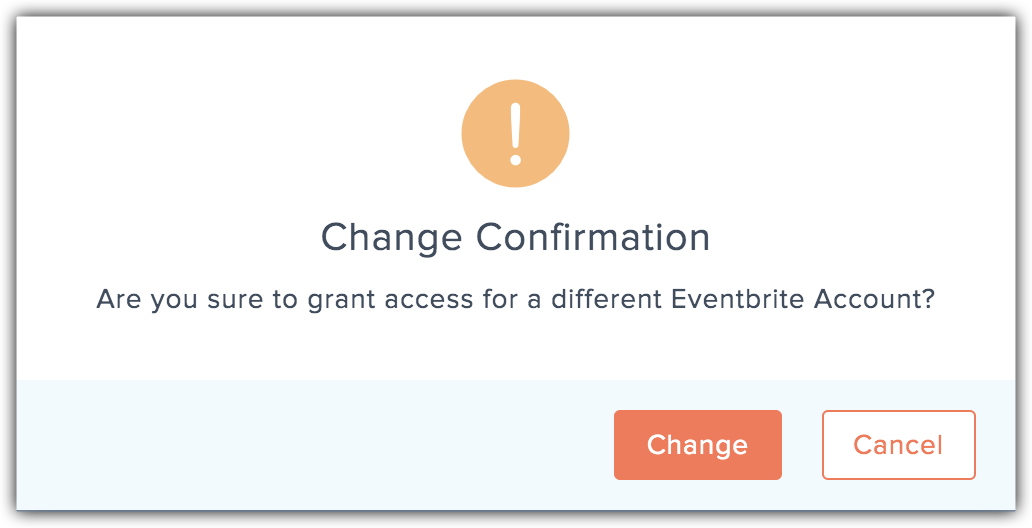
Integrate with SurveyMonkey
1. From the Navigation toolbar, click Settings.
2. Choose Apps under Integration.
3. Mouse over SurveyMonkey and click Connect.
4. To comply with GDPR, we inform the activity that will be performed after integration,
- Send out the surveys created using your SurveyMonkey account, as email survey campaigns
5. Click Continue.
6. Log in to your account.


What happens if I deny/change my SurveyMonkey account integration?
If you deny/change SurveyMonkey integration,
- You cannot send the SurveyMonkey campaigns that are in the draft, but campaigns that are scheduled or in progress or in testing will be sent as usual.
Denying access to SurveyMonkey
1. From the Navigation toolbar, click Settings.
2. Choose Apps under Integration.
3. Mouse over SurveyMonkey and click View Details.
4. Click the Deny button beside the account name.
5. Click Go Ahead.
Change SurveyMonkey account
1. From the Navigation toolbar, click Settings.
2. Choose Apps under Integration.
3. Mouse over SurveyMonkey and click View Details.
4. Click the Change button beside the account name.
5. Click Change in the Change confirmation popup, log in to another account and, allow access.
Integrate with Shopify
1. From the Navigation toolbar, click Settings.
2. Choose Apps under Integration.

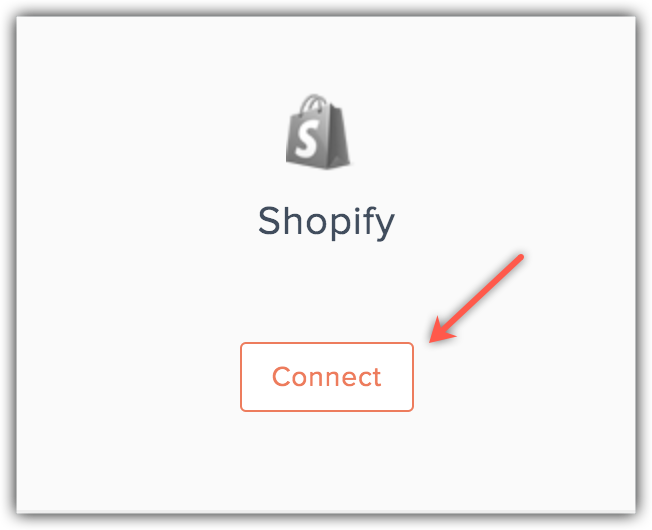
3. Mouse over Shopify and click Connect.
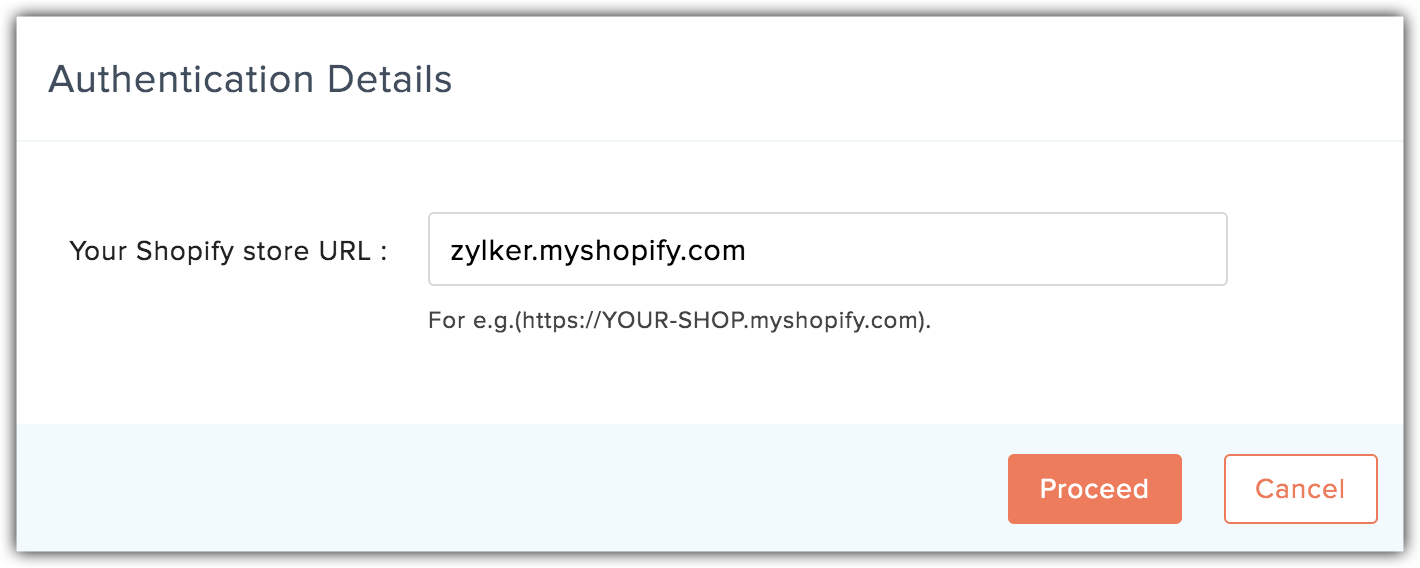
4. Enter Your Shopify store URL and click Proceed.
5. To comply with GDPR, we inform the activities that will be performed after integration,
- Sync contacts from your Shopify account.
- Send campaigns about your Shopify products.
- Track the recipients who have purchased your product.
- Generate E-commerce reports and the summary of your campaigns.
6. Click Continue.
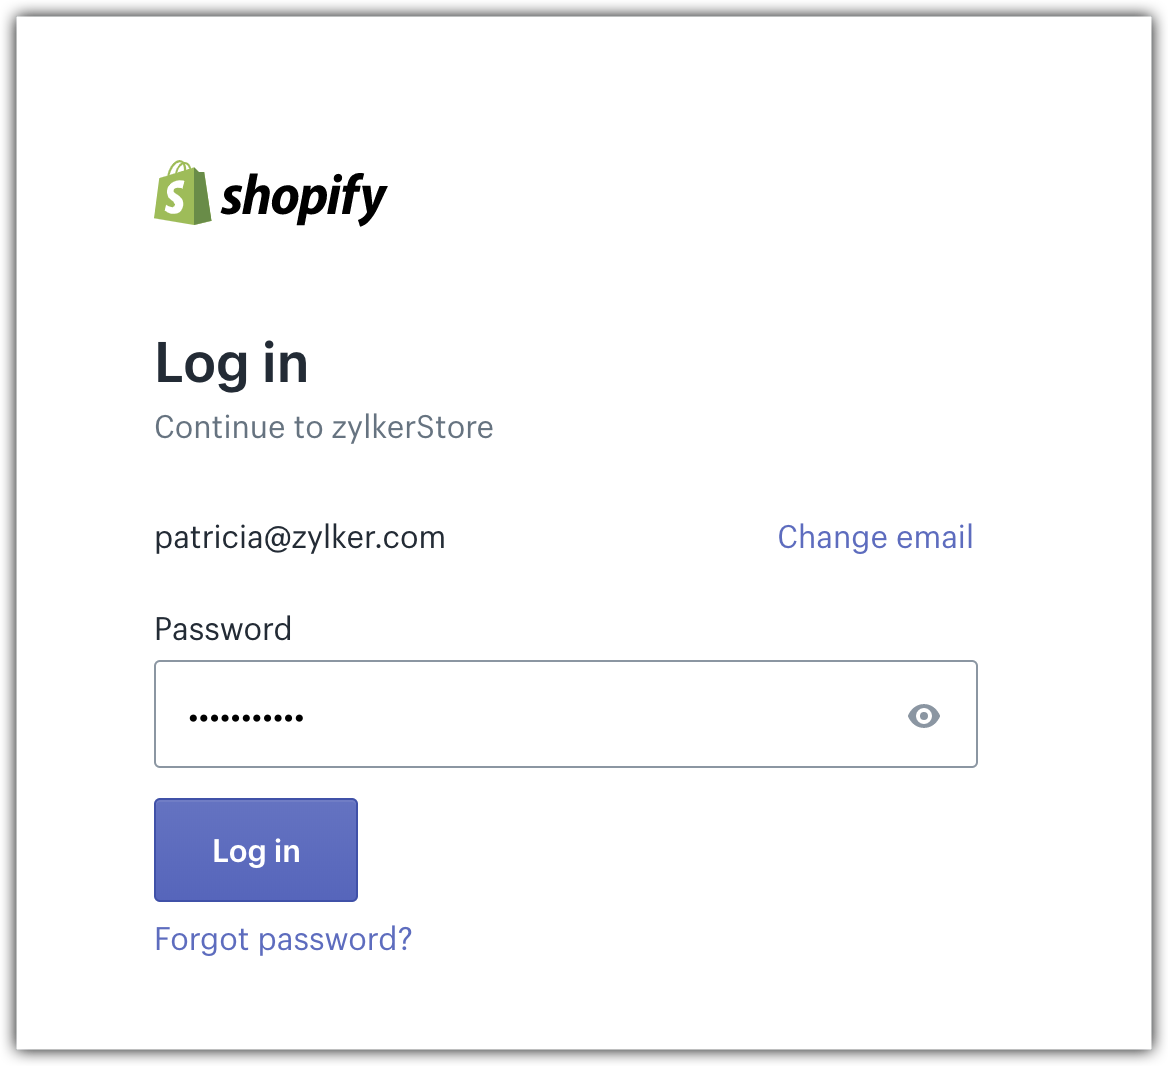
7. Log in to Shopify and install Zoho app in your Shopify account to associate the accounts.
What happens if I deny my Shopify account integration?
If you deny/change Shopify integration
- The contacts in your Shopify account will not be imported.
- Shopify campaigns in the draft cannot be sent, but campaigns that are scheduled or in progress or in testing will be sent as usual.
- Recipients who have purchased your products won't be tracked.
- E-commerce reports and the summary of your campaigns won't be generated.
Denying access to Shopify
1. From the Navigation toolbar, click Settings.
2. Choose Apps under Integration.
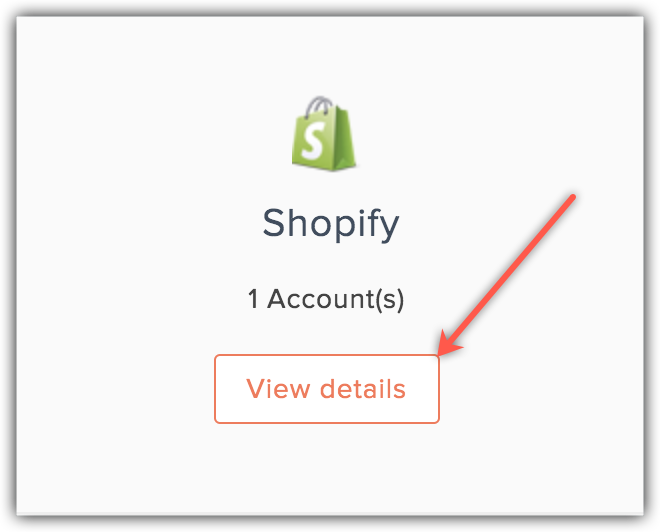
3. Mouse over Shopify and click View Details.
4. Click the Deny button beside the account name.
5. Click Go Ahead.
Integrate with Office 365
1. From the Navigation toolbar, click Settings.
2. Choose Apps under Integration.
3. Mouse over Office 365 and click Connect.
4. To comply with GDPR, we inform the activities that will be performed after integration,
- Import contacts from Office 365 account to Zoho Campaigns.
- Create events in your Office 365 calendar when a campaign is scheduled or sent.
5. Click Continue.
6. Log in to your Office 365 account.


 Note:
Note:- You can get Zoho Campaigns app from Microsoft AppSource. Click here to learn more
- You can get Outlook add-in of Zoho Campaigns from Microsoft AppSource. Click here to learn more
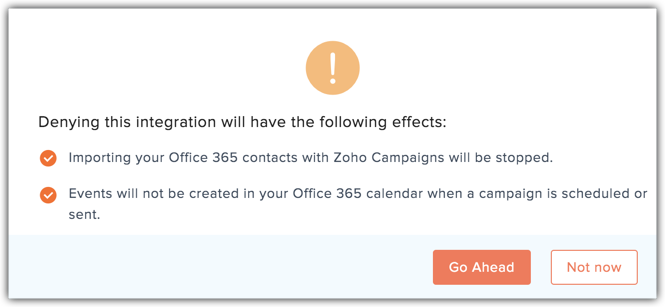
What happens if I deny/change my Office 365 account integration?
If you deny/change Office 365 integration:
- You cant import your Office 365 contacts into Zoho Campaigns any further.
- Events will not be created in your Office 365 calendar when a campaign is scheduled or sent.
Denying access to Office 365
1. From the Navigation toolbar, click Settings.
2. Choose Apps under Integration.
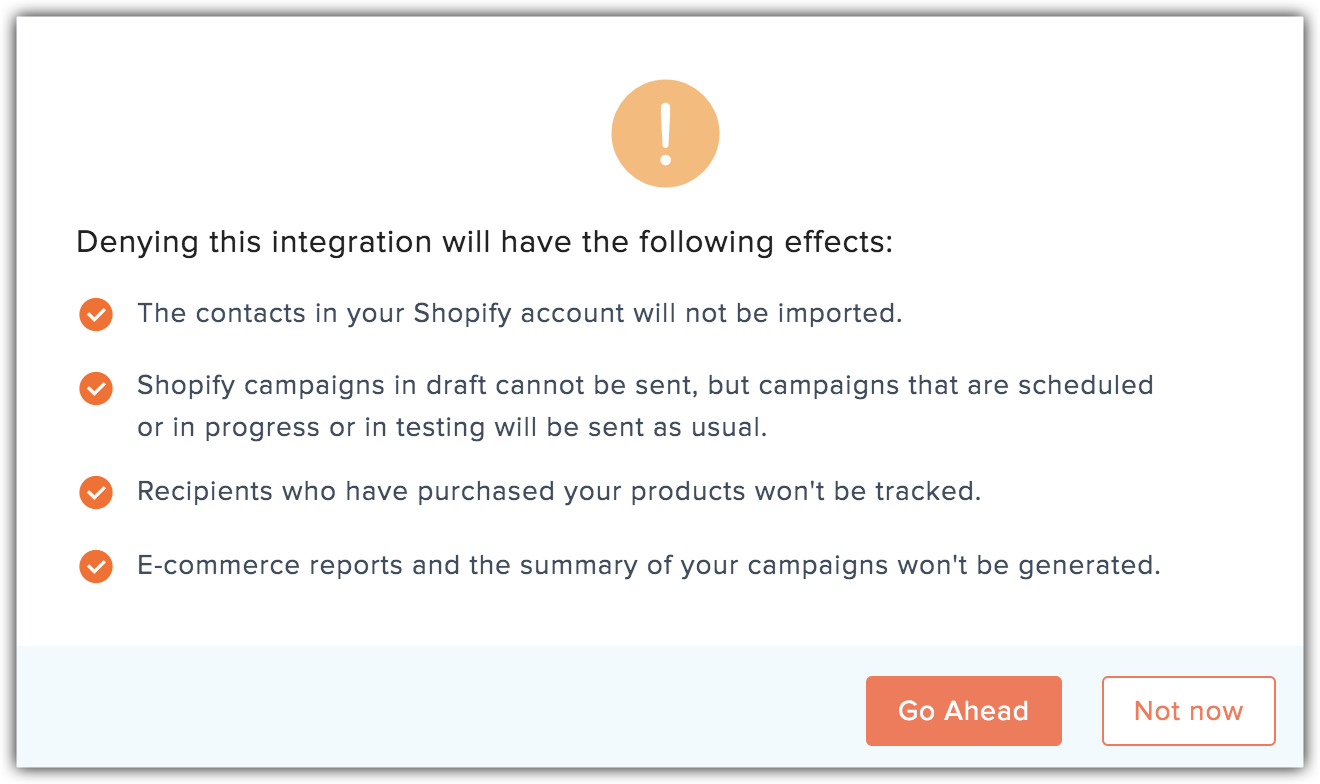
3. Mouse over Office 365 and click View Details.
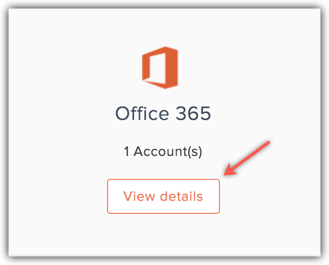
4. Click the Deny button beside the account name.
5. Click Go Ahead.
Change Office 365 Account
1. From the Navigation toolbar, click Settings.
2. Choose Apps under Integration.
3. Mouse over Office 365 and click View Details.

4. Click the Change button beside the account name.
5. Click Change in the Change confirmation popup, log in to another account and allow access.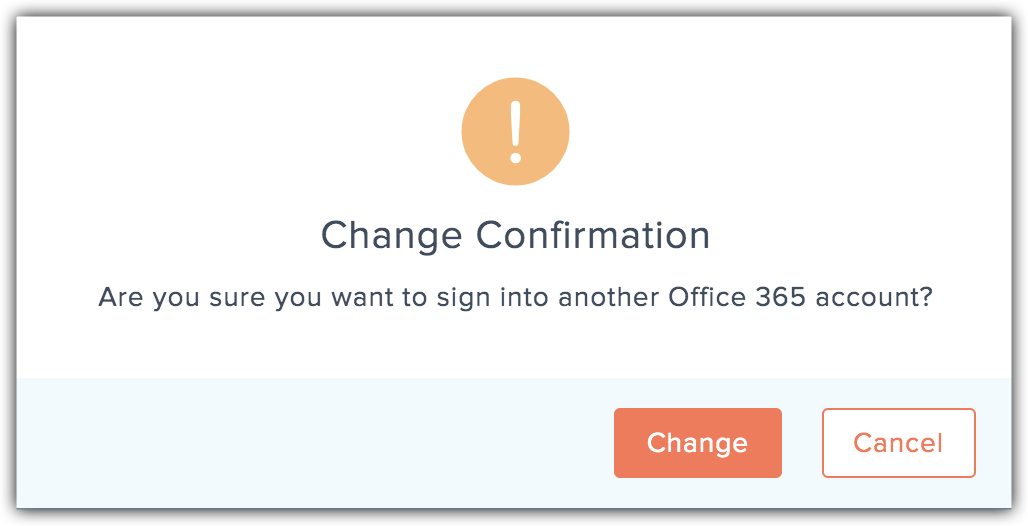
Integrate with PayPal
In your PayPal account, follow the steps to associate with your Campaigns account,
1. From the Navigation toolbar, click Settings.
2. Choose Apps under Integration.
3. Mouse over PayPal and click Connect.
4. To comply with GDPR, we inform the activity that will be performed after integration,
- Import the contacts based on the transaction taking place in your PayPal account.
5. Click Continue.
6. Select a mailing list.
7. An IPN URL for PayPal account is generated.
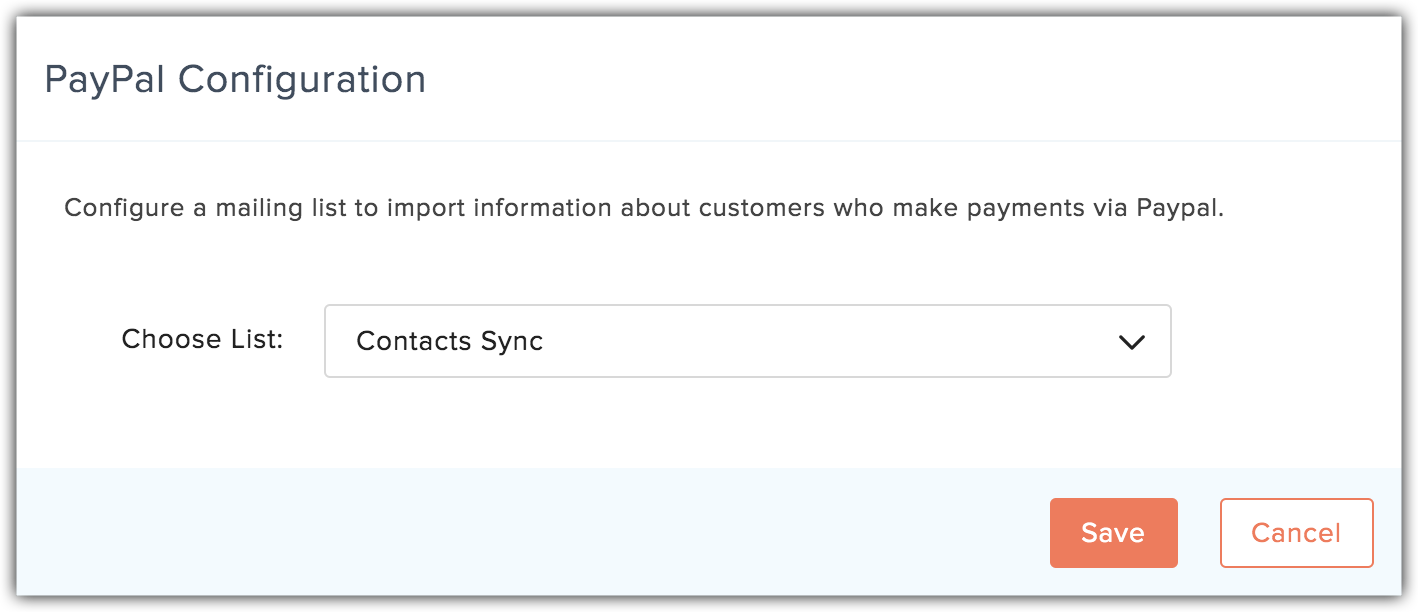
8. Log in to PayPal account with your credentials.
9. Click on Profiles and then choose Other Options.
10. Click on Selling Tools tab.
11. Click Update parallel to Instant Payment Notifications under Getting Paid and managing my risk section.
12. Update your IPN URL to integrate with PayPal.
What happens if I delete my PayPal account integration?
If you deny Paypal integration,
- Your contacts won't be updated into the selected lists.
Deleting access to Paypal
1. From the Navigation toolbar, click Settings.
2. Choose Apps under Integration.
3. Mouse over Paypal and click View Details.
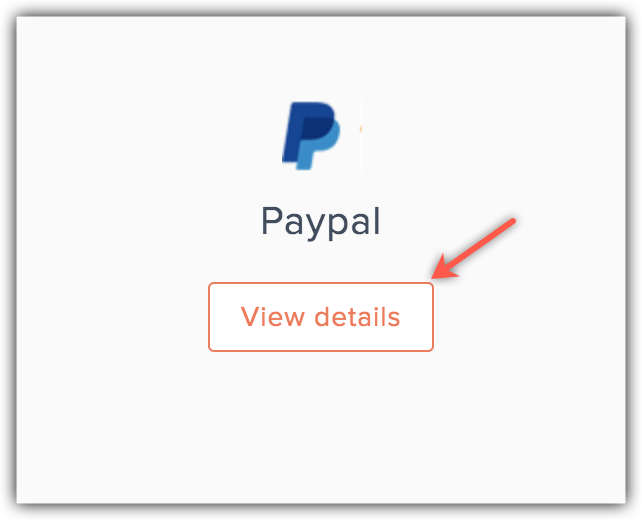
4. Click the Delete button beside the account name.
5. Click Go Ahead.
Integrate with GoToWebinar
1. From the Navigation toolbar, click Settings.
2. Choose Apps under Integration.
3. Mouse over GoToWebinar and click Connect. A popup will appear.
4. To comply with GDPR, we inform the activities that will be performed after integration,
- Import the details of your webinar registrants and attendees.
- View details about past webinars and upcoming webinars.
5. Click Continue.
6. Enter your GoToWebinar credentials and click Allow.


What happens if I deny/change my GoToWebinar account integration?
If you deny/change GoToWebinar integration:
- You can't activate new syncs.
- Import of details of your webinar registrants and attendees in exisiting active syncs will be stopped.
- You can't view details about your past webinars and upcoming webinars.
Denying access to GoToWebinar
1. From the Navigation toolbar, click Settings.
2. Choose Apps under Integration.
3. Mouse over GoToWebinar and click View Details.
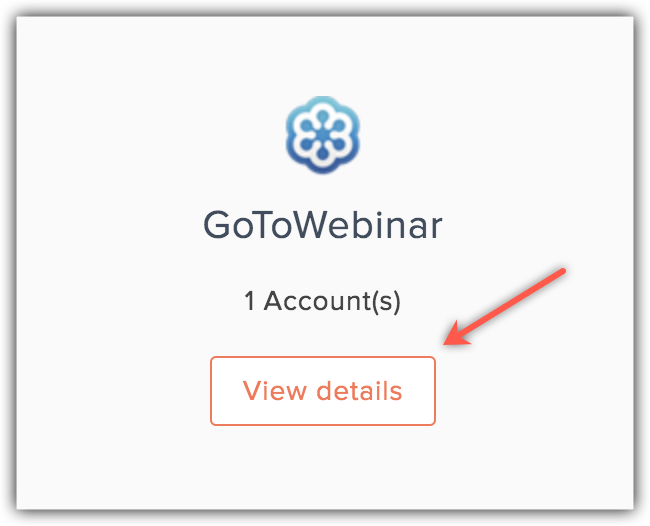
4. Click the Deny button beside the account name.
5. Click Go Ahead.
Change GoToWebinar Account
1. From the Navigation toolbar, click Settings.
2. Choose Apps under Integration.
3. Mouse over GoToWebinar and click View Details.

4. Click the Change button beside the account name.
5. Click Change in the Change confirmation popup, log in to another account, and allow access.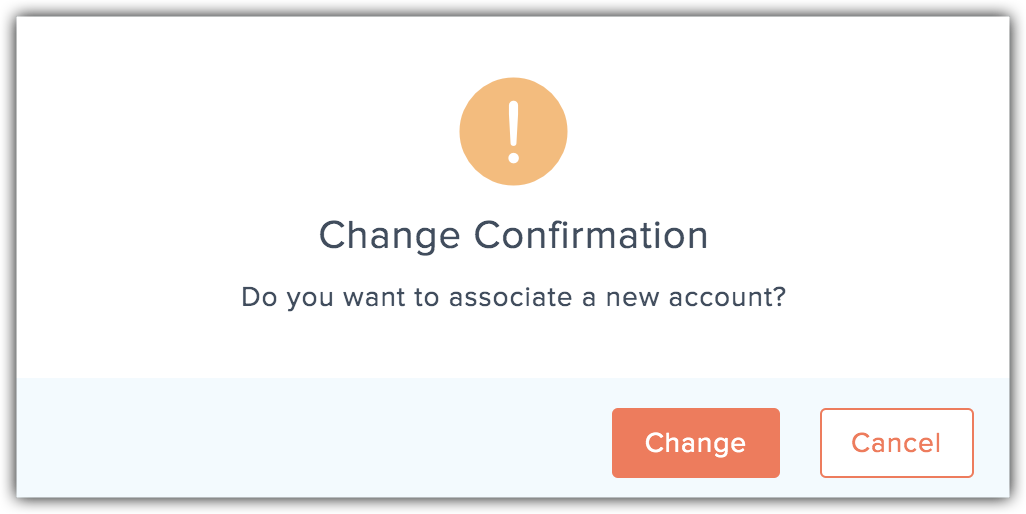
Integrate with Gravatar
You can enable Gravatar in Apps under Integration, to fetch and display your contact's Gravatar profile image in smart and detailed views of contact information.
Integration steps
1. From the Navigation toolbar, click Settings.
2. Choose Apps under Integration.
3. Mouse over Gravatar and click Enable.
4. To comply with GDPR, we inform the activities that will be performed after integration,
- We will use Gravatar to check for the profile image of your contacts. If there's no image available, we'll assign them a default one.
5. Click I Agree. Your contacts' Gravatar profile image will be updated in Zoho Campaigns.
 Note: You can disable Gravatar by clicking on Disable button available under Gravatar in Integrations page.
Integrate with Zendesk
To comply with GDPR, we inform the activities that will be performed after integration,
1. From the Navigation toolbar, choose Settings.
2. Select Apps under Integrations.
3. Mouse over Zendesk and click Connect.
4. Enter your Zendesk subdomain URL and click Proceed.
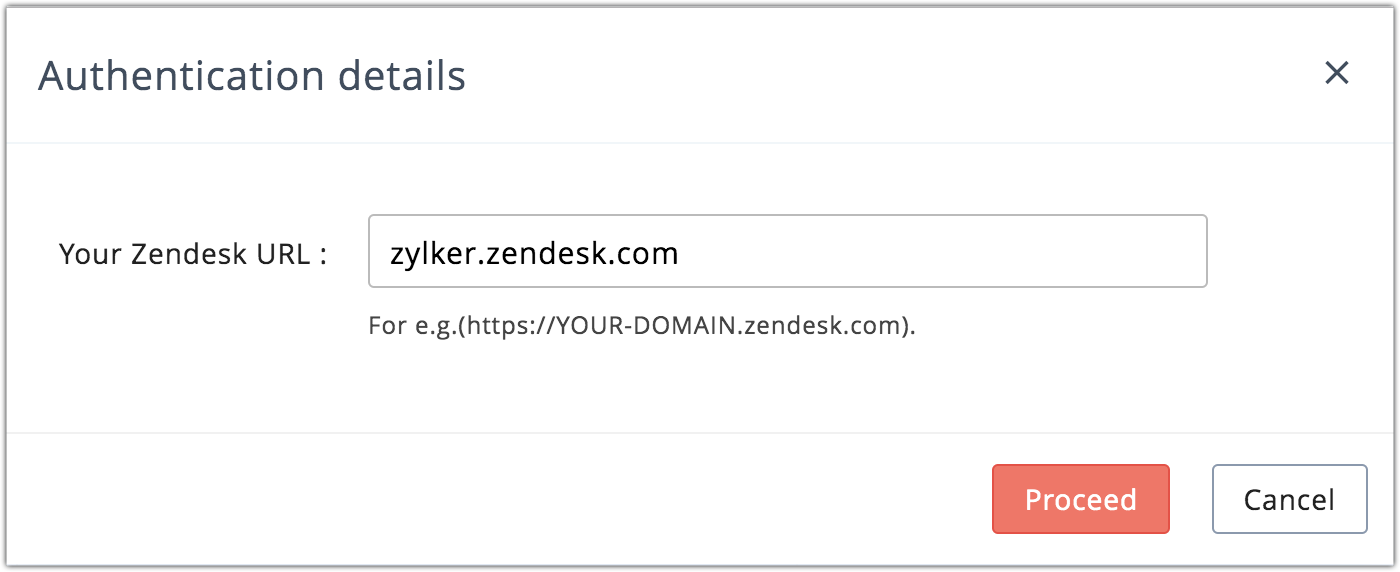
5. Sync contacts from your Zendesk account.
6. Click Continue.
7. Click Allow in the Zendesk authentication that follows to complete integration.
8. If you're not logged in at time of your integration, you'll be asked to login to your Zendesk account after step 6.
What happens if I deny my Zendesk account integration?
If you deny/change Zendesk integration
- Import of contacts from Zendesk will be stopped.
- Any active syncs will be aborted.
Denying access to Zendesk
1. From the Navigation toolbar, choose Settings.
2. Select Apps under Integrations.
3. Mouse over Zendesk and click View Details.
4. Click Deny button beside the account name.
5. Click Go Ahead.
Changing Zendesk account
1. From the Navigation toolbar, choose Settings.
2. Select Apps under Integrations.
3. Mouse over Zendesk and click View Details.
4. Click the Change button beside the account name.
5. Click Change. Then integrate your new account.
Connect Zapier
- From the Navigation toolbar, click Settings.
- Choose Apps under Integration Platforms.
- Mouse over Zapier and click View More.
- Click Connect with Zapier.
- Log in to your Zapier account and start making Zaps for Zoho Campaigns.
Integrate with Unbounce
Zoho Campaigns allows you to integrate with Unbounce to directly import contacts and send campaigns. Using this integration, you can transfer the contacts from landing pages created in Unbounce to mailing list in Zoho Campaigns.
Prerequisite
- An Unbounce landing page with a form that has an email field.
- An account in Zoho Campaigns.
In this section, you'll learn the procedure for integrating Zoho Campaigns and Unbounce.
- From the navigation toolbar, click Settings and choose Apps under Integration.
- Mouse over Unbounce and click Connect.
- To comply with GDPR, we notify about the following activities that will import your leads and other related information from Unbounce.
- Click Continue.
Integrate with Wistia
Zoho Campaigns integrates with Wistia, which allows you to import videos and use them in your email campaigns. With this integration, you can also view statistics and details of your contacts who viewed your videos. In this section, you'll learn the procedure for integrating Zoho Campaigns and Wistia.
- Mouse over Wistia, then click Connect.
- To comply with GDPR, we notify users that the following activities will be performed once the accounts are integrated.
- Import your Wistia videos.
- Push the details of the contacts who view your videos from Zoho Campaigns to Wistia.
- Click Continue.
Integrate with HubSpot
Integrating HubSpot with Zoho Campaigns helps you to import leads and contacts from the Contacts, Companies, and Deals module into Zoho Campaigns. You can set up a sync to schedule periodic syncing of all your contacts and leads between HubSpot and Zoho Campaigns on a daily, weekly, or monthly basis. This integration lets you plan your email campaign, send it to your leads and contacts, measure the campaign's effectiveness, and analyze the results.
To integrate:
- From the navigation toolbar, select Settings and choose Apps under Integration.
- Scroll down to HubSpot and click Connect on hover.
- Click Continue after you're done taking a look at the activities that'll be performed with the integration.
- Enter your HubSpot account credentials and integrate the account.

Note:
- Only an administrator of the organization can integrate a HubSpot account.
- Standard Users do not have the privilege to integrate.
Integrate with Salesforce
You can set up a sync to schedule periodic syncing of all your contacts and leads between Salesforce and Zoho Campaigns on a daily, weekly, or monthly basis. This integration lets you plan your email campaign, send it to your leads and contacts, measure the campaign's effectiveness, and analyze the results.
To integrate:
- From the navigation toolbar, select Settings and choose Apps under Integration.
- Scroll down to Salesforce and click Connect on hover.
- Click Continue after you're done taking a look at the activities that'll be performed with the integration.
- Enter your Salesforce account credentials and integrate the account.
Related Articles
Connecting with third-party applications
Integrate with Eventbrite 1. From the Navigation toolbar, choose Settings. 2. Select Apps under Integrations. 3. Mouse over Eventbrite and click Connect. 4. To comply with GDPR, we inform the activities that will be performed after integration, ...Adding Apps - Overview
Zoho One supports adding and managing three different types of apps: Zoho apps These are the standard apps that came bundled with your Zoho One subscription. Marketplace apps These are Creator custom apps and single sign-on (SSO) connectors for apps ...What are the third party products integrated with Zoho Projects?
Zoho Projects is integrated with a bunch of third party tools such as Dropbox, Google Drive, Github, Bitbucket, and more such apps.Can I add code from a third-party service?
Yes, you can embed code for objects or <iframe> from third-party sites. Copy the code from the third-party service. Click Embed in the Elements tab. Click Code Snippet. Paste the code that you have copied into the text box. Click OK. Note: In ...Can I add code from third-party services?
Yes, you can embed code for objects or iframe from third-party sites. Copy the code from the third-party service. Click the Add icon in the top-right corner of your builder. Click +Element. Drag the Code Snippet element and drop it on your page. ...
