Instagram Publishing
Publishing and Scheduling Posts
Instagram posts can be published in the following ways on Zoho Social:
- Direct publishing from Zoho Social
- Publishing via Zoho Social (Mobile App) + Instagram App
This is determined by the type of Instagram Profile you own, that is:
- Business Profile
- Personal profile
With an Instagram Business Profile, you can access several features like direct publishing, commenting, and hashtag search. If you haven’t converted your Instagram account to a Business Profile yet, managing Instagram posts requires the use of the Zoho Social app and the Instagram app on your phone.
New to Instagram?
Head over to this guide to find out how a Business Profile differs from a Personal Profile on Instagram.
Direct Publishing for Instagram Business Profiles
Follow these steps to directly schedule and publish posts to Instagram via Zoho Social:
- Switch to an Instagram Business Profile
- Connect your Instagram account with Zoho Social
- Authenticate your Business Profile with an associated Page on Facebook.
1. Switch to an Instagram Business Profile
- Go to your Instagram mobile app and head over to profile Settings.
- Under Accounts, tap Switch to Business Profile.
- Click Continue till you reach a screen that prompts you to Connect to Facebook.
- In order to switch to a Business Profile on Instagram, Facebook requires you to authenticate your Business Profile with a Facebook Page.
- Once you have signed in to the right Facebook account, select a Facebook Page that you'd like to associate with your Instagram Business Profile.
- Complete the steps by adding a few more details such as your email, phone, address, and profile's category.
- Click Done.
3. Authenticate your Instagram Business Profile with a connected Facebook Page
1) Go to Settings, select Social Channels, and click Set up Business Profile, next to the Instagram icon.
2) If you haven't switched to Instagram Business yet, you will see the following pop-up that instructs you to first switch to a Instagram Business Profile.
3) If you have an Instagram Business Profile, you'll view a pop-up that'll instruct you to authenticate your Business Profile with an associated Facebook Page.
4) Click Authenticate Now.
5) You will be prompted to authenticate your Instagram account by logging into the connected Facebook page.
6) Provide Zoho Social the permission to manage the Instagram account you've connected to Zoho Social by clicking OK.

 If you find yourself unable to complete this step, you'll want to make sure you've associated the right Facebook Page to your Instagram Business.
7) You can now enjoy features like direct publishing, commenting, and running hashtag searches on Zoho Social!
How Direct Publishing works for Instagram Business Profiles
Once you have switched to Instagram Business and authenticated your account by associating it with a Facebook Page, you can directly publish and schedule to your Instagram feed. However, do keep in mind the following points:
1. You can post/schedule only one image
Once you've enabled Direct Publishing for your Instagram Business account, you can directly publish and/or schedule one image or video—exactly how you would post to your Facebook Page, Twitter Profile, LinkedIn Page, LinkedIn Profile, and Google My Business, via Zoho Social. Do keep in mind that Instagram Direct Publishing does not support multiple images and videos due to API limitations.
However, if you want to continue posting multiple images or videos, Zoho Social will seek permission to continue posting natively via the Instagram app.2. Make sure the image is resized to match the uploading specifications by Instagram
Also, keep in mind that the image must fit the uploading requirements defined by Instagram to enable direct publishing. Here's a handy guide in case you want to check whether your image specifications match with each network’s upload criteria.
Notes for uploading an image
1. Multiple images & animated GIFs: These formats are currently not supported via the direct publishing feature.
2. Workaround for multiple-image upload: Switching to Instagram personal profile offers multi-image support. You can also upload multiple images natively from your Instagram mobile app.
3. Aspect ratio: The aspect ratio of an image you'd like to directly publish or schedule must be within the range of 4:5 (for Portrait) and 1.91:1 (for Landscape). The ideal aspect ratio we recommend for Instagram upload is 1: 1 (square image).
 Learn more about how you can modify aspect ratios for your Instagram images.
Specifications for uploading a video
Video upload is currently not available for Bulk Scheduler, and is not supported in the mobile app.When you schedule or publish a post containing media files that does not match the size criteria defined by Instagram, it will be moved to the Failed Posts section under the Posts tab. Learn more about rescheduling unpublished posts.Here's how you can directly schedule and publish Instagram Posts:
1) Click New Post on the top right-corner of the Home tab or the Posts tab.
2) At the top of the Publishing window, you'll notice that all the social channels are selected by default, except for Instagram. Once you have authenticated your Instagram Business Profile with a Facebook Page on Zoho Social, you can upload one image or video along with your caption.
3) Once you're done crafting your post, you choose the following options: Post Now, Custom Schedule, SmartQ, CustomQ, and Save as Draft.
- Publish Now: If you click Publish Now, your post will instantly go live on all the social channels you selected from the compose screen.
- Custom Schedule: The screen will display a calendar for you to choose a date and time to schedule your post. You can also choose to Repeat your post once every week or month till a period of time, and then click Schedule.
Repeat Post option is supported for Instagram Business Profiles only. Learn more about the best practices on Repeating Posts. - SmartQ: As you publish more content, SmartQ will start to predict the best time to post based on your audience engagement. If you don't find a date and time under SmartQ for some reason, you can click Custom Schedule to head back to the calendar view and then schedule your post.
If you're on your first week of using Zoho Social, SmartQ will not display publishing suggestions. It will need at least 7 days worth data to base its predictions on. - CustomQ: If you click CustomQ, the screen will display a pop-up box where you can add your post to a publishing Queue that you've set up for your Brand.
If you haven't yet set up Queue slots for your Brand already, go to Settings, click Publishing, select Queue Settings, and add Time Slots to your publishing Queue. Setting up a pre-determined schedule for your content is useful if you want to maintain a consistent posting schedule so your audience can expect to see content from you at regular intervals. A CustomQ helps you ensure that your content is spread out and avoid overlapping schedules. - Save as Draft: You can always choose to save your draft post by clicking on this option. You'll also have the option to save a draft post if you happen to close the compose screen before scheduling your post.
Reposting on Instagram
What is Reposting?
The Repost feature lets you share posts made from another Instagram user's account, while giving credit to the original author. This option is not natively provided by Instagram.
Why you should use the Repost feature
Reposting can help your brand in the following ways:
The Repost feature lets you share posts made from another Instagram user's account, while giving credit to the original author. This option is not natively provided by Instagram.
Why you should use the Repost feature
Reposting can help your brand in the following ways:
- Engage with posts that feature your customers or your products
- Curate relevant content for your audience
If you're using Instagram as a business, you can republish posts that showcase how people are using your products or services. You can also repost user-generated content that your audience will find interesting. Reposting is a great way to connect with authors who create original content as they are likely to appreciate reposts that bring more visibility to their content.
Getting started with Reposting
Only Instagram Business Profiles can repost images and videos on from the Hashtag search columns and pop-ups from the Monitor tab. Make sure you have authenticated your Instagram Business profile with an associated Facebook Page to continue reposting.
You can find additional sources of images and videos to Repost right from the Monitor tab. You can set up hashtag search columns in the Monitor tab to discover relevant posts that you’d like to repost for your audience.
Here's how you can create hashtag search columns from the Monitor tab:
- Head over to the Monitor tab
- Click the orange + on the bottom-right corner of the screen
- From the column on your right, select 'Hashtag Search', that appears under your Instagram username.
- Type in a hashtag that you want to monitor and then click Save.
- The Hashtag Search columns you've saved will appear on your Monitoring dashboard.
- You can also click on a particular hashtag that appears in one of your Instagram Hashtag Search columns, to view a pop-up of all the posts related to that hashtag.
Where can I find the Repost option?
You will find a Repost option on each Instagram post that you see in the Monitor tab. Follow these steps to repost content directly from the Monitor tab:
1) Click the Monitor tab on the left panel.
2) Go to any of your Instagram hashtag columns that you have created for likes, keyword or user searches.
3) You will see a Repost icon on posts as shown below in the all the Instagram hashtag search columns, like this:
4) You can also click on a particular hashtag to view all the posts related to that tag, in a pop-up like this:
5) Click the Repost icon that appears on the Instagram post you want to republish from the Hashtag pop-up or search column.
6) In the popup that appears, you will see an information strip that says "Please seek permission from the original photographer before you repost. Learn more". You can click the Learn More link to view the Terms and Conditions for Reposting before you proceed.
7) The content used in the original post will be automatically copied to your screen.
8) You can choose to edit the caption and then click the Repost button to share the post with your followers directly.
Currently, you will not be able to schedule Reposts.Best Practices for Reposting
You can always make the most of the Repost feature by making sure you:
- Have a healthy mix of original and reposted content in your feed
- Seek consent from the original author before reposting their content
It's important to make sure you have a variety of original posts and reposted content from other users on your Instagram feed. This way, your Business Profile has a higher chance of maintaining an authentic brand presence on Instagram. Your audience is also more likely to engage with posts that sound more human. Therefore, it's important to maintain a personal connection with your audience by spreading out original content that resonates with their interest.
It's also a good practice to reach out to the author of the post directly, before you repost their content. Checking with the author before you reuse their content helps make sure you have their consent. This also gives the author an opportunity to share additional contextual information that you may want to use in your caption. For instance, when a user mentions or tags you in a post that features your product, reposting it will help increase your brand's Instagram presence.
Before you go ahead and start reposting, here are a few best practices to keep in mind:
- Seek permission from the original author for sharing their post.
- Avoid making changes to the post in order to retain its authenticity.
- Give clear credit to the post creator in your caption.
For more information about the best practices for Reposting on Instagram, head over to our detailed Reposting Best Practice guide, or check out Instagram's terms and conditions about protecting users' intellectual property.
Viewing and Responding to Comments
You can view and respond to Instagram comments from Live Stream, Notifications, and the Posts tab.
Currently, it is not possible to view Likes and Post Mentions on Instagram due to API limitations.To view and respond to Instagram comments, you'll first need to follow these steps:
1) Make sure you've switched to an Instagram Business Profile.
3) Provide Zoho Social the permission to manage comments from your Instagram Business Profile while authenticating the profile with a Facebook Page.
4) Click Choose what you allow to make sure you've provided Zoho Social the required permissions to manage comments for the Instagram business profile that is connected to your Facebook Page.
5) Click OK to proceed.
5) Click OK to proceed.
Follow these steps to manage Instagram comments:
From the Live Stream
You can view entire threaded conversations and respond to comments received on your Instagram posts in real-time from Live Stream as shown below:
- Click on a Live Stream notification from the Home screen.
- Select a notification to view the post you published on Instagram along with the Comments and Like counts.
- You can directly engage with these comments by responding to them by clicking Reply.
- Type in your comment and then click Post. Your comment will go live instantly.
- Alternatively, you can also post a new comment on the post by clicking on the empty text box.
- Type in your comment and then click Post. The new comment will go live instantly.
From Notifications
Zoho Social lets you view entire conversations with a threaded view for all the comments on a post when you click on an Instagram notification. Follow these steps to view and respond to comments from Notifications:
- Click on the Notification icon from the top bar, next to Settings.
- Select a notification to view the post you published on Instagram along with the Comments and Like counts.
- You can directly engage with these comments by responding to them by clicking Reply.
- Type in your comment and then click Post. Your comment will go live instantly.
- Alternatively, you can also post a new comment on the post by clicking on the empty text box below the post.
- Type in your comment and then click Post. The new comment will go live instantly.
From Post Details
You can use this space to post comments and view the entire threaded conversation as soon as you get engagement updates from the posts published on your Instagram feed. Here's how you can post comments from the Posts tab:
- Head over to the Posts tab and then select the Instagram icon from the top bar to view all the posts under Published Posts.
- Click a particular post to view the Post Details, such as the date and time it was published, Like counts, and comments.
- You can directly engage with these comments by responding to them by clicking Reply.
- Type in your comment and then click Post. Your comment will go live instantly.
- Alternatively, you can also post a new comment on the post by clicking on the empty text box below the post.
- Type in your comment and then click Post. The new comment will go live instantly.
- You can click Post Stats to view the Potential Reach (number of people who are likely to have viewed the post) and the Stories Created (number of times people liked or commented on the post).
Publishing and Scheduling posts for Instagram Personal Profiles
If you've connected an Instagram Personal Profile to Zoho Social, you will not be able to directly schedule or publish posts via Zoho Social. You'll need the Zoho Social mobile app along with your web app to publish posts on Instagram. All your posts, regardless of the number of media files you choose to share—single or multiple images and videos, will be published with Zoho Social's mobile app and the Instagram app.
Before you start posting, keep in mind the following points:
- Check if you have the Zoho Social app and the Instagram app installed on your iOS or Android device.
- Make sure you have connected your Instagram account to Zoho Social on the web application.
- Turn on Notifications from the Zoho Social app on your device, to allow us to send you Instagram Publishing Notifications on the date and time for which you've scheduled your post.
Follow these steps to continue posting via Zoho Social app + Instagram:
1. Click  at the top right corner of your screen to access the compose screen.
2. From the drop-down on your compose screen, select the Brand for which you'd like to make the post.
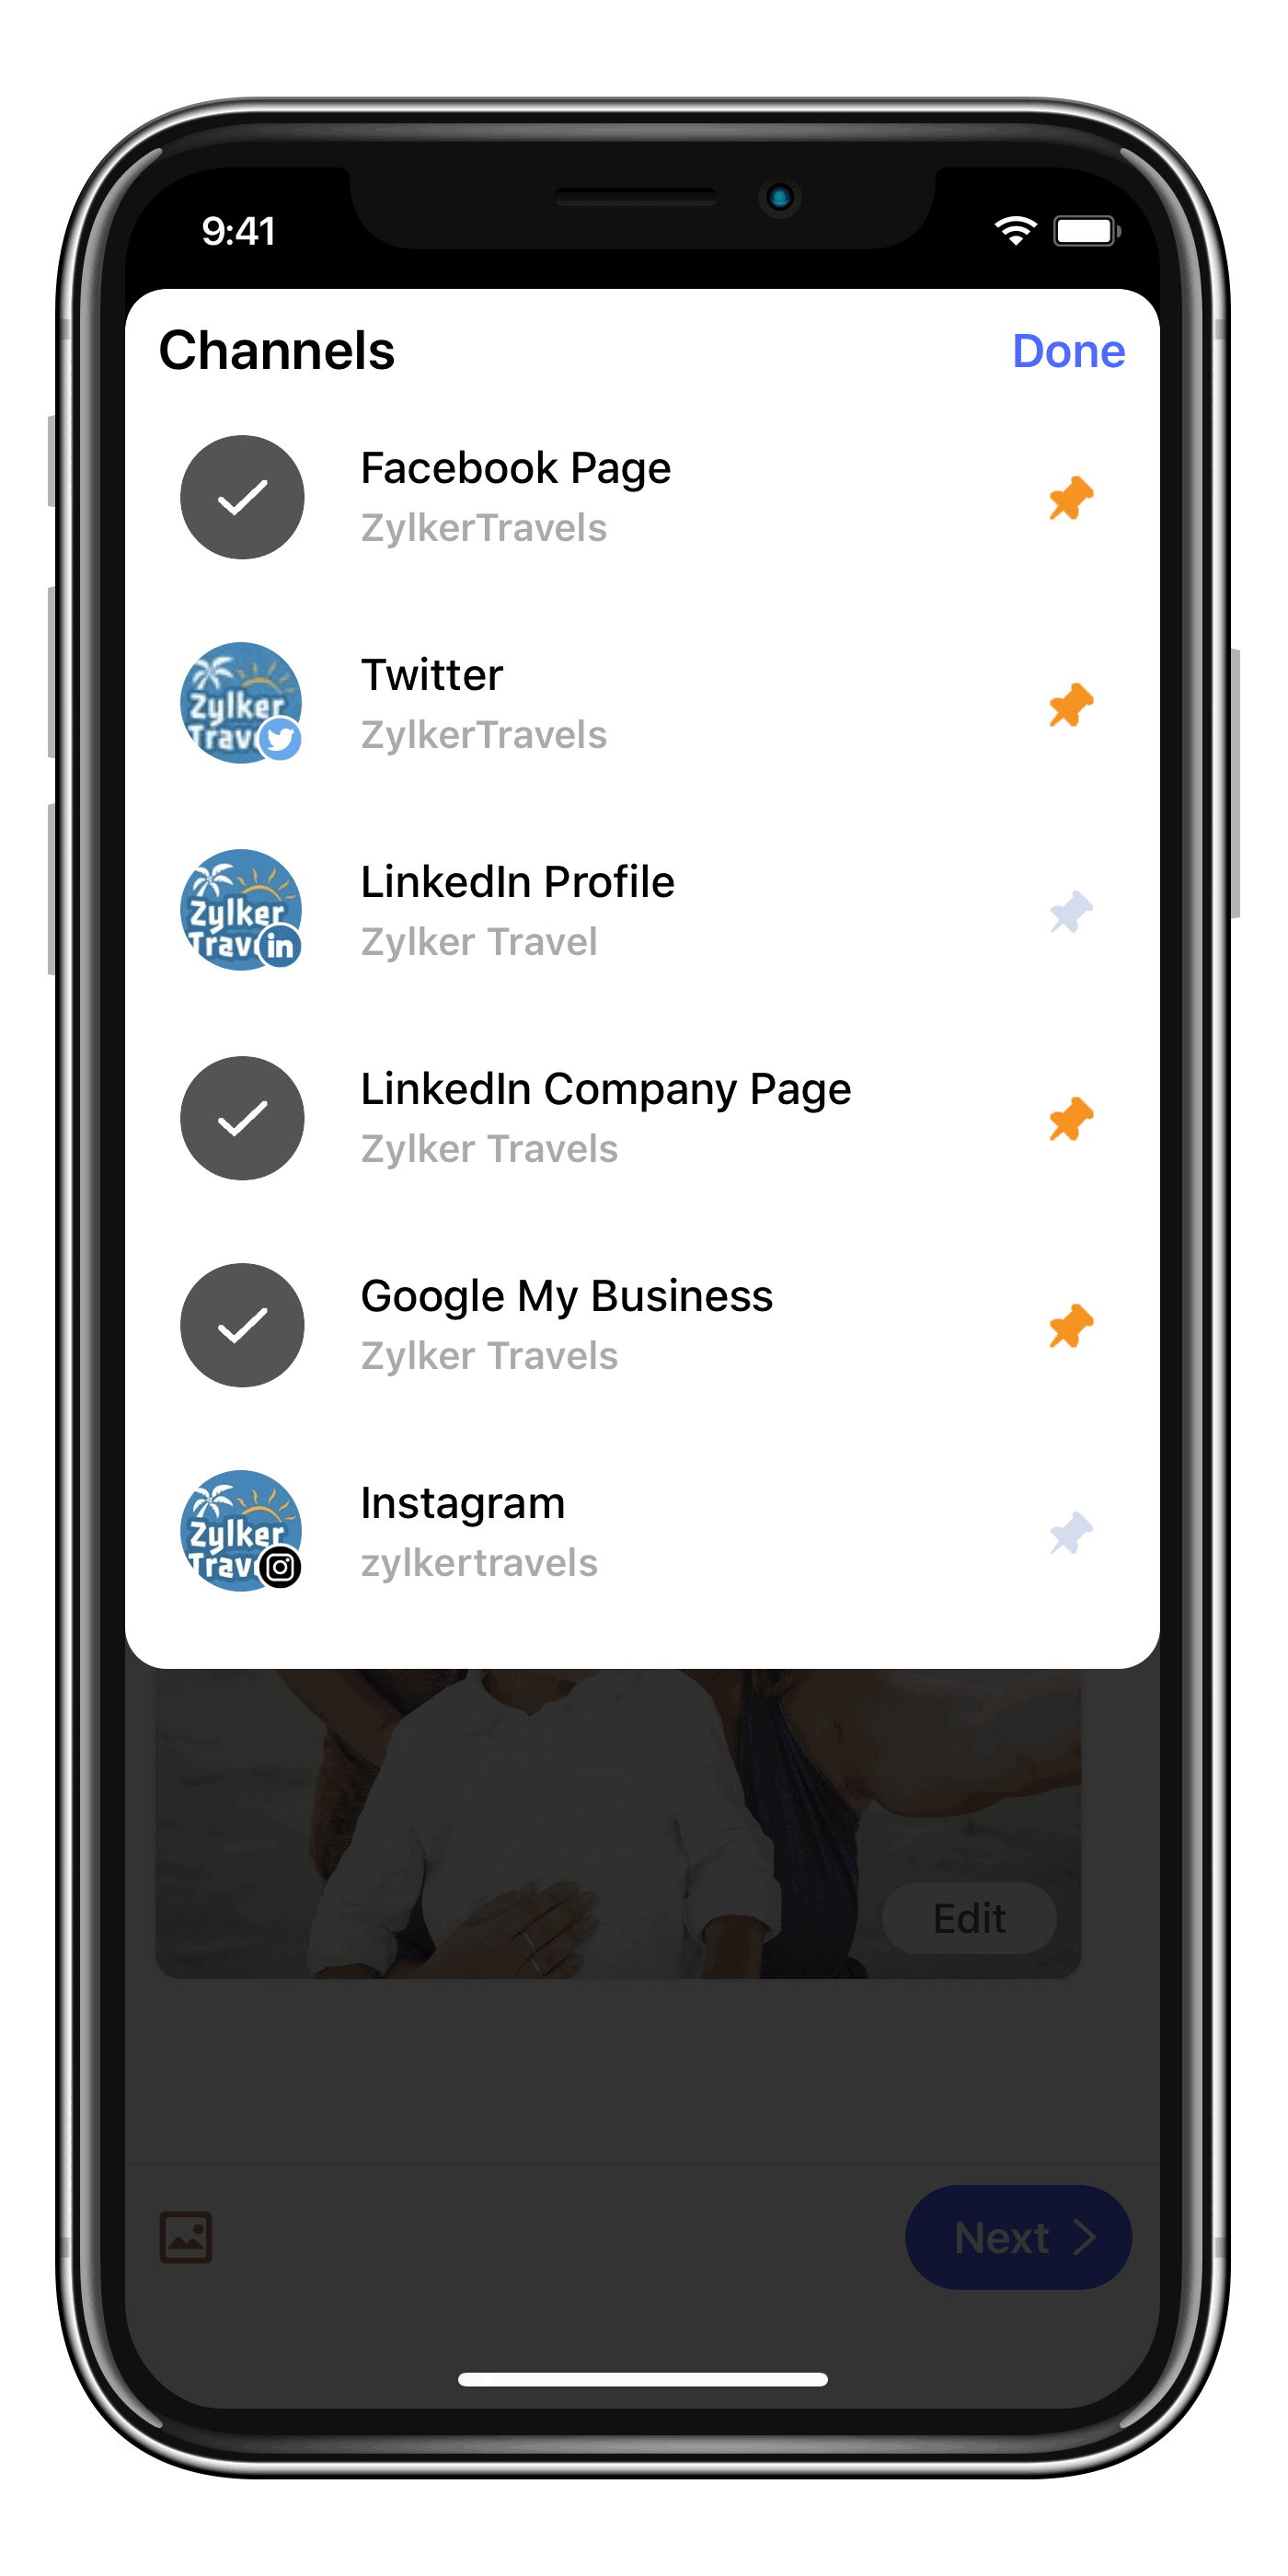
3. Click  at the top left of your compose screen to select the Instagram Profile. You can also pin this channel to the compose box.
4. Once you're done crafting your post, click Next on the compose screen. The screen will display options like: Publish Now, Custom Schedule, SmartQ, CustomQ, and Save as Draft.
5. To post immediately, click Publish Now. In case your post is scheduled to go live on a particular date and time, you will receive a notification on your mobile to publish it. Click the notification to continue publishing via Zoho Social's mobile app.
6. Click the Open Instagram button that appears at the bottom of the screen. Zoho Social will automatically download the images and save the text caption on your clipboard.
7. From the following screen that appears, click the Feed icon to head over to your Instagram feed. (for iOS devices)
8. Click  at the bottom of your Instagram feed to open the crop screen. (for Android devices)
9. Select the images you'd like to post by clicking them in the order of your choice.
10. Paste your Caption. You can also choose to Tag People, Add Location, or cross-post the images to Facebook, Twitter, or Tumblr.
11. Click OK. (for iOS devices)
12. Click Share.
 Keep in mind that you cannot delete posts published on Instagram directly from Zoho Social. You have to use the Instagram app to do that. Once a post is published, you cannot edit the content of the post using Zoho Social.
Related Articles
Instagram Publishing
Publishing and Scheduling Posts Instagram posts can be published in the following ways on Zoho Social: Direct publishing from Zoho Social Publishing via Zoho Social (Mobile App) + Instagram App This is determined by the type of Instagram Profile you ...Instagram Publishing
Publishing and Scheduling Posts Instagram posts can be published in the following ways on Zoho Social: Direct publishing from Zoho Social Publishing via Zoho Social (Mobile App) + Instagram App This is determined by the type of Instagram Profile you ...Instagram Publishing
Publishing and Scheduling Posts Instagram posts can be published in the following ways on Zoho Social: Direct publishing from Zoho Social Publishing via Zoho Social (Mobile App) + Instagram App This is determined by the type of Instagram Profile you ...Instagram Publishing for Mobile
Publishing and Scheduling Posts Instagram posts can be published in the following ways on Zoho Social: Direct publishing from Zoho Social Publishing via Zoho Social (Mobile App) + Instagram App This is determined by the type of Instagram Profile you ...Instagram Notifications
Post notifications for Instagram are routed through the mobile app. This is because, while Zoho Social supports Direct Publishing to Instagram Business Profiles, publishing to an Instagram Personal Profile works differently owing to API limitations. ...