Manage Contacts
Contacts are individuals who represent a company with which you have a business relationship. Often contacts are related to a company, but certain organizations may serve individual customers as well. In that case, the contact will not be part of a company and you have a business relationship with the contact directly.
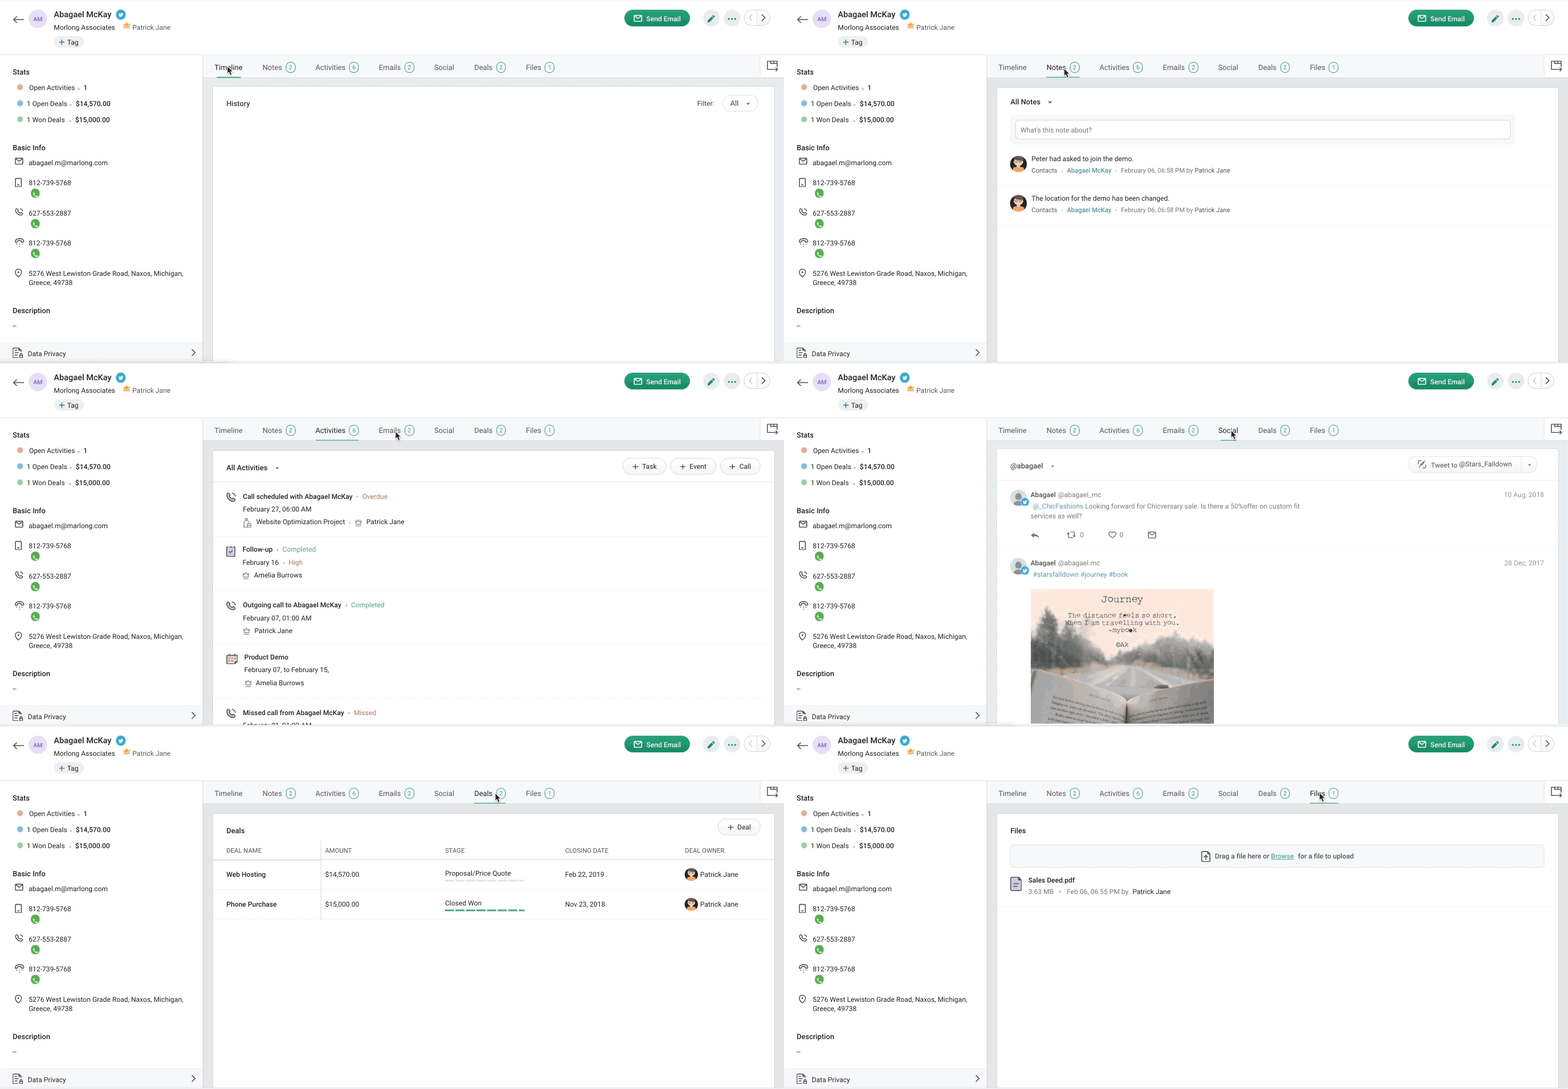
Contacts module in Bigin allows you to add all your contacts in one place along with the companies that they are related to. Adding all necessary informations such as name, address, phone number, email helps in getting in touch with them easily. The record details page displays everything that you need to know about a contact such as activities, notes, email interactions, social interactions, deals and attachments. You can also create them from the record details page. Timeline displays the history of everything that is done to a record in the Contacts Module.
You can view the list of contacts using the standard list views available or create a custom list view of your choice. Various actions such s sending mass email, adding or removing tags, updating a field, changing the owner of a record can be done from list view.

Create contacts
Bigin allows you to create contact in the following ways:
- Create Contacts individually
- Import Contacts
- Capture contacts from website using webforms
Create Contacts Individually
To create contacts individually
- Go to the Contacts module and click
.
- Enter the details in the Create Contact page.
- Click Save.
Import records
When you have a huge list of contacts in a spreadsheet and you would like to add them as contacts in your Bigin account, you can import the file and they will be added as contacts. See More.
Capture contacts from Website using Web form
You can use webforms to capture the submissions made by your visitors as contacts in your Bigin account.
See more.
Edit Contacts
You can choose to edit the contacts that you have created.
To edit contacts
- Go to the Contacts module.
- Hover over the record which you would like to edit and click the edit button or select the record which you want to edit and click the edit button.
- Make the necessary changes and click Save.
Delete Contacts
Contacts once added can be deleted if no longer necessary.
To delete contacts
- Go to the Contacts Module.
- Hover over the record which you would like to delete and click More > Delete.
Alternately, select the record which you would like to delete and click More > Delete. - Give your confirmation in the popup and the record will be deleted.
Related Articles
Manage contacts
You can import contacts from various sources such as excel sheets, CSV files and Google spreadsheets and manage them by maintaining the contacts under mailing lists. You can view the contact history to check the number of sent campaigns for a ...Create and Manage Contacts
Contacts are people with whom you communicate, either in pursuit of a business opportunity or for personal reasons. In Zoho Workerly, a Contact will represent a Client and raise Job requirements. The most important function of the contacts module in ...Manage Technicians
The manage technicians section allows you (Admin) to grant privileges to technicians to conduct remote support and/or unattended access sessions. All technicians added in your organization can access unattended computers by default while granting ...What are the different ways to manage my Contacts?
These are some of the methods to manage your contacts: Mass Transfer: You can transfer records in bulk from one user to another. You need to have the Mass Transfer profile permission for individual modules to use this feature. Read More Mass Delete ...Manage Conditional Workflows
Edit a Conditional Workflow From the Navigation toolbar, select Automation and choose Workflows. Select the conditional workflow you wish to edit. Click Manage Workflows on the top-right and select Edit. Note: You can edit a workflow only when in ...