Policies and Preferences

Super admins and admins can view and edit this information. Managers can only view this information. Staff members will not have access to this information.
This section contains settings regarding booking preferences and policies. This includes allowing customers to choose the preferred staff for a booking, setting a prefix for the booking ID, defining the opening and closing schedule for bookings, and setting up cancellation and rescheduling windows.
To access this section:
- Click the
icon in the top right corner
- Navigate to Workspaces and click the required workspace
- Choose Policies & Preferences
General
- Let Customers Select Staff — Enabling this allows the customers to choose their preferred staff from the available options while making a booking. Setting it to "Disabled" will restrict staff selection by customers, and staff will be assigned automatically based on their availability and in a way that all appointments are distributed equally among allocated staff.
- Scheduling Interval — This setting lets you set the time interval between booking slots. For example, setting it to 15 minutes will display the booking slots as 9:00, 9:15, 9:30, and so on. The minimum value for this field is five minutes.
To edit this value:
- Click on the edit icon
- Specify values from the drop-down, then click Save.
Auto-generate Booking ID
- Set Prefix — Set a prefix for the booking IDs. A maximum of five characters can be set. The default value is "NE".
To edit this value:
- Click on the edit icon
- Specify the preferred value, then click Save.
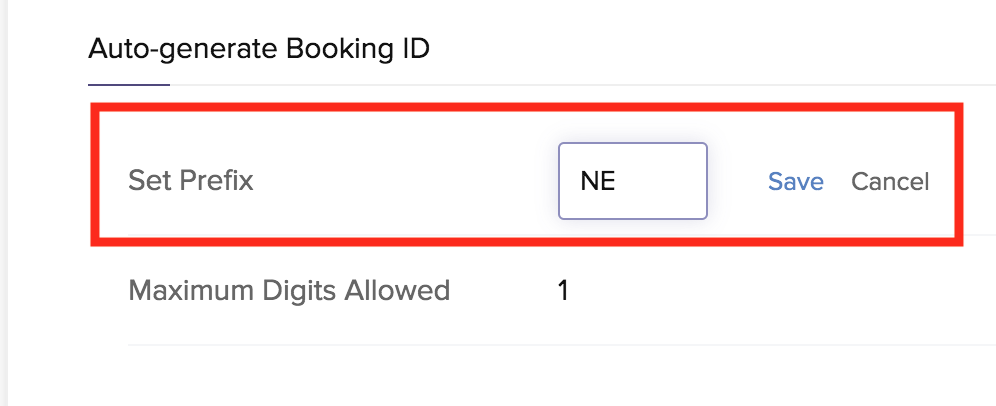
- Maximum Digits Allowed — The maximum number of digits in a Booking ID. The default value is 5.
To edit this value:
- Click on the edit icon
- Specify the preferred value, then click Save.
With default values, booking IDs are in this format: NE - 00001, NE - 00002, NE - 00003, NE - 00004, and so on.
Scheduling Window
- Pre-Booking — The number of days/hours/minutes before a slot becomes available for booking. Setting this value to 0 will display available slots as soon as an active service is created.
- Last-minute Booking — The number of days/hours/minutes before which bookings get restricted for a slot.
For example, if Pre-Booking is set to 1 day and Last-minute Booking is set to 2 hours, bookings for the 9 am slot will open at 9 am on the day before the appointment, and close at 7 am on the day of appointment.
The value set in Last-Minute Booking must be greater than the value set in Pre-Booking .
To edit this value, select the required values from the dropdown. Changes are autosaved.
Terms and Conditions
To enable terms and conditions:
- Toggle to Enabled.
- Specify the required text in the editor. For example, include a link in your message and redirect customers to read your privacy policy or terms and conditions.
- Click Save.
Cancellations & Reschedules
This allows you to define a period of time before the appointment during which customers are allowed to cancel or reschedule their appointments. For example, if the value is set to "6 hours", an appointment at 6 pm can be canceled or rescheduled by customers as long as they do so before 12 pm on the appointment date.
To edit this value, select the required values from the dropdown. Changes are autosaved.
This setting does not restrict the staff from canceling or rescheduling bookings from the admin interface.
Related Articles
Preferences
The Super Admin or Admin can use the Preferences section to set how the technician console will open in the browser when a new session is initiated. You can also enable or disable the notification that the technician receives when a customer joins a ...Preferences
Manage your organization details in the Preferences section. You can choose to configure your organizational preferences, such as organization name, owner, URL, field preferences, date and time settings, and email domain here. Change organization ...Preferences
Preferences feature allows you to choose the type of technician console, disable clipboard sharing, enable inactive session timeout, lock the remote computer at the end of every remote support session and customize the notifications to be shown to ...Setting up Policies
User policies in Zoho Connect lets you decide who can create groups, channels, boards, and manuals in your network. To customize policies: Click the gear icon in the top-right corner of your page and select Settings. Click Policies under Network ...Setting up Policies
User policies in Zoho Connect lets you decide who can create groups, channels, boards, and manuals in your network. To customize policies: Click the gear icon in the top-right corner of your page and select Settings. Click Policies under Network ...