Project templates
Project templates can help you manage your work more efficiently. You
don't have to repeatedly enter the same tasks, and can thus save time
and be more productive. Project Templates can be accessed from the
project list view or from the setup page.
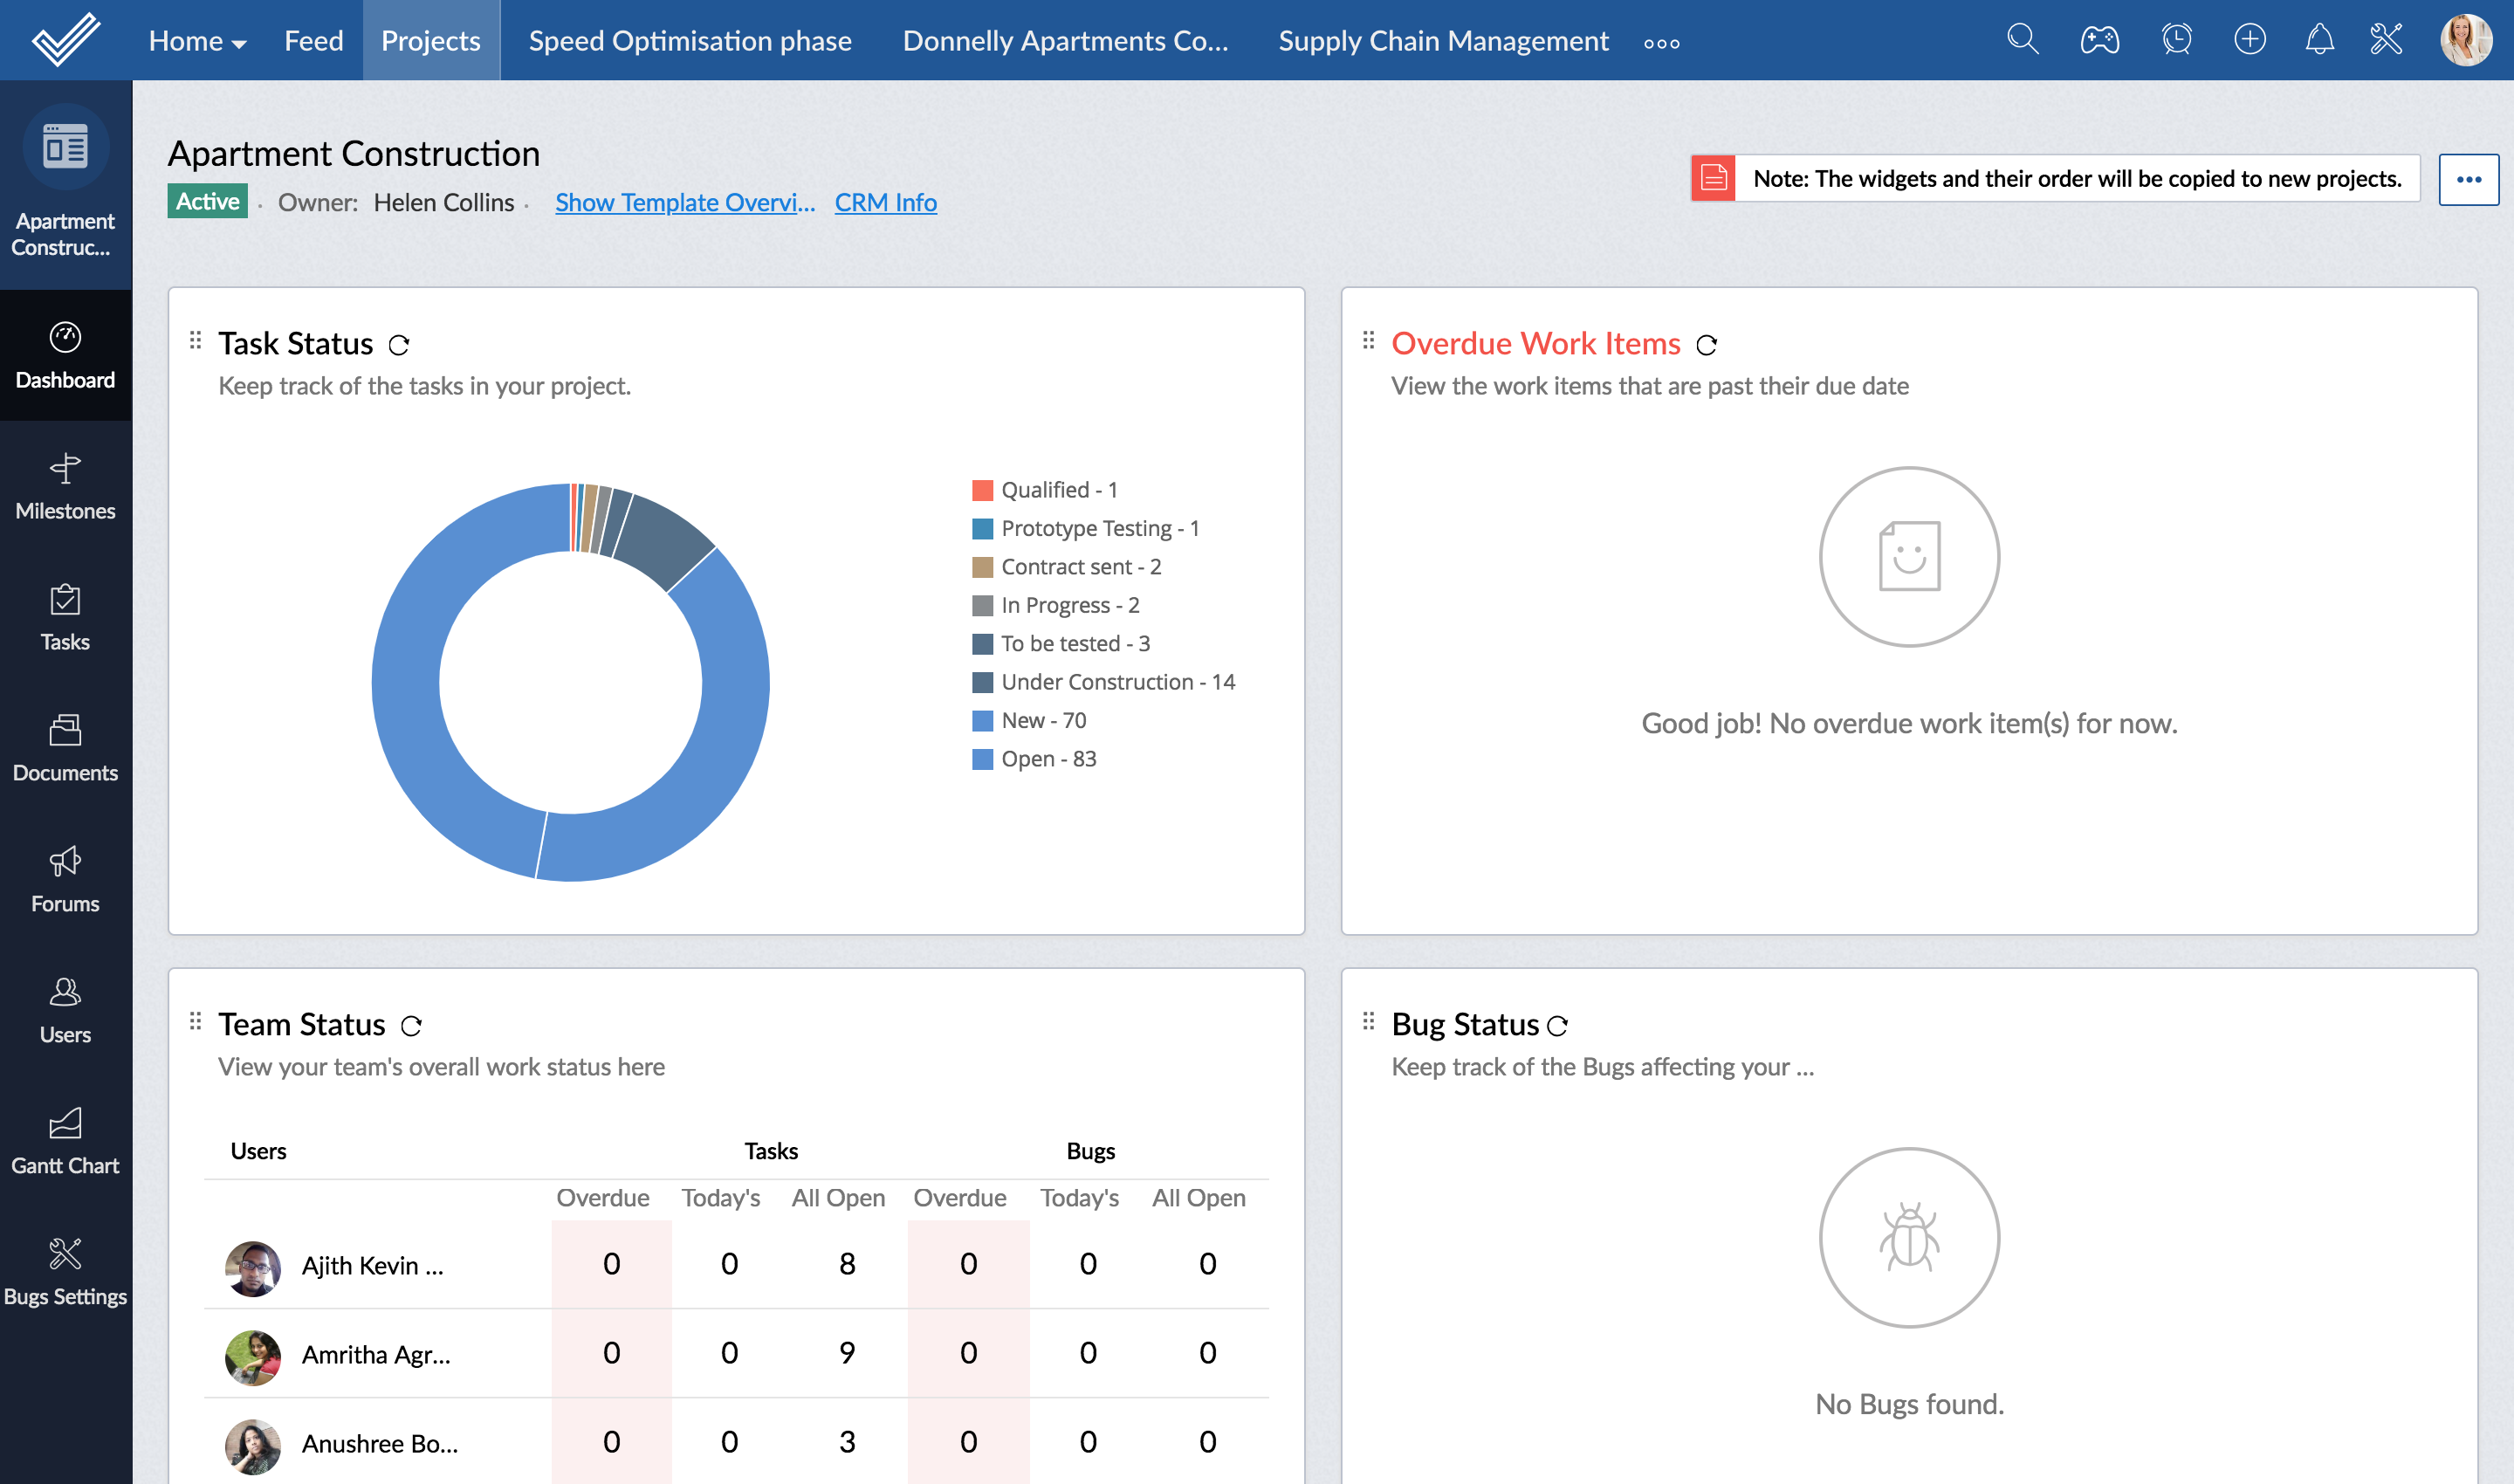
Navigate to Projects and select Project Templates from the drop-down. You can also navigate to  > Portal Configuration > Templates > Projects and access project templates.

Create a template
Create project templates and use them in your upcoming projects. They save a lot of your time.
- Navigate to Projects and select the drop-down where you can find the list of categories.
- Click Project Templates and you can see the list of all the project templates.
- Click New Project Template.
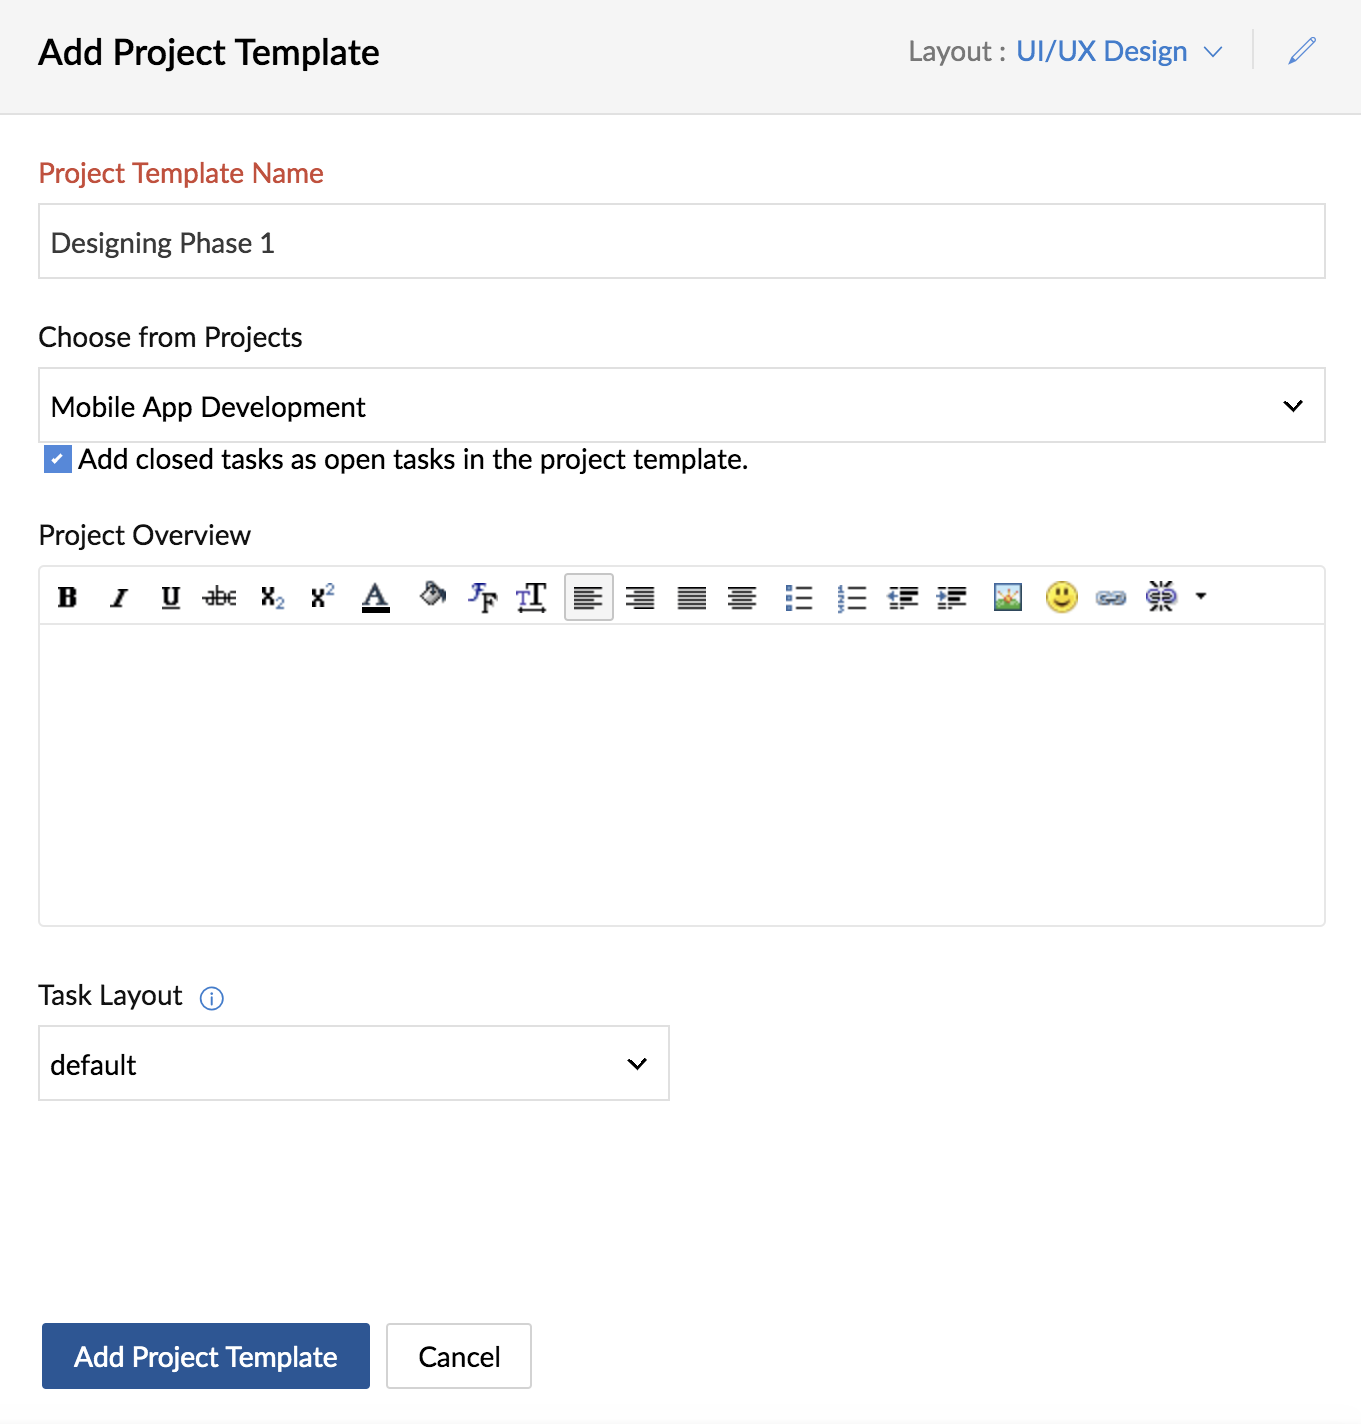
- Select the Project Layout that you want to apply to the template. If you haven't created any
project layouts, Standard Layout will be listed in the drop-down. Learn
more about creating a Project Layout.
- Enter the Project Template Name and select the project that you want to make as a template in Choose from Projects drop-down.
- Check the Add closed tasks as open tasks in the project template option if required. Closed tasks in the selected projects will be added as open tasks in the template.
- Type your Project Overview.
- Click Add Project Template to create your new project template.
Edit / delete a template
- Navigate to Project Templates.
- Hover over the project template that you want to edit or delete.
- Click
 and choose Edit Template or Trash Template to edit or delete the project template.
Clone a template
- Navigate to Project Templates.
- Hover over the project template that you want to clone.
- Click and choose Clone Template to clone the project template.