Screen Sharing
You can share your computer screen online with anyone across the world using our Screen Sharing feature. It's simple to use and you can either start a screen sharing session instantly or schedule a screen sharing session depending on your needs. Screen sharing can be used for online meetings, demos, training, and related purposes. Your customers can request for remote control if needed.
- Instant Screen Sharing
Share your desktop, presentations and conduct online demos or training virtually to your customers instantly.
2.Scheduled Screen Sharing
Schedule your screen sharing session well in advance at your customer's available date and time.
Instant Screen Sharing
- Once you log in, navigate to Remote Support menu.
- Choose Share My Screen and click on START NOW .
- Choose any one of the options to invite your customer.
- Click DOWNLOAD while sharing the session for the first time (It is a one-time installation process. You needn't download it again for future sessions as long as you are using the same computer and browser).
- The screen sharing session will begin once the customer joins the session through the email invitation.
(or)
- Guide your customer to assist.zoho.com/attend and ask him/her to enter the Session ID and Password to join the session.
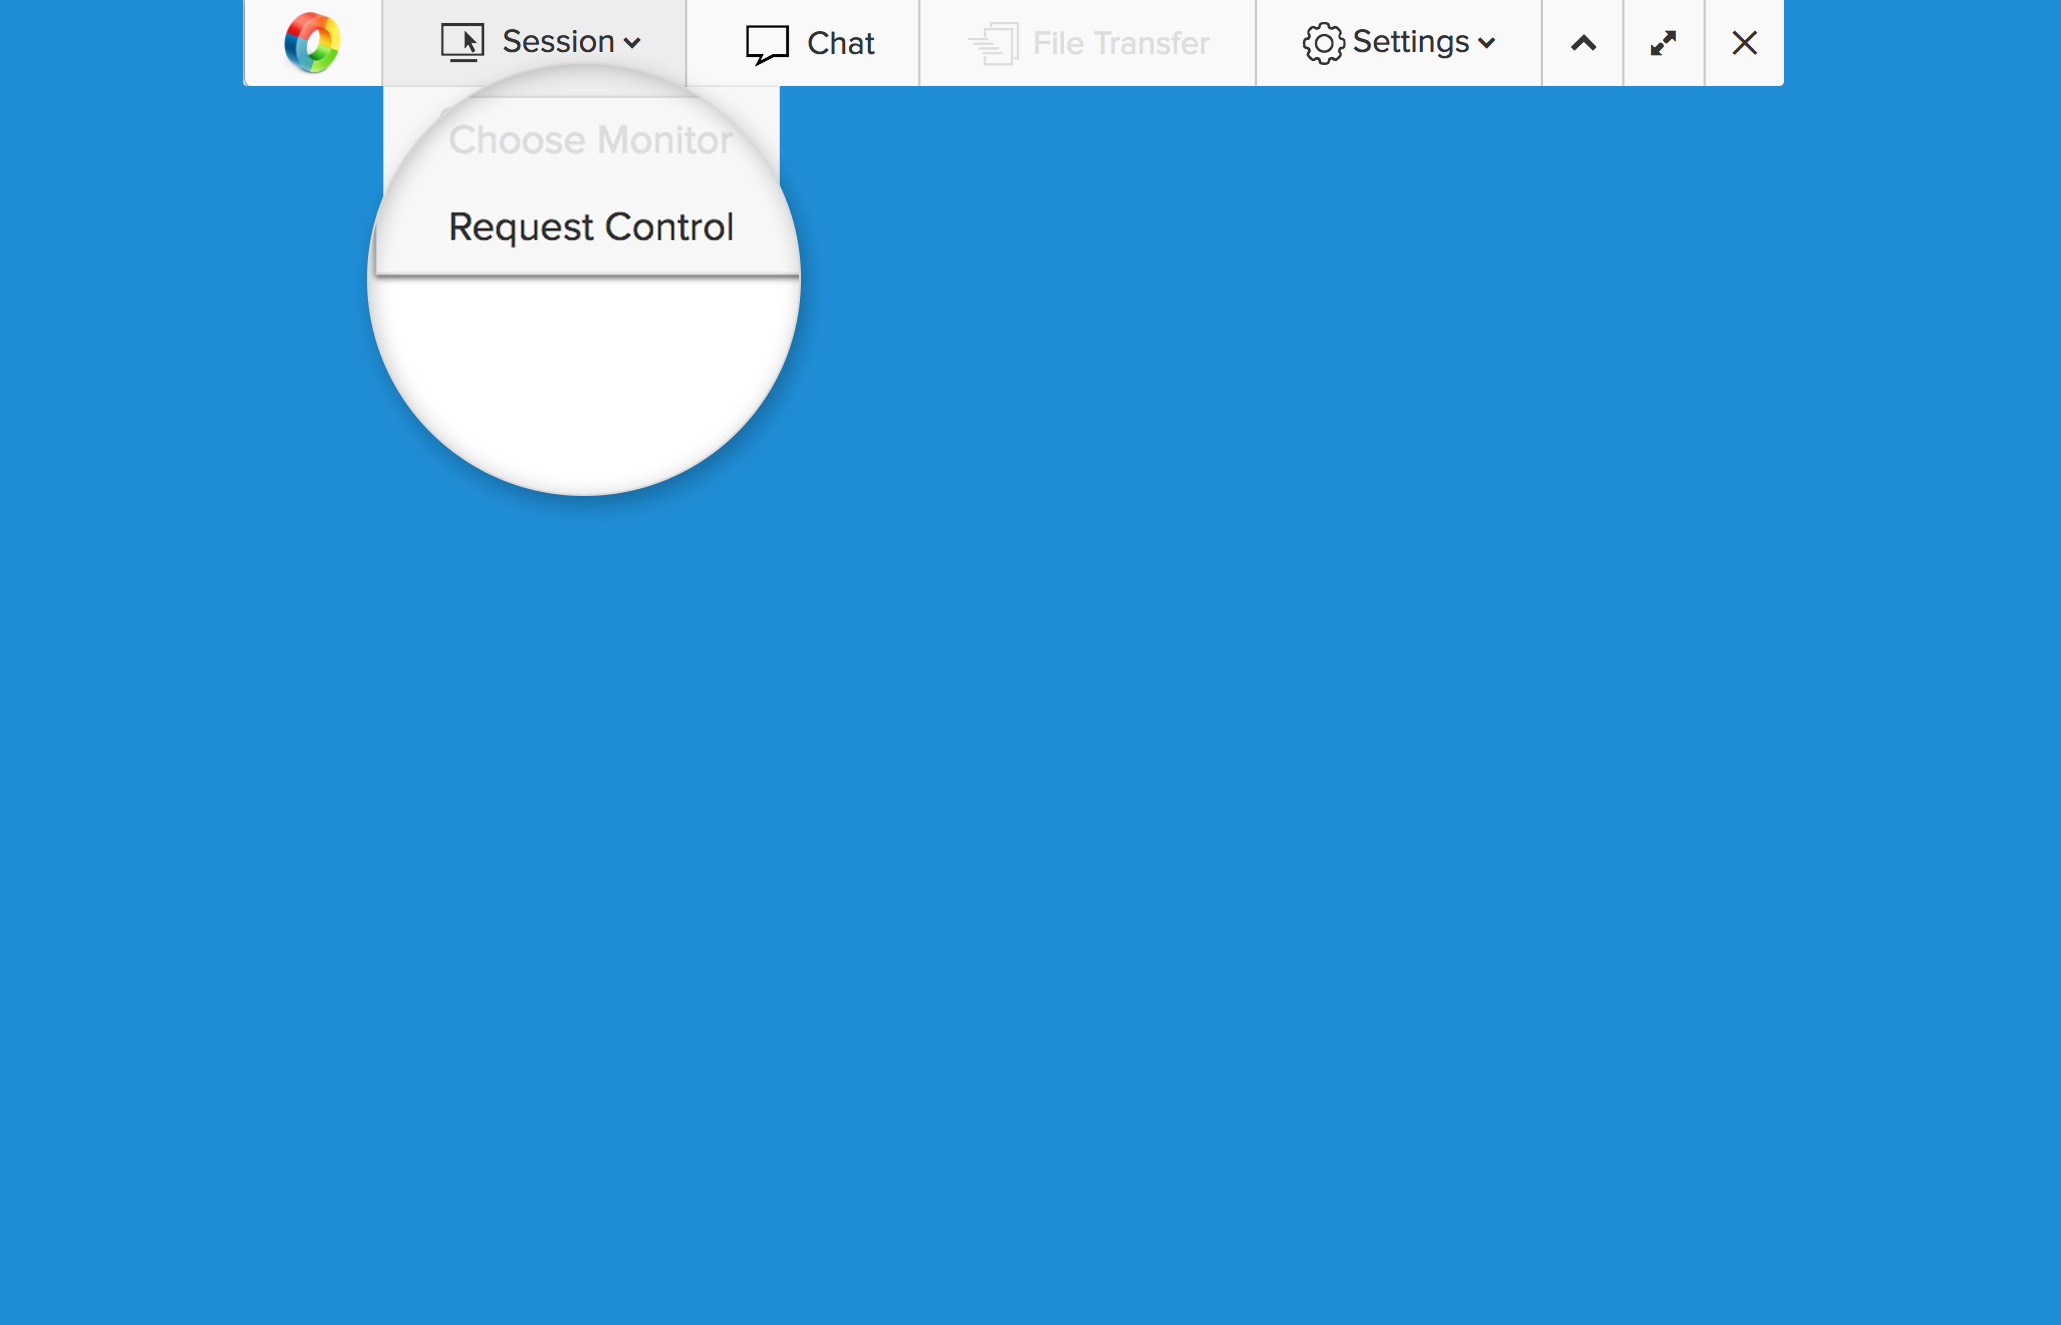
- Once the session starts, your customer can request control of your computer by clicking Session > Request Control.

- You can choose to Accept or Decline the request.
Scheduled Screen Sharing
- Once you log in, navigate to Remote Support menu.
- Choose Share My Screen .
- Enter the customer's email address and click SCHEDULE .
- Once you schedule the session, you can start the session by clicking on START in the homepage.
( or )
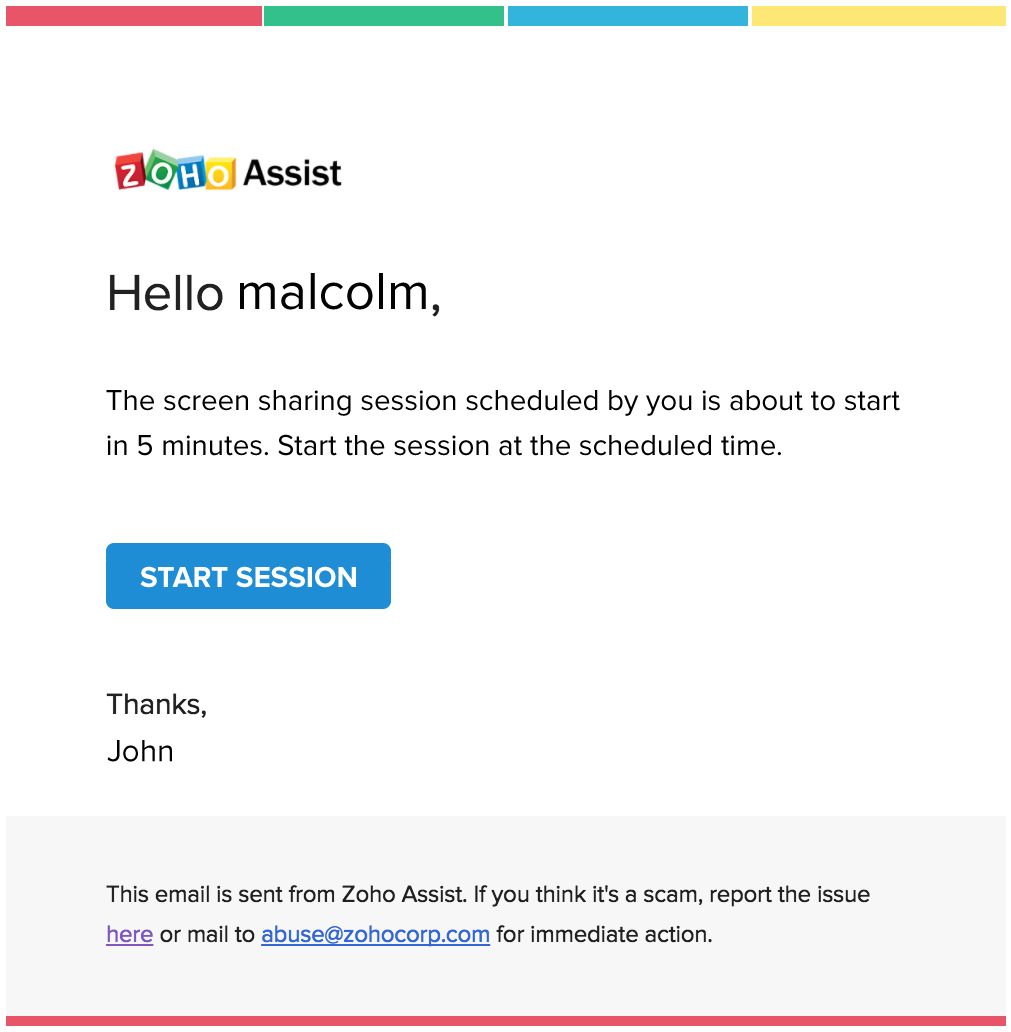
- You can start a screen sharing session by clicking on START SESSION in the reminder email.

- The remaining steps are the same as in Instant Screen Sharing .
Note:
- Screen Sharing is currently available for Windows and Mac only.
- You can conduct a screen sharing session only if you are in Remote Support (Professional).
Related Articles
Screen sharing for online meetings and webinars
Presenters can share their screen or selected application windows during an online meeting or webinar. This helps presenters deliver presentations and give demonstrations to convey ideas better. Participants are also allowed to share their screen for ...How to enable audio, video, and screen sharing in Mac OS 10.15 Catalina?
If your Mac runs on OS version Catalina 10.15, you need to enable audio, video, and screen sharing permissions in your System Preferences before you conduct meetings and webinars using Zoho Meeting. Enabling microphone and camera in Mac Zoho Meeting ...Screen Share/Remote Assistance in chat window
You can provide your customers with on-demand support through remote assistance and screen sharing in the live chat window. Request your visitors for a remote assistance session and take control of their screen, and fix the issues in seconds. Also, ...ShowTime Voice, Video and Screen share
1. Where can I use ShowTime Voice and Video? ShowTime allows you to broadcast your voice, video and slides/screen to your attendees in locations across the globe. 2. Can I record my training session and publish it as a broadcast later? No, all ...Why do I see a black screen while I share my screen or application window using the Zoho Meeting desktop app?
You screen may appear black during screen sharing due to automatic switching of graphic cards such as the NVIDIA card. To fix this issue (in Windows OS), please follow these steps. 1. Go to the Windows Control Panel. 2. Under Appearance and ...