Step 1: Set Up Your Business
When you log in to your Zoho Bookings account for the first time, you will arrive at the business setup page.
The page will guide you through three steps to configure your work preferences. You can change these settings at any time.


Zoho CRM Calendar

 Manage Business


The page will guide you through three steps to configure your work preferences. You can change these settings at any time.
Step 1: Tell us about your business
- Enter your business name.
- Choose your industry.
- Name your first workspace - Consider a workspace as a location, a department, or a team in your business. You can create additional workspaces later.
- Select your currency.
- Enter a contact number for your business
Click Next.
Step 2: Enter your working hours
- Select the timezone your business operates in.
- Configure opening and closing hours.
Click Next.
Step 3: Sync other calendars you use
Connect your Zoho Bookings account with your Zoho Calendar, Google Calendar, and Zoho CRM calendar so we can block off any times that you’re unavailable. This will prevent double bookings.
Note: You can also skip syncing and Finish the setup process. You will be able to sync your calendars at any time by clicking the Manage Business icon on the top menu of Zoho Bookings.
To sync your calendars,
Zoho Calendar
- Click Enable. A pop-up window will appear requiring you allow Zoho Bookings to access your Zoho Calendar account.
- Click Accept. You will be redirected to Zoho Bookings, where you’ll be prompted to choose a calendar to sync with.
- Choose a calendar and Proceed.
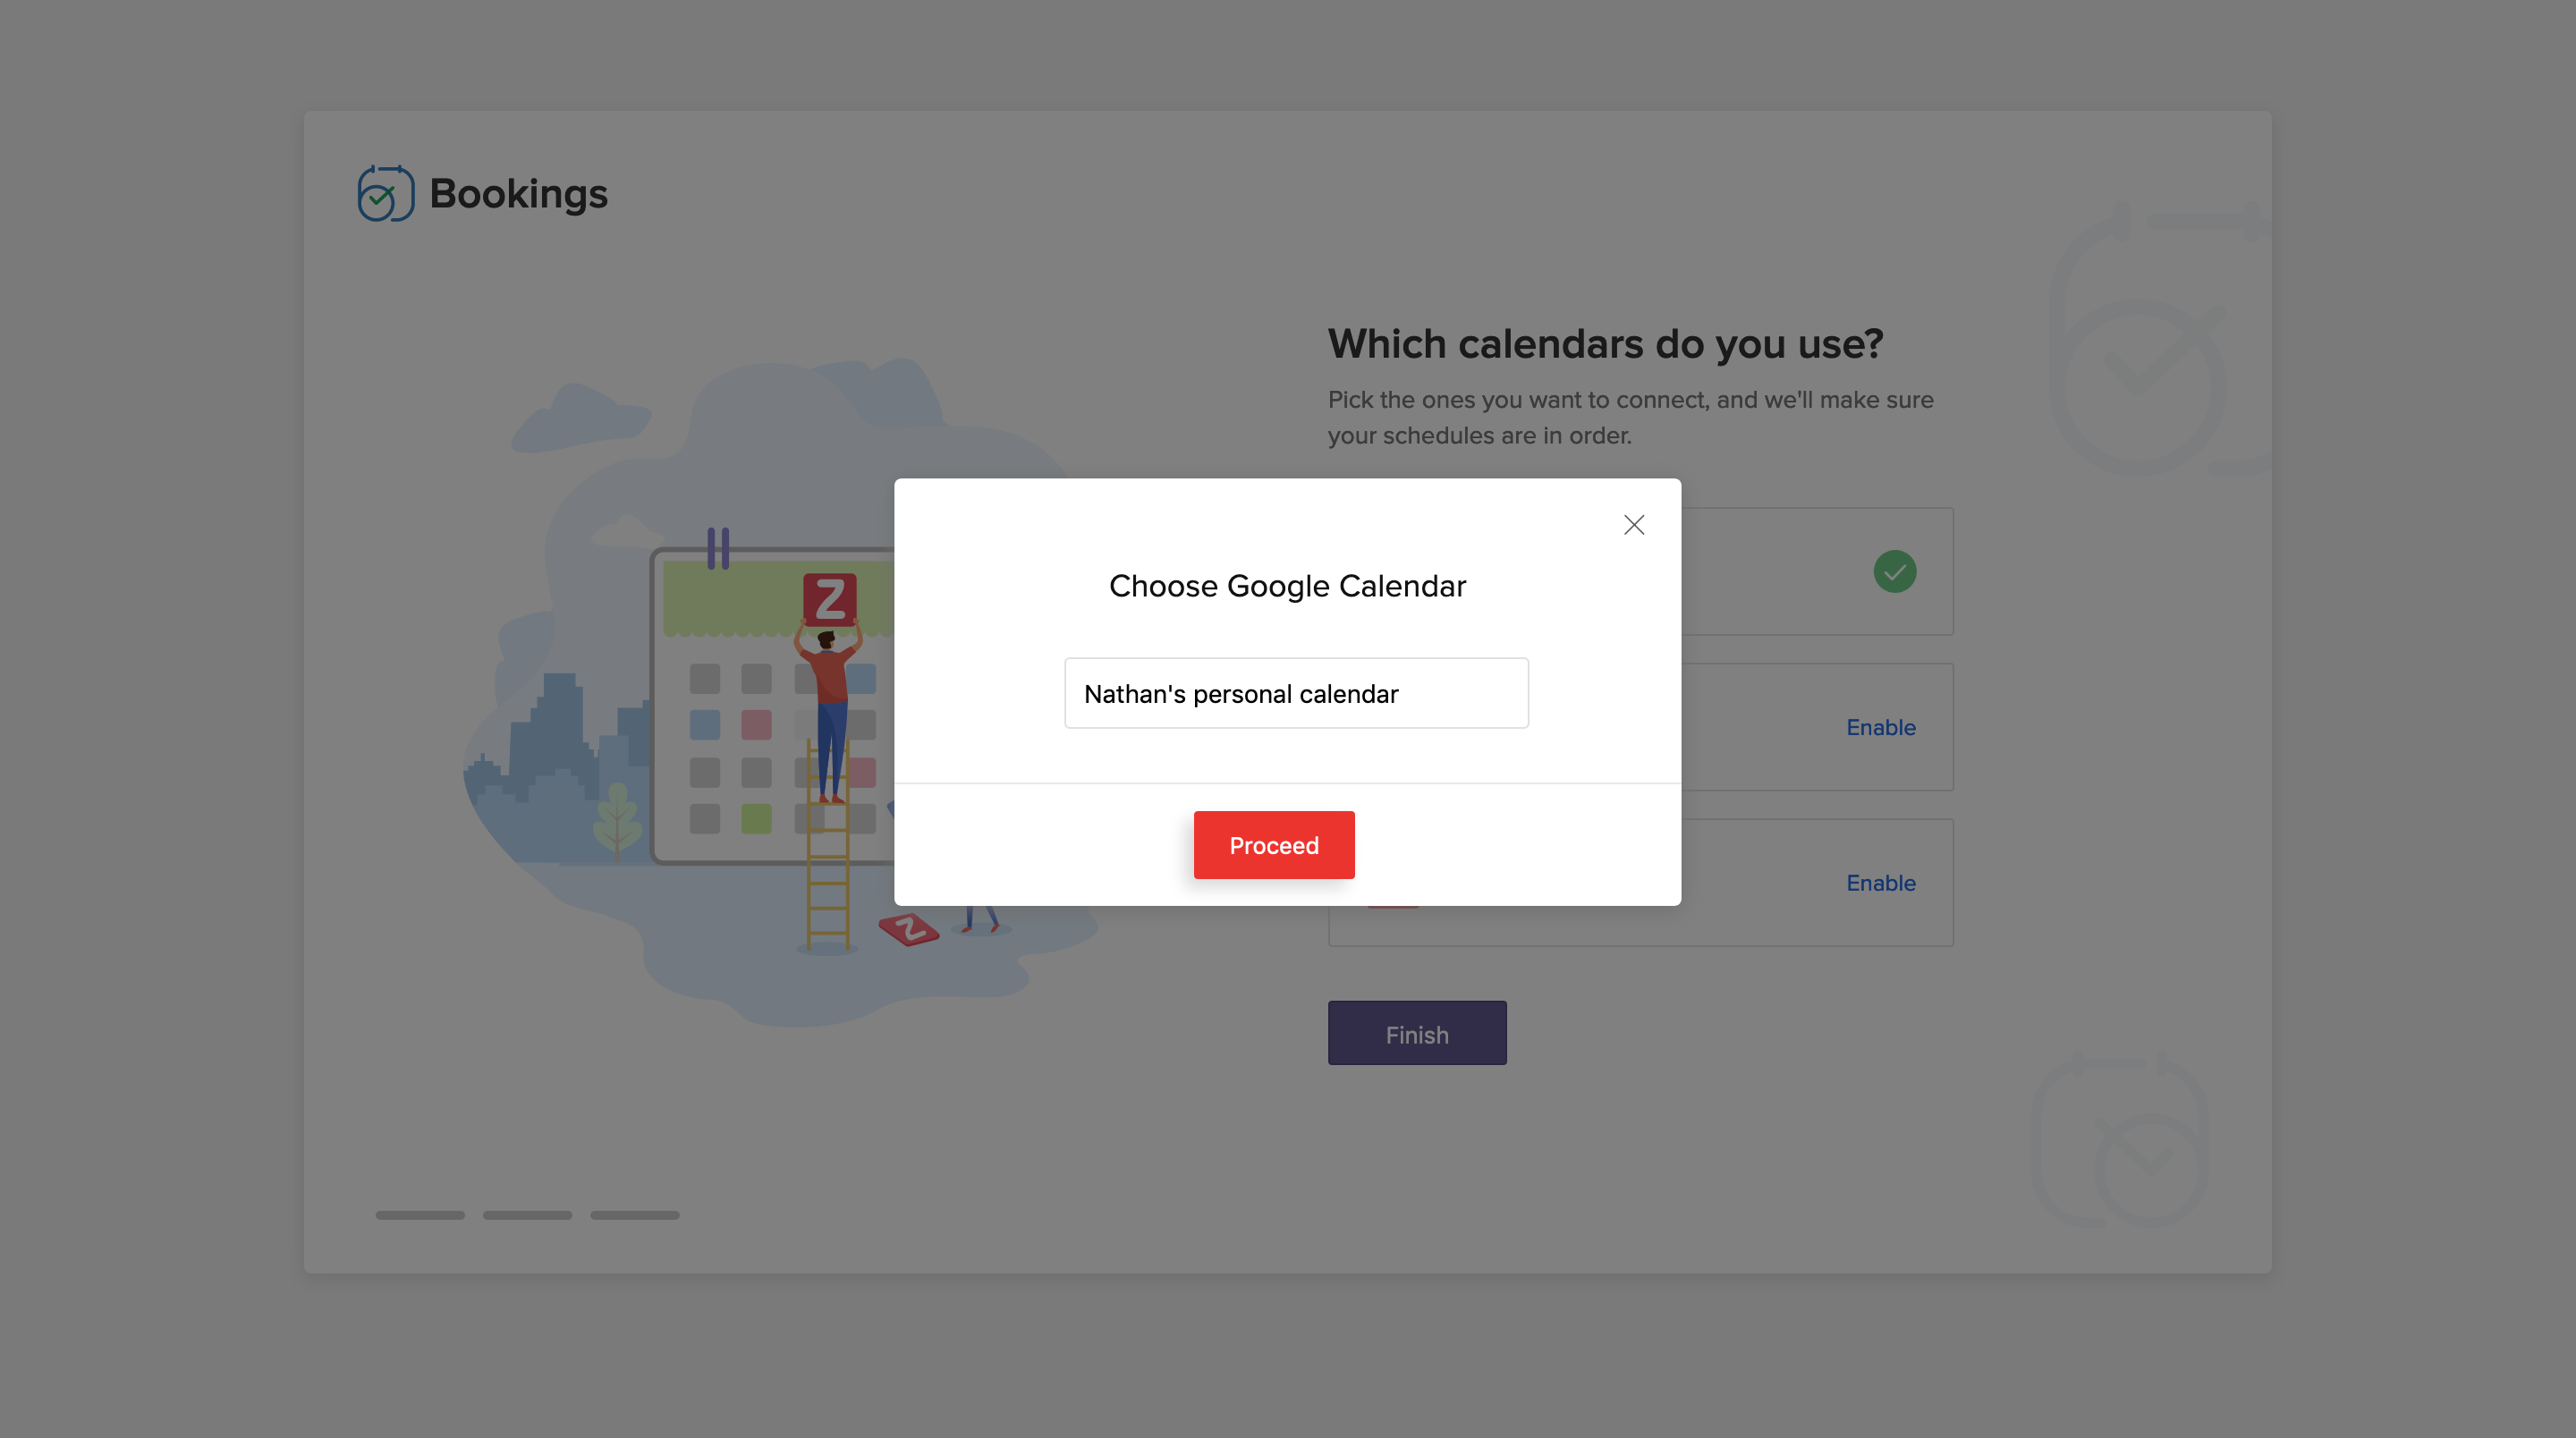
Google Calendar
- Click Enable. A pop-up window will appear requiring you sign in to your Google account and then allow Zoho Bookings to access your Google Calendar.
- Click Allow. You will be redirected to Zoho Bookings, where you’ll be prompted to choose a calendar to sync with.
- Choose a calendar and Proceed.
- Click Enable. A pop-up window will appear requiring you allow Zoho Bookings to access your Zoho Calendar account.
- Click Accept. You will be redirected to Zoho Bookings.
- Click Finish to complete setup.
You will be redirected to the calendar view of your business. You can take a quick tour of the of the basic elements you’ll need to navigate Zoho Bookings.
The top menu bar:
On the top menu, you'll find various options including the Manage Business icon, shortcuts to add workspaces, appointments, services, staff and custom working hours, and resources.
How can I:
- Edit business details
- Add or modify workspaces (these could be your locations as well)
- Add or modify services
- Add or modify staff
- Add or modify resources
- Set up booking policies
Use the Manage Business link on the top panel of Zoho Bookings to change your bookings preferences.
To edit business details:
- Click the Manage Business link on the top panel of Zoho Bookings. Note that under the General tab, Basic Information is selected by default.
- Customize any of the following information:
- Business name
- Email address
- Contact number
- Time zone
- First day of the week
- Time format
To add locations/workspaces:
For your first workspace, the details you added while setting up your business will apply.
- Click the Manage Business link on the top panel of Zoho Bookings. Note that the General tab is selected by default.
- Click Workspaces.
- Click on the plus icon
in the top-right corner to create a new workspace.
To modify existing locations/workspaces;
- Click on the name of the workspace.
- Customize any of the following:
- Basic information
- Services available in this workspace
- Notifications for staff and customers associated with services in this workspace
- Booking page URL, visual elements, and the registration form
- Booking policies and preferences
To set up booking policies:
- Select Policies & Preferences.
- Customize any of the following:
- Scheduling interval - The interval between two available slots. For example, if you set 15 minutes here, your booking page will display slots as 9:00, 9:15, 9:30, and so on.
- Invoice preferences
- Scheduling Window
- Pre-Booking - Choose how far in advance you want to collect appointments. For example, you can set to open bookings 5 days before a specific slot.
- Last-minute Booking - Choose when you want to close appointments. For example, in the case of a 3pm slot, you can close bookings at 1pm. This means you'll set the time as 2 hours here.
- Cancellations & Reschedules
- If enabled, you can define your cancellation policy here. For example, how many days or hours before an appointment a customer can cancel or reschedule.
To add or modify services:
- Click the Manage Business link on the top panel of Zoho Bookings. Note that the General tab is selected by default.
- Click Services.
- Click on the plus icon
on the top-right corner to create a new service.
To modify existing services:
Click on a service. In this screen you can verify information about the service as well as see the staff assigned for it.
Click the Edit button in the Service Information tab to customize the following:
- Service Information
- Workspace
- Name
- Type of service: one-on-one time, group booking, or resource booking
- Reference color - This will show up in the calendar when someone schedules an appointment for this service.
- Duration
- Price
- Break time for staff - The time between one appointment and another. For example, the break or clean up time for staff before they take on another appointment.
- Staff assigned for this service
- Service status - If set to private, only the staff will be able to add appointments for this service.
- Staff Assigned
- This screen shows you a list of staff assigned for this service. You can either assign or remove staff from here as well.
To add or modify staff:
- Click the Manage Business link on the top panel of Zoho Bookings. Note that the General tab is selected by default.
- Click Staff.
- Click on the plus icon
in the top-right corner to add staff.
To modify information of existing staff,
- Click on a staff member's name.
- Customize any of the following:
- Staff information
- Working Hours - By default, the staff will be assigned the same working hours as the business. You can customize this as well.
- Special Working Hours - Use when a staff works overtime, compensates for time taken off, etc.
- Time Off - Use when you want to block times off when a specific staff member will be unavailable for appointments like vacations, periodical breaks, or in the case of consulting staff.
- Assigned Services - Here you can assign new services to a staff as well as customize their charges for this particular service.
To add or modify resources:
- Click the Manage Business link on the top panel of Zoho Bookings. Note that the General tab is selected by default.
- Click Resources.
- Click on the plus icon
on the top-right corner to add resources.
To modify information of existing resources:
- Click on a resource.
- Customize any of the following:
- Resource information
- Availability - By default, the resource will be assigned the same availability as the working hours of the business. You can customize this as well.
- Additional Availability - Use if a resource is available outside of the usual times.
- Unavailability - Use when you don't want customers to book this resource.
Related Articles
Set up your business
When you log in to your Zoho Bookings account for the first time, you will arrive at the business setup page. The setup page will guide you through three steps in order to configure your work preferences. You can change these settings at any time ...Step 3: Enable Online Payments
How can I: Configure payments via Authorize.Net Configure payments via Forte Configure payments via PayPal Configure payments via Payflow Pro Configure payments via Payments Pro Configure payments via RazorPay Configure payments via Worldpay To ...Set up your Organization Account
As an administrator your first step towards implementing Zoho CRM for your organization will involve entering details in the personal settings and defining the organization details, which will be visible to all users across the departments. You will ...Step 4: Configure Email and SMS Notifications
How can I: Configure in-product notifications Set up email and SMS notifications for staff Set up email and SMS notifications for customers To configure real-time in-product notifications: Click on the Manage Business icon on the top panel of Zoho ...How do I switch to Instagram's Business Profile?
There are three types of accounts on Instagram: 1. Personal Profile 2. Business Profile (Professional) 3. Creator Profile (Professional) On Zoho Social we help manage Professional accounts for Brands. In this, a Creator Account does not have access ...