Sync contacts from Zendesk
Zoho Campaigns enables you to import customers from Zendesk as contacts. You can import verified and unverified emails from your account. There are options to import end-users from a specific organization or tags.
After integrating the products, there are two steps to sync your Zendesk with Zoho Campaigns,
- Enter sync details covering which contacts you want to import and configure your sync period.
- Map Zendesk fields with Campaigns fields.
Sync Details
- From the Navigation bar, click Contacts and select Sync services.
- Navigate to Zendesk sync setup and click New sync. Click Create Sync button.
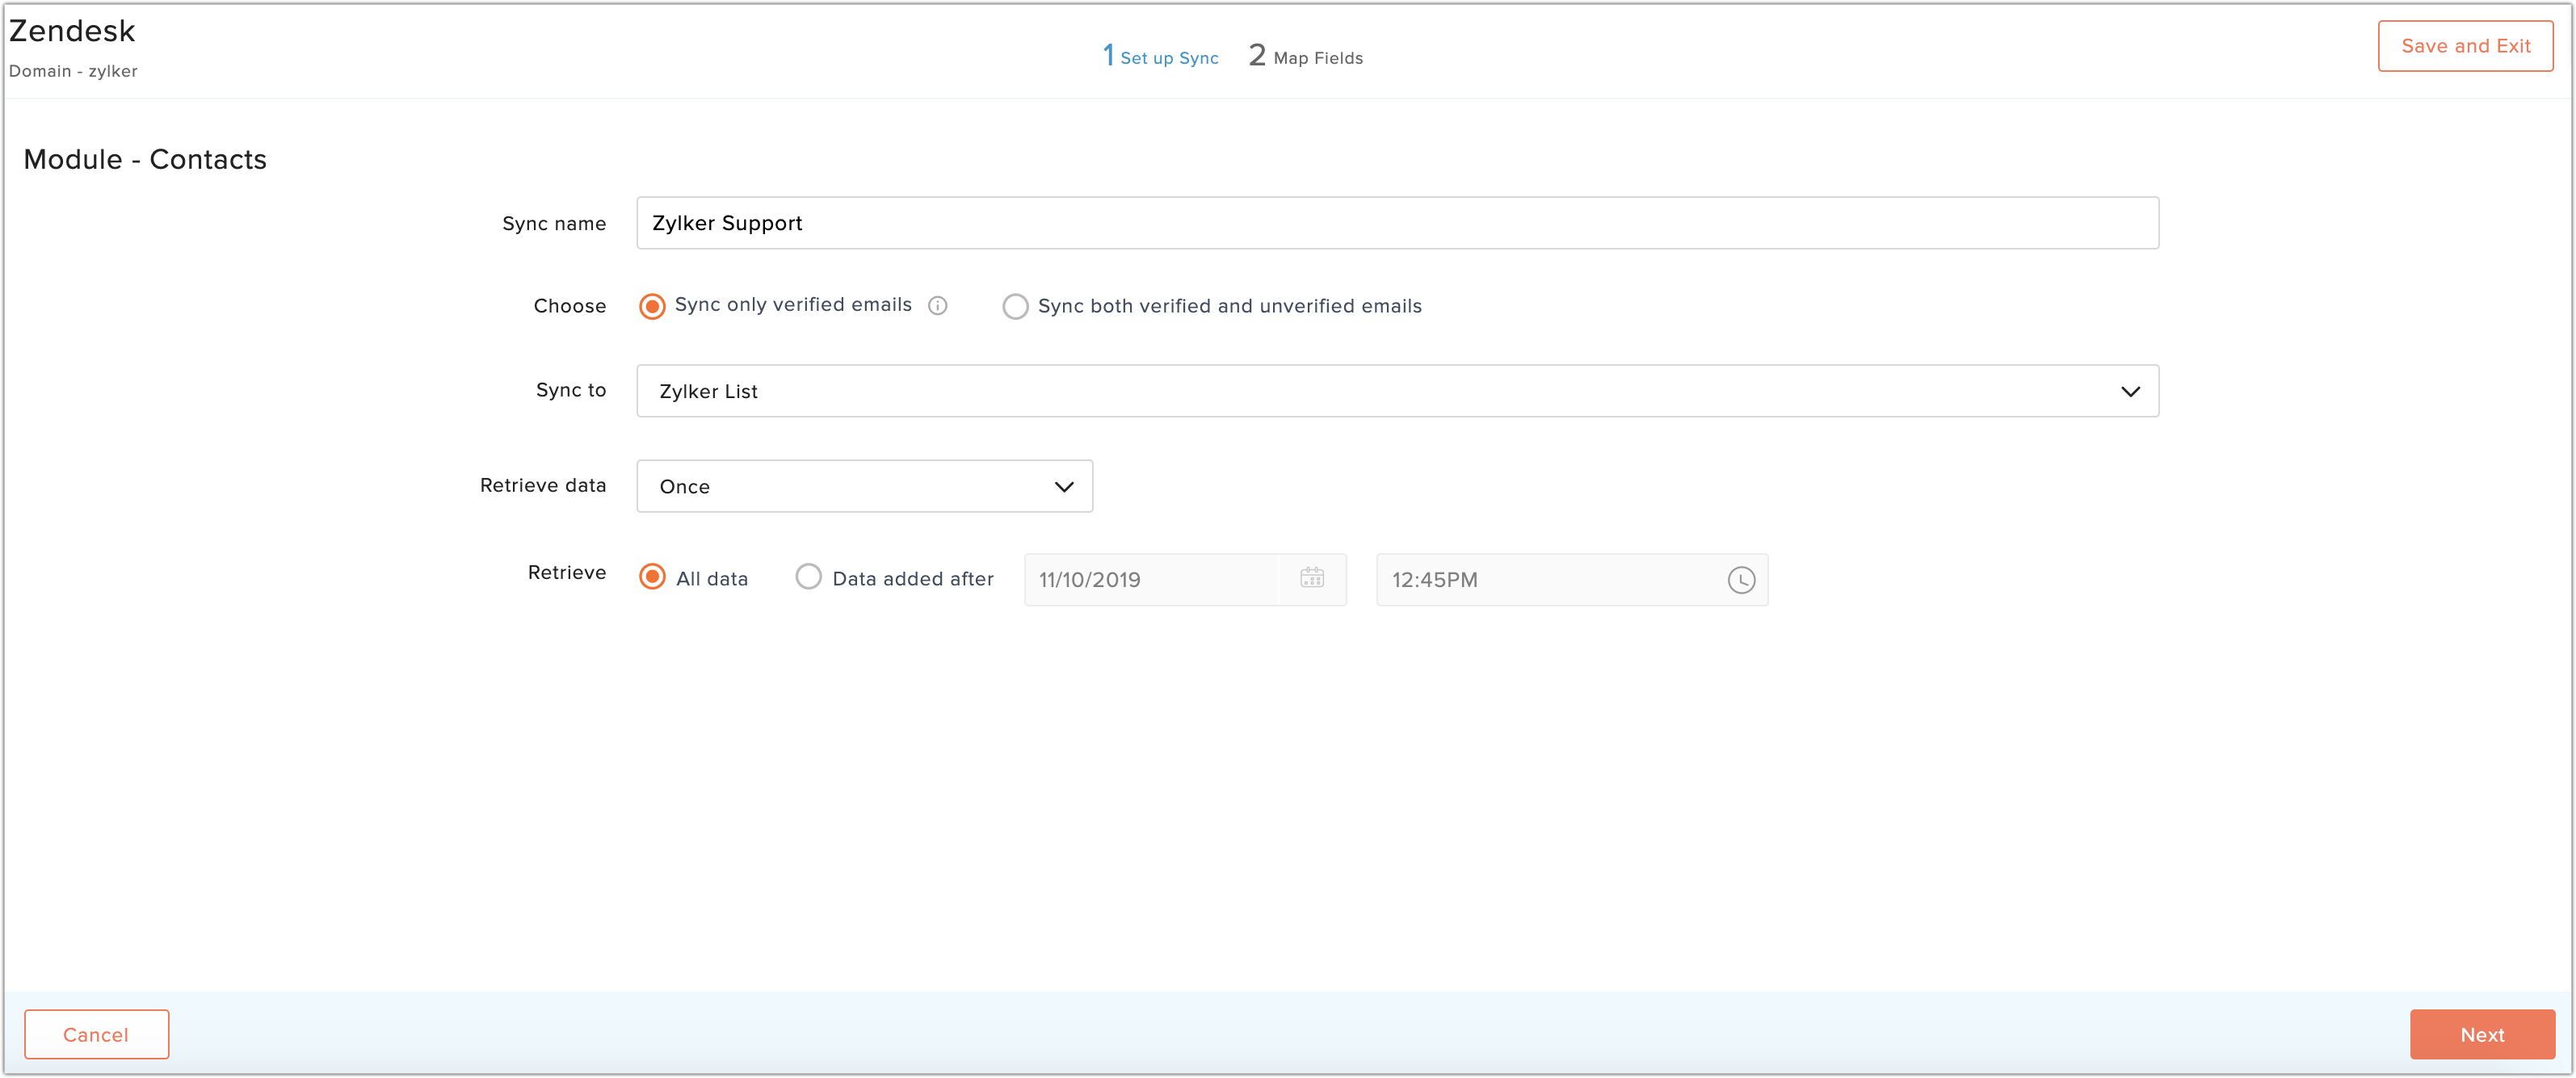
- Choose from the following options,
- All contacts: This option will import all verified or unverified email addresses from your Zendesk account.
- Organization: This option will import end-users from all organizations under your account.
- Tags: This option will import end-users from a specific tag of your Zendesk account.
- Enter the following details in sync details page,
- Sync name: A name for your identification.
- Choose if you want to import only verified emails or both verified and non-verified emails.
- Sync to: Choose a mailing list.
- Select a sync frequency:
- Retrieve data: One-time import of customer details.
- Sync frequency: Set the import to recur on a daily, weekly, or monthly basis.
- Set the sync time: Choose your preferred time and time zone to import contacts.
- Select the data to be retrieved:
- All data: Imports all customers from Zendesk.
- After: Imports only customers that have been added after the specified date and time.
5. Click Next.

 Note:
Note:- When you're creating a sync for Organization module, then you can choose all organizations or a specific organization.
- When you're creating a sync for Tags module, then you can choose a tag fetched from your Zendesk organization.
Field Mapping
You can map your Zendesk fields to Zoho Campaigns fields in this section. Basic details such as email address and, last name are pre-mapped. Mapping the email address field is mandatory for Zoho Campaigns. You can map additional fields by clicking on Map more link. Once done, click Initiate.
For instance, you can map the Notes field of Zendesk against a custom field in Zoho Campaigns.
- Notes (Zendesk) = Notes(Zoho Campaigns custom field)*
*To add a new custom field in Zoho Campaigns while mapping the fields, enable New Fields option.
Sync detail view
- From the Navigation bar, click Contacts and select Sync services.
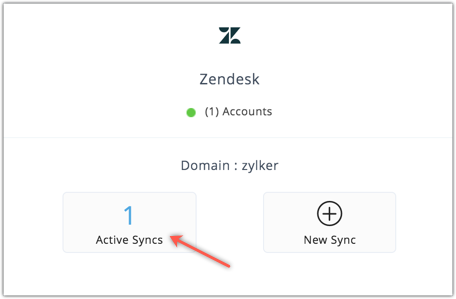
- Navigate to Zendesk sync setup and click Active syncs.

- Hover over the sync and click View details.

You can view sync details like mapped list, and last retrieval time; contact details like number of newly added, re-added, duplicate and deleted contacts. The sync remains active till the completion of contact import for one-time import of data. In case of periodic sync, the sync remains active till the set period.
Edit field mapping
You can re-map or map more fields for your sync settings by choosing the Edit mapping in the Edit drop down.

If all data sync is initiated, then users have to wait till the next sync fetch time for the mapping to be updated.
Edit retrieval details
You can edit the retrieval details such as retrieve interval, data to be retrieved and sync contacts configuration by choosing the Edit retrieval details in the Edit drop down.
Related Articles
Zendesk
Having your customers' details in a single place, always gives you the advantage of knowing your customer better; their interests, issues faced by them and all the communications that you had with them. It is better to know the issues they faced ...Sync leads from Zendesk
Zoho MarketingHub enables you to import end users from Zendesk as contacts. You can import verified and unverified emails from your account. There are options to import end-users from specific organization or tags. There are two steps to sync your ...Integration with ZenDesk
Integrate with Zendesk 1. From the Navigation toolbar, choose Settings. 2. Select Apps under Integrations. 3. Mouse over Zendesk and click Connect. 4. Enter your Zendesk subdomain URL and click Proceed. 5. To comply with GDPR, we inform the ...Zendesk
Together Zendesk and Zoho SalesIQ deliver a complete view of all your support interactions logged in one, organized database. Working together they deliver the added ability to connect, chat, engage and support in real-time within the context of ...Zendesk
Integration of Zendesk with Zoho Assist enables you to initiate remote support and screen sharing sessions directly from Zendesk support tickets. Resolve every ticket and enhance your customer service by providing remote support to customers anywhere ...