Vendor Portal
Vendor Portal is a system to manage relationships and candidates submitted by third-party recruitment/staffing companies. When a Vendor logs in to the vendor management portal (VMS), they gain immediate visibility to job orders (that you've shared), and can submit their best matching candidates. You can then review applicants through the system, and provide feedback to the Vendors. The status of candidates is updated within the VMS so that Vendors remain aware of the process, every step of the way.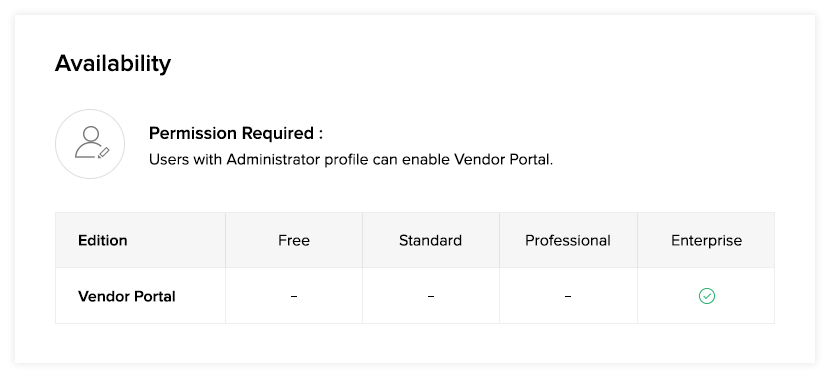
To enable the Vendor Portal, go to Settings > Setup > Vendor Portal and turn ON the toggle button. You can see the link to the Vendor Portal, using which your vendors can login and submit their candidates to your job openings.
You can also see the editable email templates that vendors will be receiving.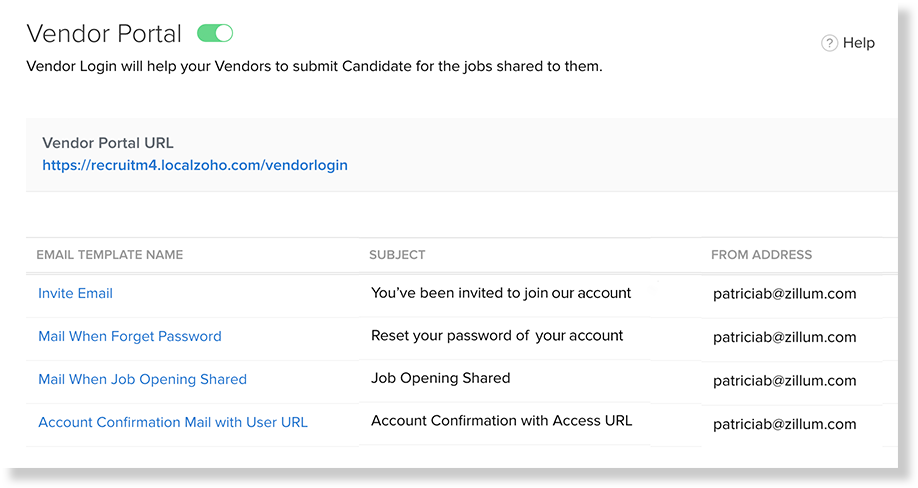
To share a job opening to a vendor, you will need to invite a vendor to your portal first. To add a vendor, go to the Vendors module and click Create Vendor.
Give the details of your vendor and click Save.
Once added, you will need to invite the vendor to join your portal. Click the Invite button on the top right. Note that the vendor's login status changes from Not invited to Invitation not accepted. The status changes to Active once the vendor accepts the invite, and only then can you share your job openings.
 By default, you get 10 free portal licenses. Then, for additional portal licenses, it is $5/portal user/month. Click here to know more.
Invited portal users are also part of the 10 free portal licenses.
To share a job opening,
- Open the Job Openings module and select a record.
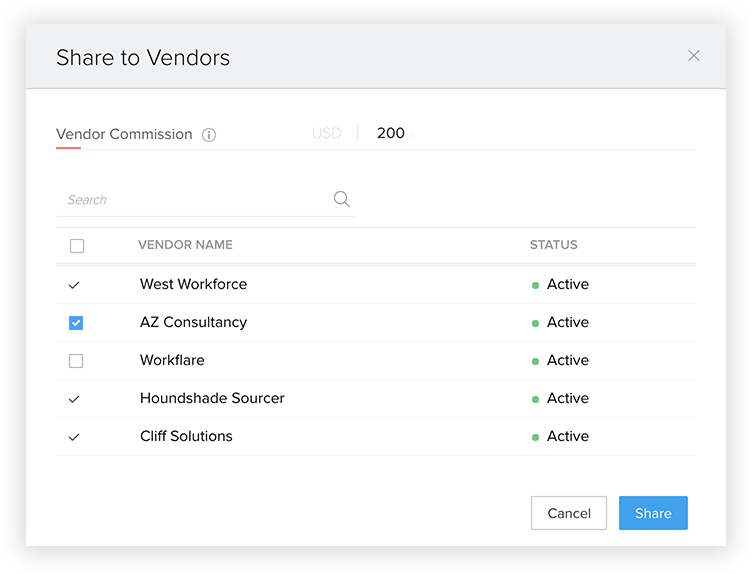
- Select Actions > Share to Vendors.
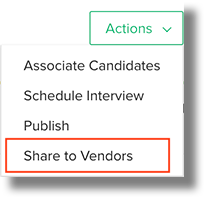
- Enter details about the commission to your vendor, select the vendors to whom you want to share the job, and click Share.
For Vendors:
Vendors need to access their portal from the invitation link which they would've gotten through email. After confirming the invitation, the vendor would need to set a password for their account.
The first screen the vendor sees after logging in is the dashboard.
To submit candidates, the vendor has to:
- Click the Jobs tab to see the job positions received from your company.
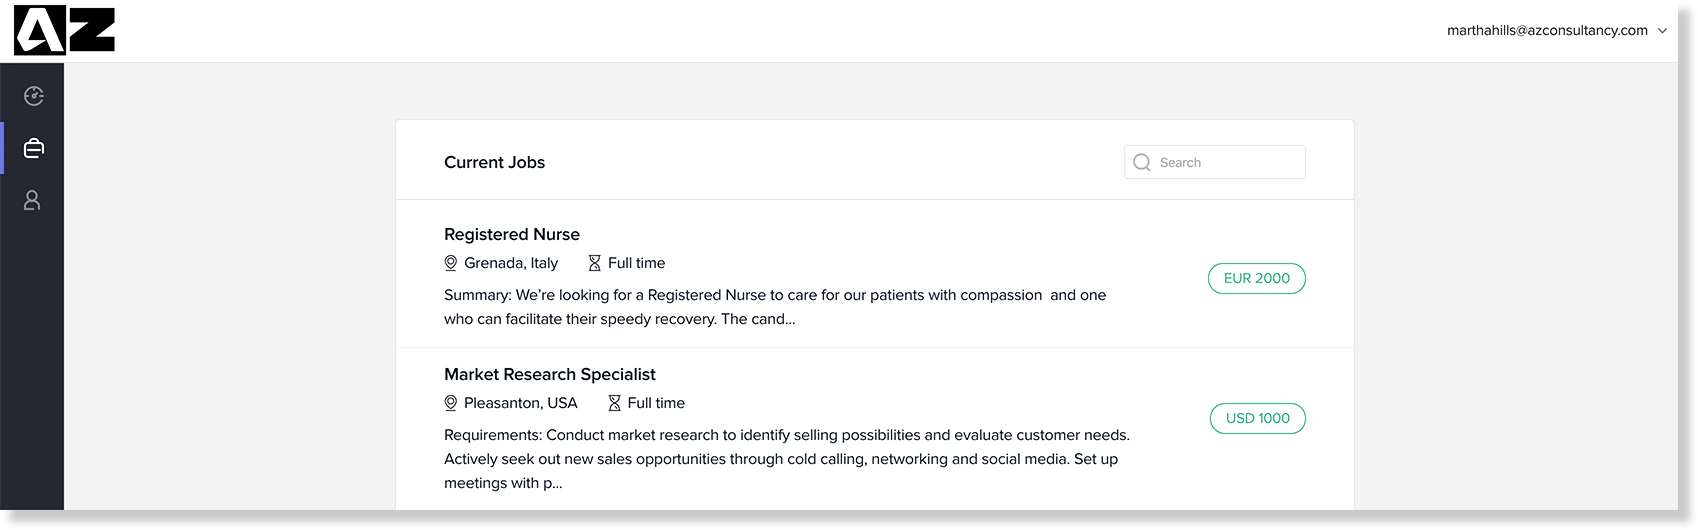
- Select a job to see its details.
- Click Add Resume to select the candidate's from the computer. Upon parsing, verify the details and click Submit Candidate.
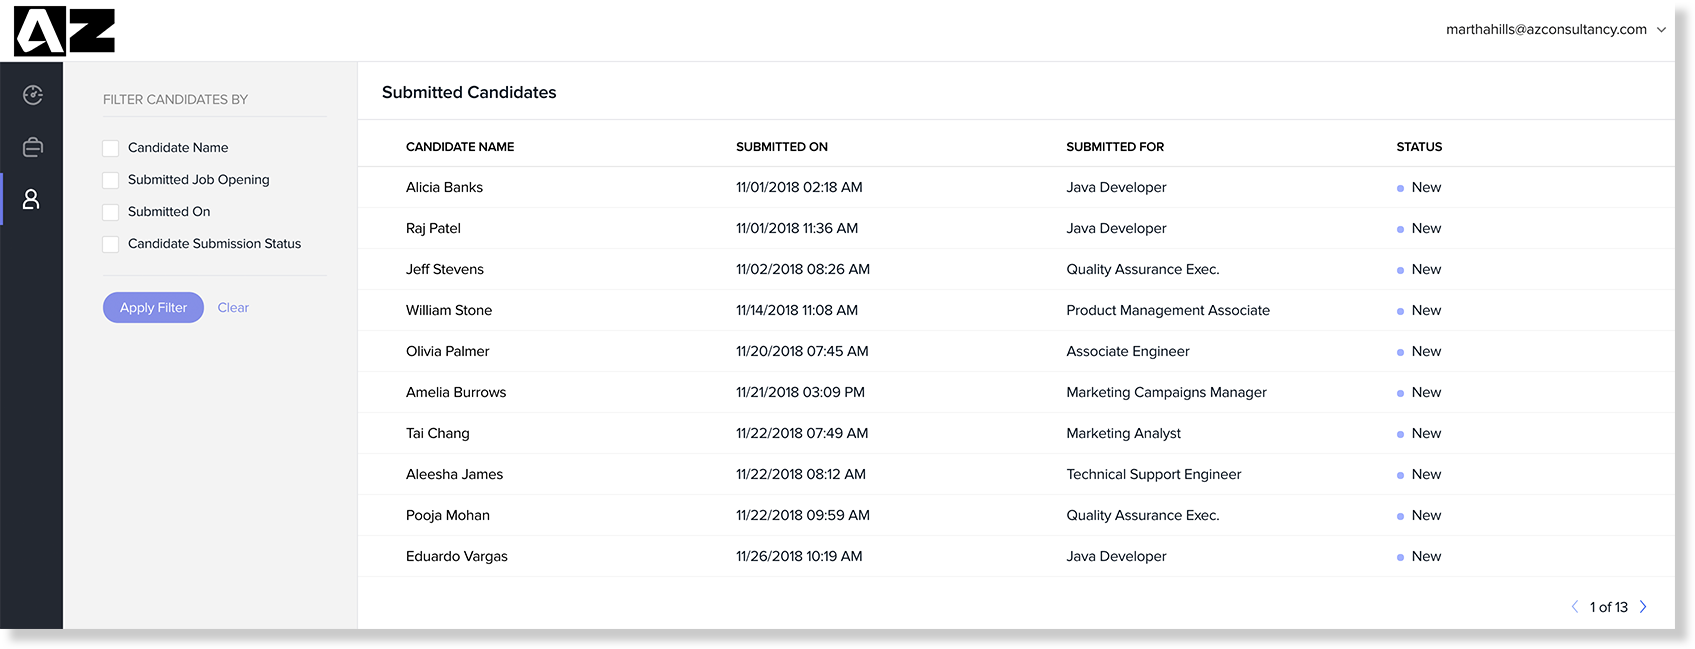
You can view the submitted candidates under the Candidates tab.
Related Articles
I have my own domain that I registered with another vendor. Can I use it with Zoho Sites?
Yes! Domains which are purchased through other vendors can be used with Zoho Sites. All you need to do is subscribe to one of our paid plans, if you are using a free site. Then verify ownership of your domain. To do this: Log into the domain ...I have my own domain that I registered with another vendor. Can I use it with Zoho Sites?
Yes, domains purchased through other vendors can be used with Zoho Sites. If you are using a free site, you will need to subscribe to one of our paid plans. Then verify ownership of your domain. To do this: Log into the domain vendor's portal ...Delete portal
Delete your Zoho Projects portal anytime you wish to discontinue our services. Portal can be deleted by the Portal Owner. Ensure that you have taken a backup of your portal data before deleting it. Delete function is enabled if the portal meets the ...Portal home
The Home displays the most sought-after stats across your projects in the form of widgets. You can view a comprehensive list of the status of all the work items across all the projects in your portal. Home - Overview Click the Home tab in the top ...Access Portal Settings
How to Access the Zoho SalesIQ Portal Settings? In the Settings > Portal Settings section, you can find your portal configuration options. Choose to enable or disable the options by clicking on the toggle bar right beside the option label. Changes ...