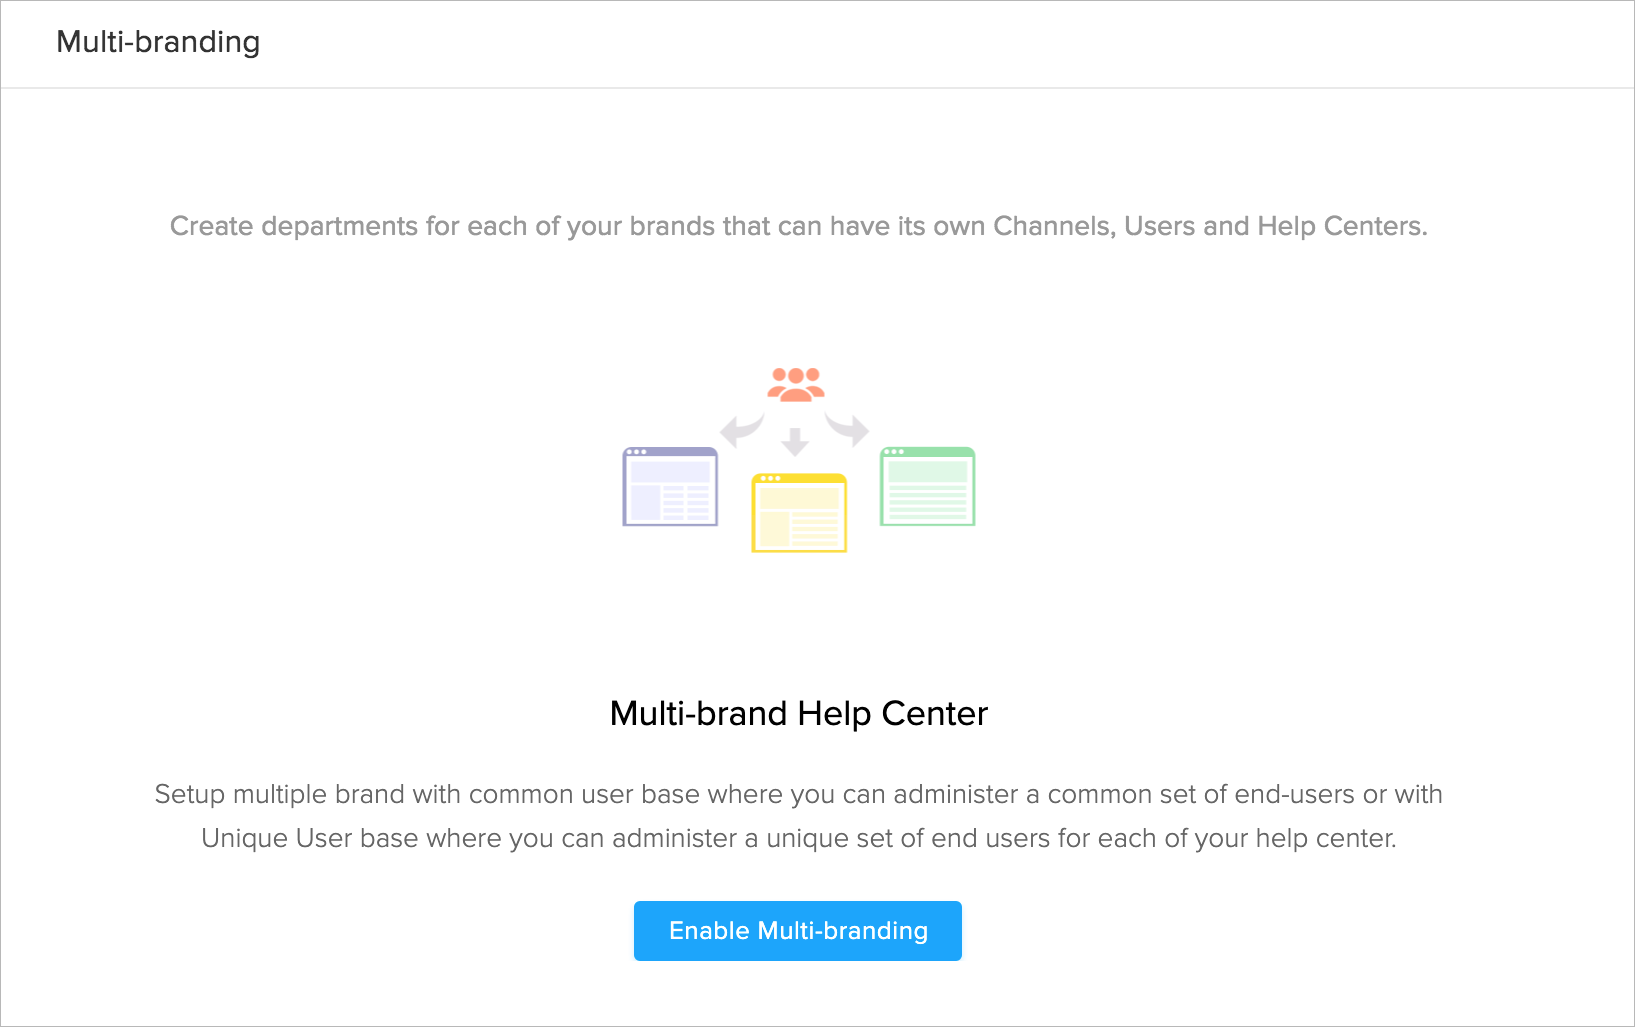
Providing Multi-brand Customer Support
Your brand distinguishes the products or services you offer from those of others. As much as your brand you must be unique and consistent with your customer service. Multi-brand customer support in Zoho Desk allows you to distinguish the identity of your brands by providing each brand its own Help Center.


Notes:
Important Notes:
You might already be knowing that you can organize your customer support operation into departments in Zoho Desk. Each department can have its own service channels, SLAs, notifications, community, and Knowledge Base articles. With the multi-brand feature, you can now add a Help Center for these departments. You can customize the logo, colors, layout and permissions of the multi-brand Help Centers to make them follow your brand principles. Moreover, you can allow your end-users to have a single profile to access all brands (i.e., Help Centers) or they can register for individual brands.
Basics of Multi-brand Support
On creating a Zoho Desk account, a default department, and its Help Center is added. You can add departments to add as many brands as you need. However, managing user profiles in a multi-brand environment is a little different to using the default Help Center. To begin with, two types of multi-brand Help Centers are available in Zoho Desk. They are:
- Common User Base
- Unique User Base
The Common User Base model provides your end users the convenience to access multiple Help Centers with one set of login credentials (e.g., email address and password). So regardless of the Help Center, you invited from, they can access all of them. Please note that your users will not be aware of the other branded Help Centers unless advised to access.
In the Unique User Base model, your end-users can only access the Help Center they have registered for or were invited. So when a user visits a new brand, they must register again to access the Help Center. In both the models, you are required to manage end-users from within the respective Help Centers.
Creating Multi-brand Help Centers
Creating multi-brand Help Centers involves three steps:
- Add departments for your brands.
[You can customize the departments as per the requirements of your brand] - Enable Multi-brand Customer Support.
[Multi-brand Help Centers with a common user base is enabled] - Add Help Centers for the departments you've created.
[You can customize the Help Centers for their appearance, permissions, etc.]
Adding Departments
Before you add the branded Help Centers you must create the requisite departments in Zoho Desk. To add departments, see Managing departments. When you add a department you must configure the support channels and associate agents to receive and answer tickets respectively.
Enabling Multi-brand Customer Support
By default, you will have only one Help Center regardless of the number of departments you've in Zoho Desk. You must enable the multi-brand customer support feature to add branded Help Centers for each of your custom departments.
To enable multi-brand support:
- Click the Setup icon (
) in the top menu.
- Click Rebranding under the General menu.
- Click Multi-branding under the Rebranding sub-menu.
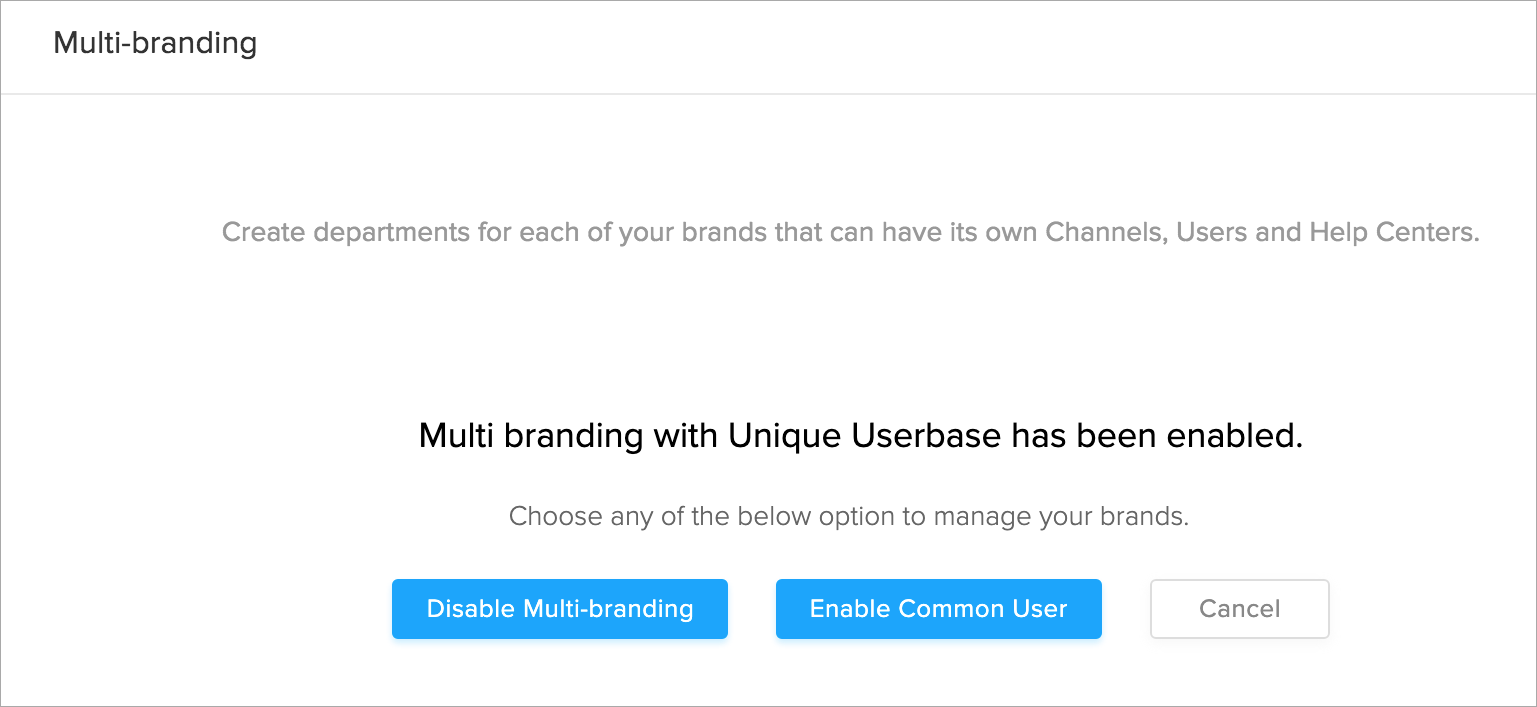
- Click Enable Multi-branding.
Multi-brand feature with a common user base is enabled.
Note:
- Although you could switch between the user bases (common vis-à-vis unique), we strongly recommend that you decide and stick to either one of them.
Adding Help Centers for Departments
Now that you've enabled multi-brand support you must add the Help Centers for the respective departments [read, brands] in Zoho Desk. You can proceed to click Configure, on the multi-branding setup page or follow the instructions below:
To add a Help Center:
- Click the Setup icon (
) in the top menu.
- Click Help Center under the Channels menu.
- Click New Help Center in the upper right corner.
- Select a Department Name from the drop-down menu.
- On the Help Center page, follow the below steps:
- Click upload icon to add a logo.
The logo should not exceed 20 KB and is best viewed in 200:40 pixels. - Click upload icon to add a favicon.
- Enter the Logo-linkback URL.
Customers will be directed to this URL when they click your logo in the Help Center. - Enter a Name for the Help Center.
This name is displayed alongside the logo in the Help Center. - Select the Help Center URL from the domain section, e.g. support.bayandco.com. Simply hover over a domain URL and click Set as Primary.
This URL is where your customers will access the brand's Help Center. If you don't have a domain, click Map Domain to add a new one. - Click Save.
You can follow the above steps to add more branded Help Centers in your help desk.
Switching to Unique User Base
By default, you will be enabled for multi-brand support with a common user base. However, you can choose to switch to the unique user model so that your end users can access only the Help Center they have registered for or were invited.
To switch to unique user base:
- Click the Setup icon (
) in the top menu.
- Click Rebranding under the General menu.
- Click Multi-branding under the Rebranding sub-menu.
- Click Manage on the Multi-branding page.
- Click Enable Unique User.
- Click OK in the alert window that appears.
You may check the box in the window if you'd like to invite your existing users to the branded Help Centers.
Multi-brand Help Centers with Unique User Base is enabled.
Notes:
- You must have configured at least two branded Help Centers to enable multi-brand support with the unique user base.
- While switching to the unique user base, you could invite your existing users to the branded Help Centers. By doing so, your end-users will receive an email invite from the domain address of the individual brands (i.e., Help Centers).
Switching to Common User Base
You can, at any point in time, switch back to the common users model of Help Centers in your Zoho Desk. This allows your end users to access all of your Help Centers with just one set of login credentials.
To switch to common user base:
- Click the Setup icon (
- Click Rebranding under the General menu.
- Click Multi-branding under the Rebranding sub-menu.
- Click Manage on the Multi-branding page.
- Click Enable Common User.
- Click OK in the alert window that appears.
You may check the box in the window if you'd like to invite all of your unique users to the default Help Center.
Multi-brand Help Centers with Common User Base is enabled.
Updating Help Centers with Logo
You can upload a logo to the branded Help Center to distinguish it in the minds of your customers. It also makes it easier for your customers to submit and track tickets in the right portal. To upload a logo, go to Setup >> Help Center >> Select Help Center >> Rebranding.
The uploaded logo will be visible on the:
- Help Center, obviously.
- Emails sent out at various points such as user invitation, user activation, user deactivation, and password reset.
Note:
- If you don't upload a logo, visitors to your branded Help Centers will see the default Zoho Desk logo in the masthead. Moreover, the emails sent to your end users will include your company logo available under Setup >> General >> Rebranding.
Disabling Multi-brand Support
You can disable multi-brand customer support at any time in Zoho Desk.
To disable multi-brand support:
- Click the Setup icon (
) in the top menu.
- Click Rebranding under the General menu.
- Click Multi-branding under the Rebranding sub-menu.
- Click Manage on the Multi-branding page.
- Click Disable Multi-branding.
- Click Yes to confirm your action.
Important Notes:
- When you disable multi-brand with unique users:
- The branded Help Centers will be deleted and their end users will not be able to visit or submit tickets to those brands.
- You may choose to migrate the end users of your brands to the default Help Center. By not doing so, the users will be deleted from your Zoho Desk.
- The migrated users who are not a part of your default Help Center will receive an email invite.
- You must delete all of your multi-brand Help Centers before you could disable multi-brand setup with common users.
Related Articles
Support customers from your own domain
Provide customer support from your own domain with Zoho Desk. By default, the web address of your Help Center is a Zoho Desk subdomain such as "desk.zoho.com/portal/<mycompany>". However, you can personalize this so that your customers can submit ...Customer Support - An Overview
Zoho CRM provides the Customer Support & Service management (Help Desk) features, such as Cases (Trouble tickets), Solutions (Knowledge base), Case Routing & Escalation through Workflow rules, and easy to deploy Web-to-Case forms for capturing ...Customer Console
This section explains the functionalities of the Customer Console. Customer Console is a run-time application which runs on your customer's computer once the session starts. The functionalities are: Stop/Start Sharing Chat Swap Screen Annotate File ...Customer Widget
This feature provides you with a widget (HTML snippet) that can be easily embedded on your website. It allows your customers to join sessions from your webpage instead of using an email invitation or join.zoho.com. Your customers can join the session ...Remote Support
Remote support sessions or on-demand sessions can be used to access and troubleshoot your remote customer's computer or android device from every nook and corner of the world. You can support both Windows and Mac computers. In order to initiate a ...